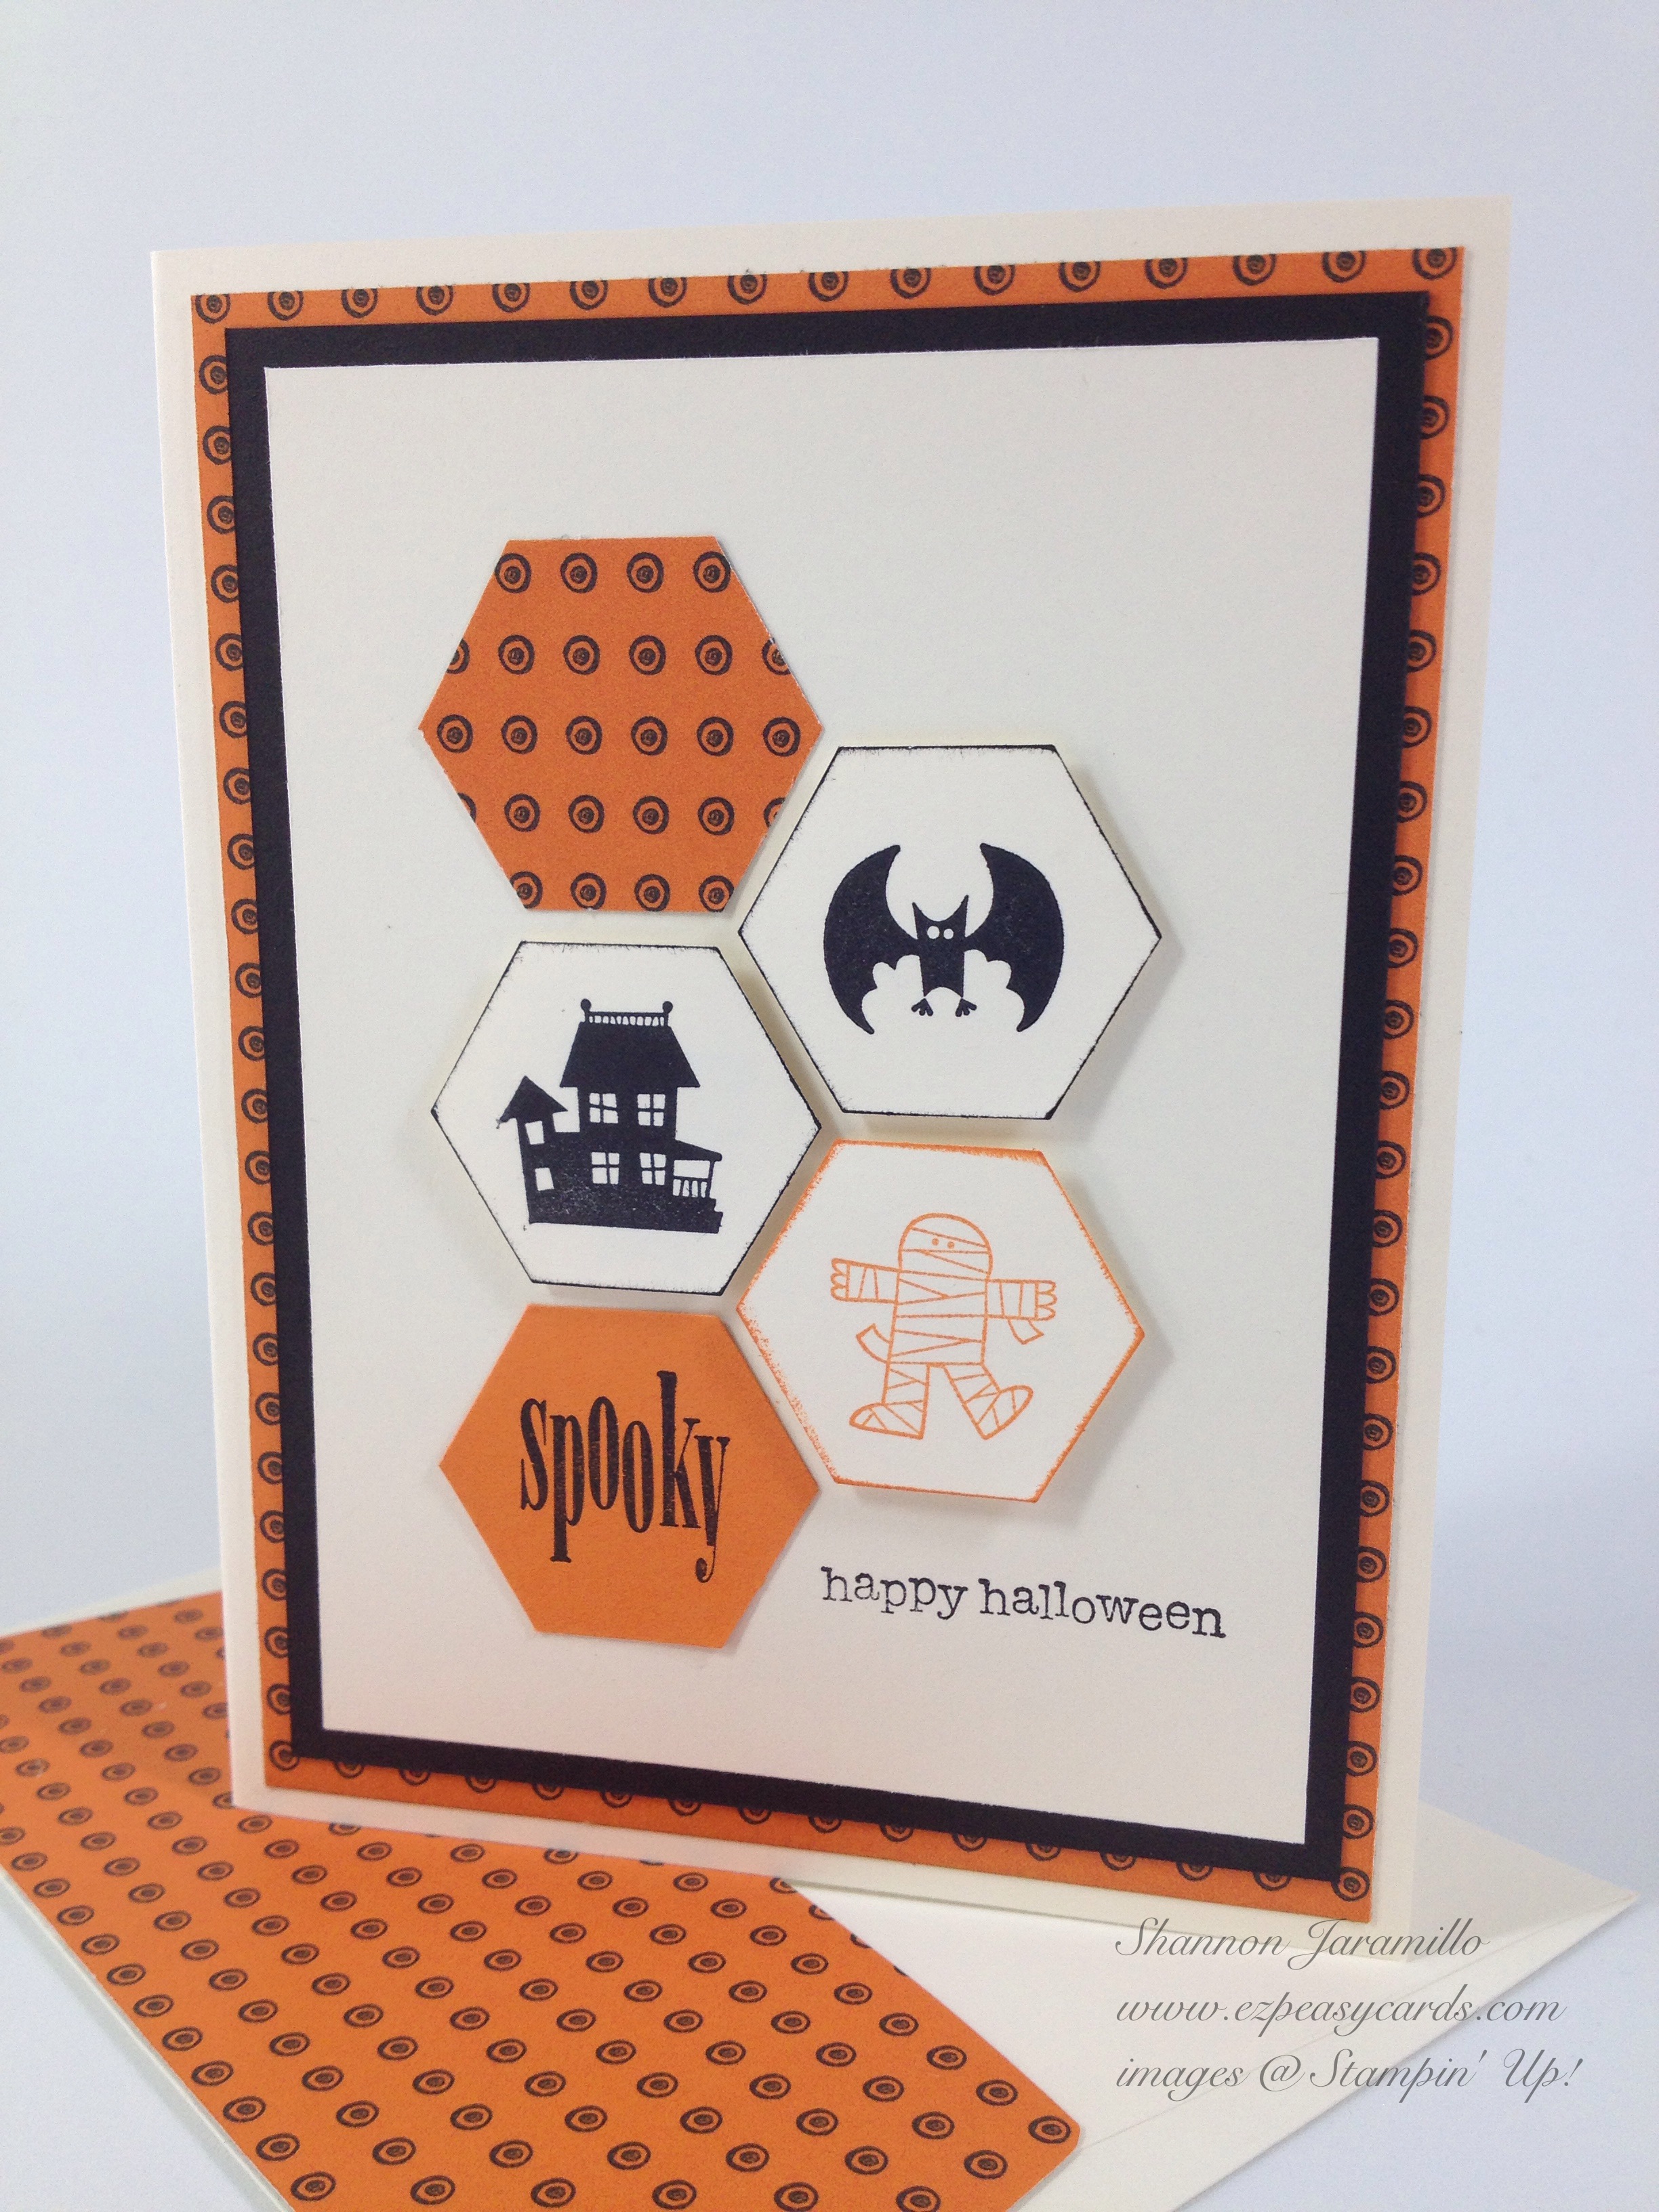
I finally decided to get into the Halloween spirit and whip up a few cards! And since I was diving in, why not break out the Circle Thinlit Card Dies that have been sitting abandoned on my craft table while I decide whether or not to take the plunge and try something new...
And I decided...I like them!! Since I haven't used much DSP (Designer Series Paper) in awhile, I decided to throw that in the mix too...
I think for me the issue with using the Thinlit Card Dies has been not having a place to write a greeting. I just have not been able to wrap my head around that. I finally did some poking around on the internet and found some videos that actually extended the card to create another fold, thereby adding enough room to write a message. Perfect!!
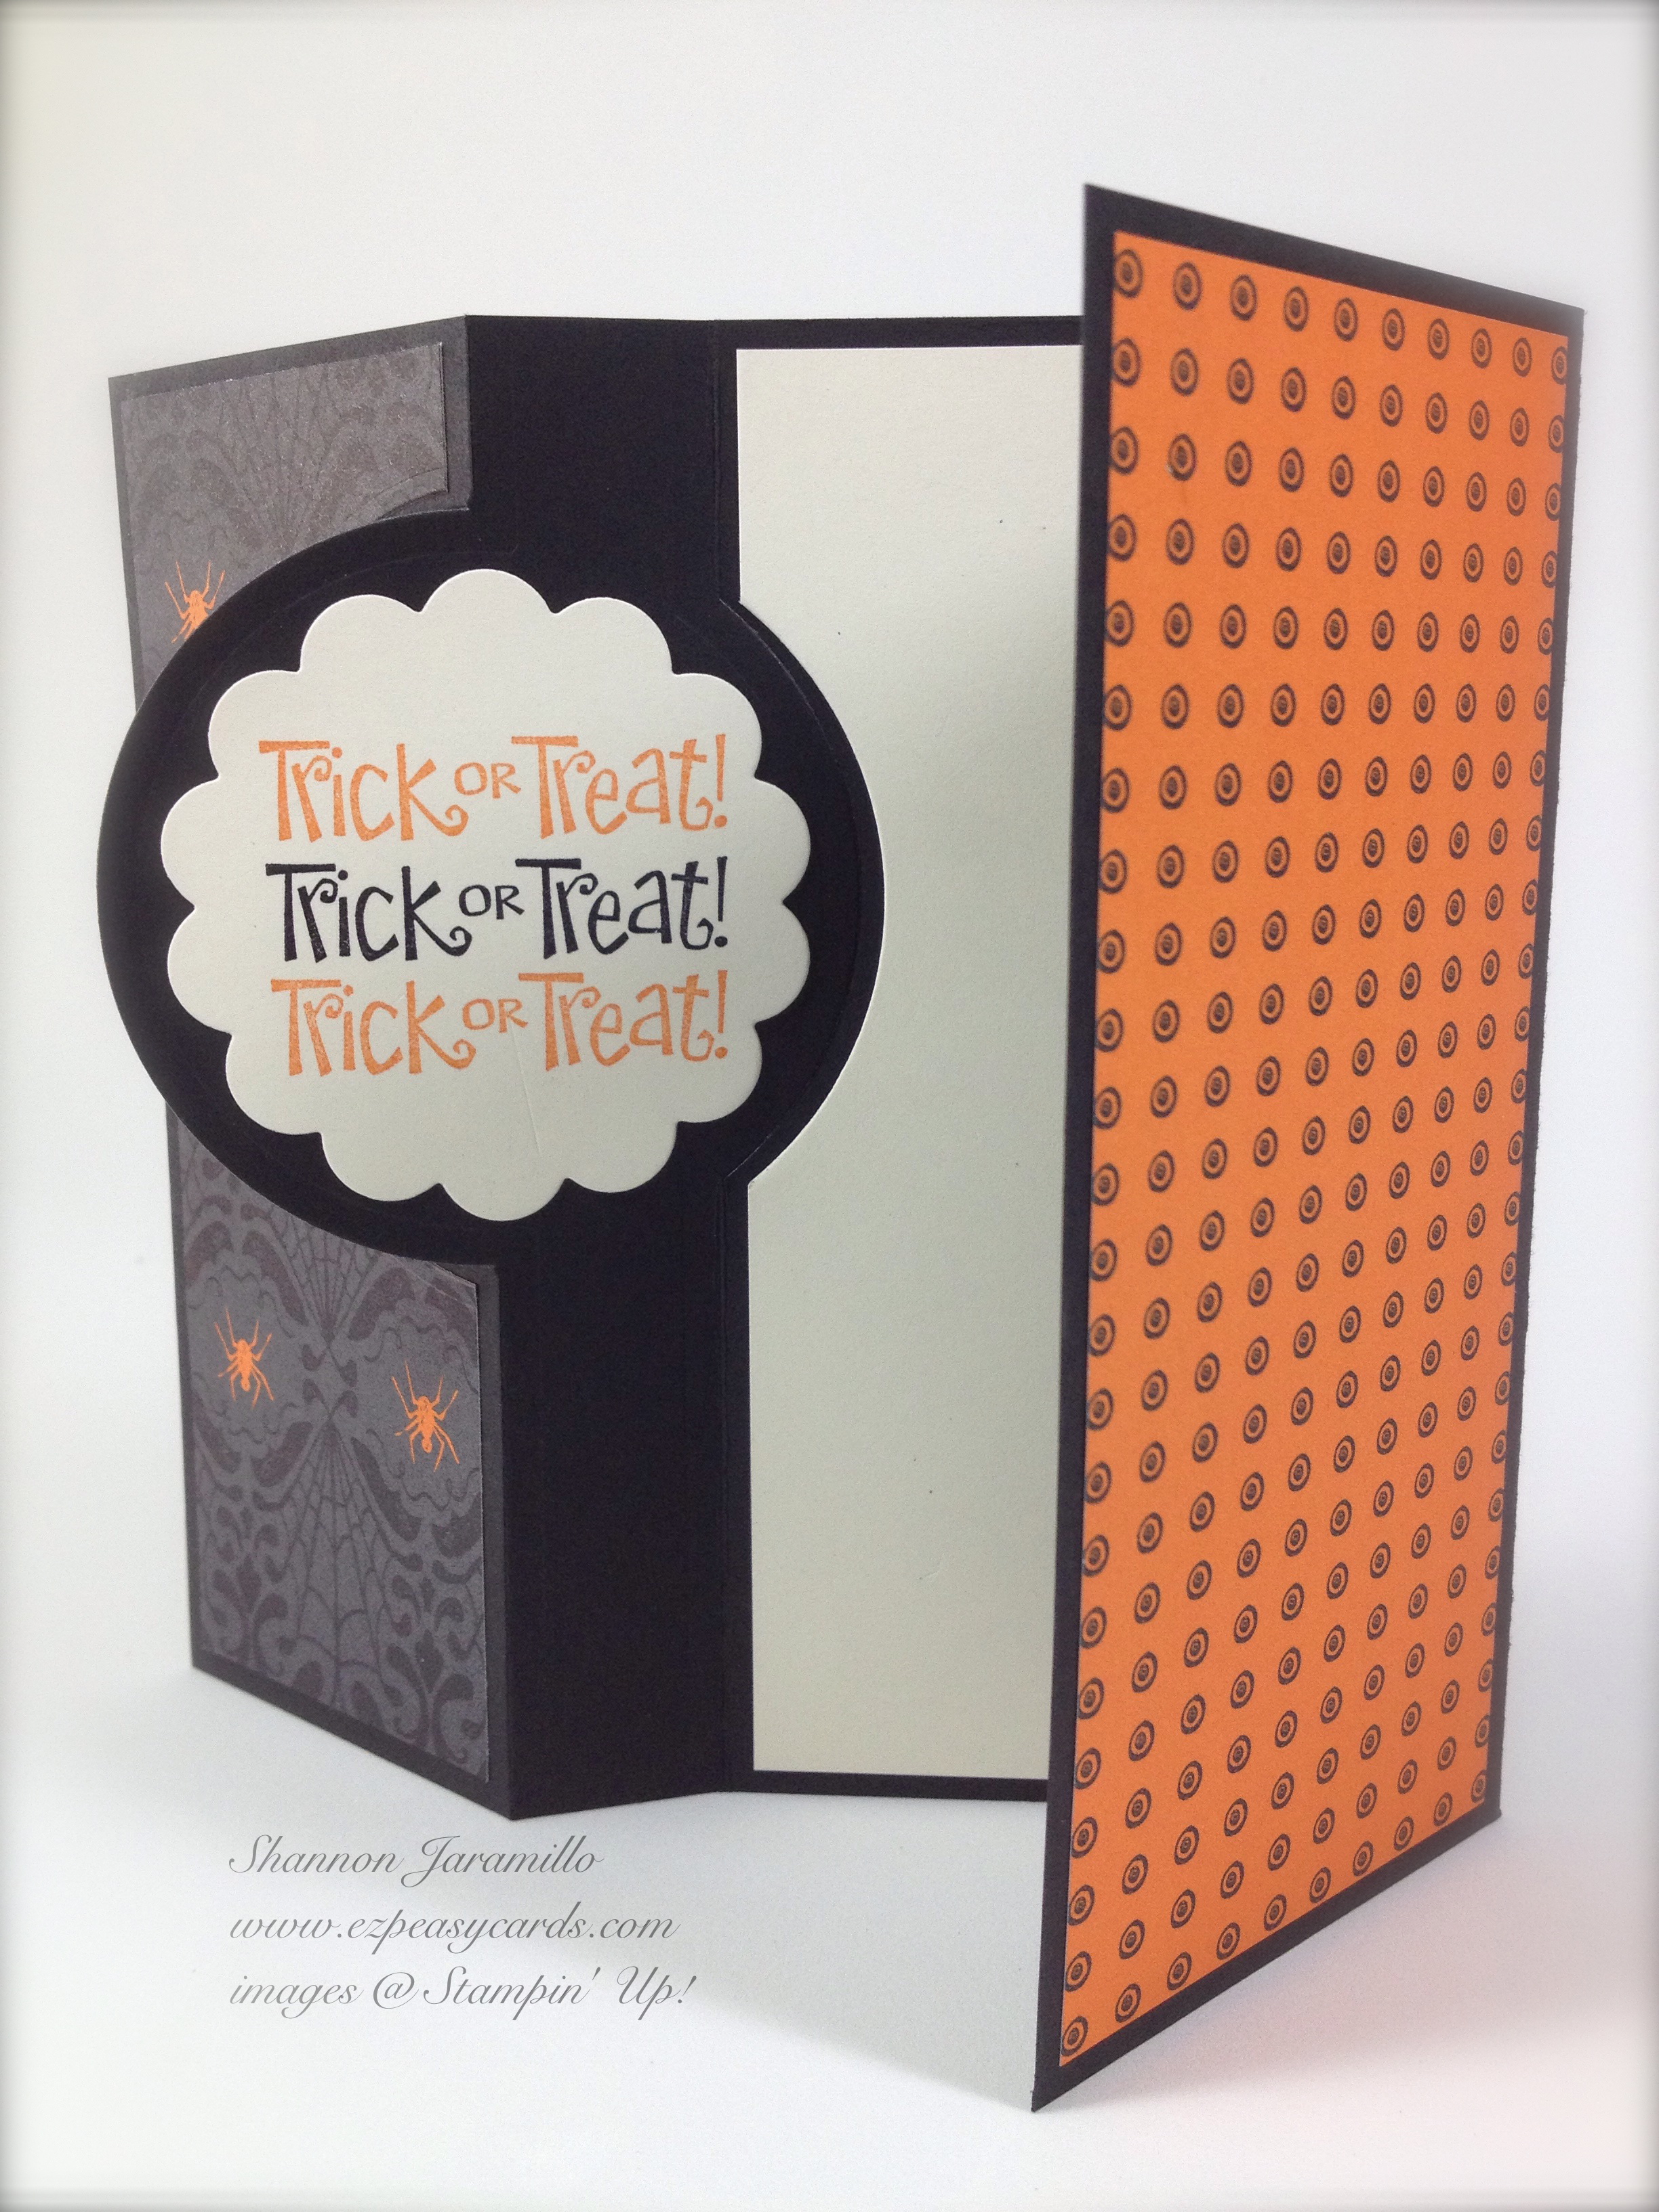
Isn't the back just darling? And look! A place to write a message...how awesome is that!! There are some VERY creative people out there working hard for us and I thank them!
Here's another view...
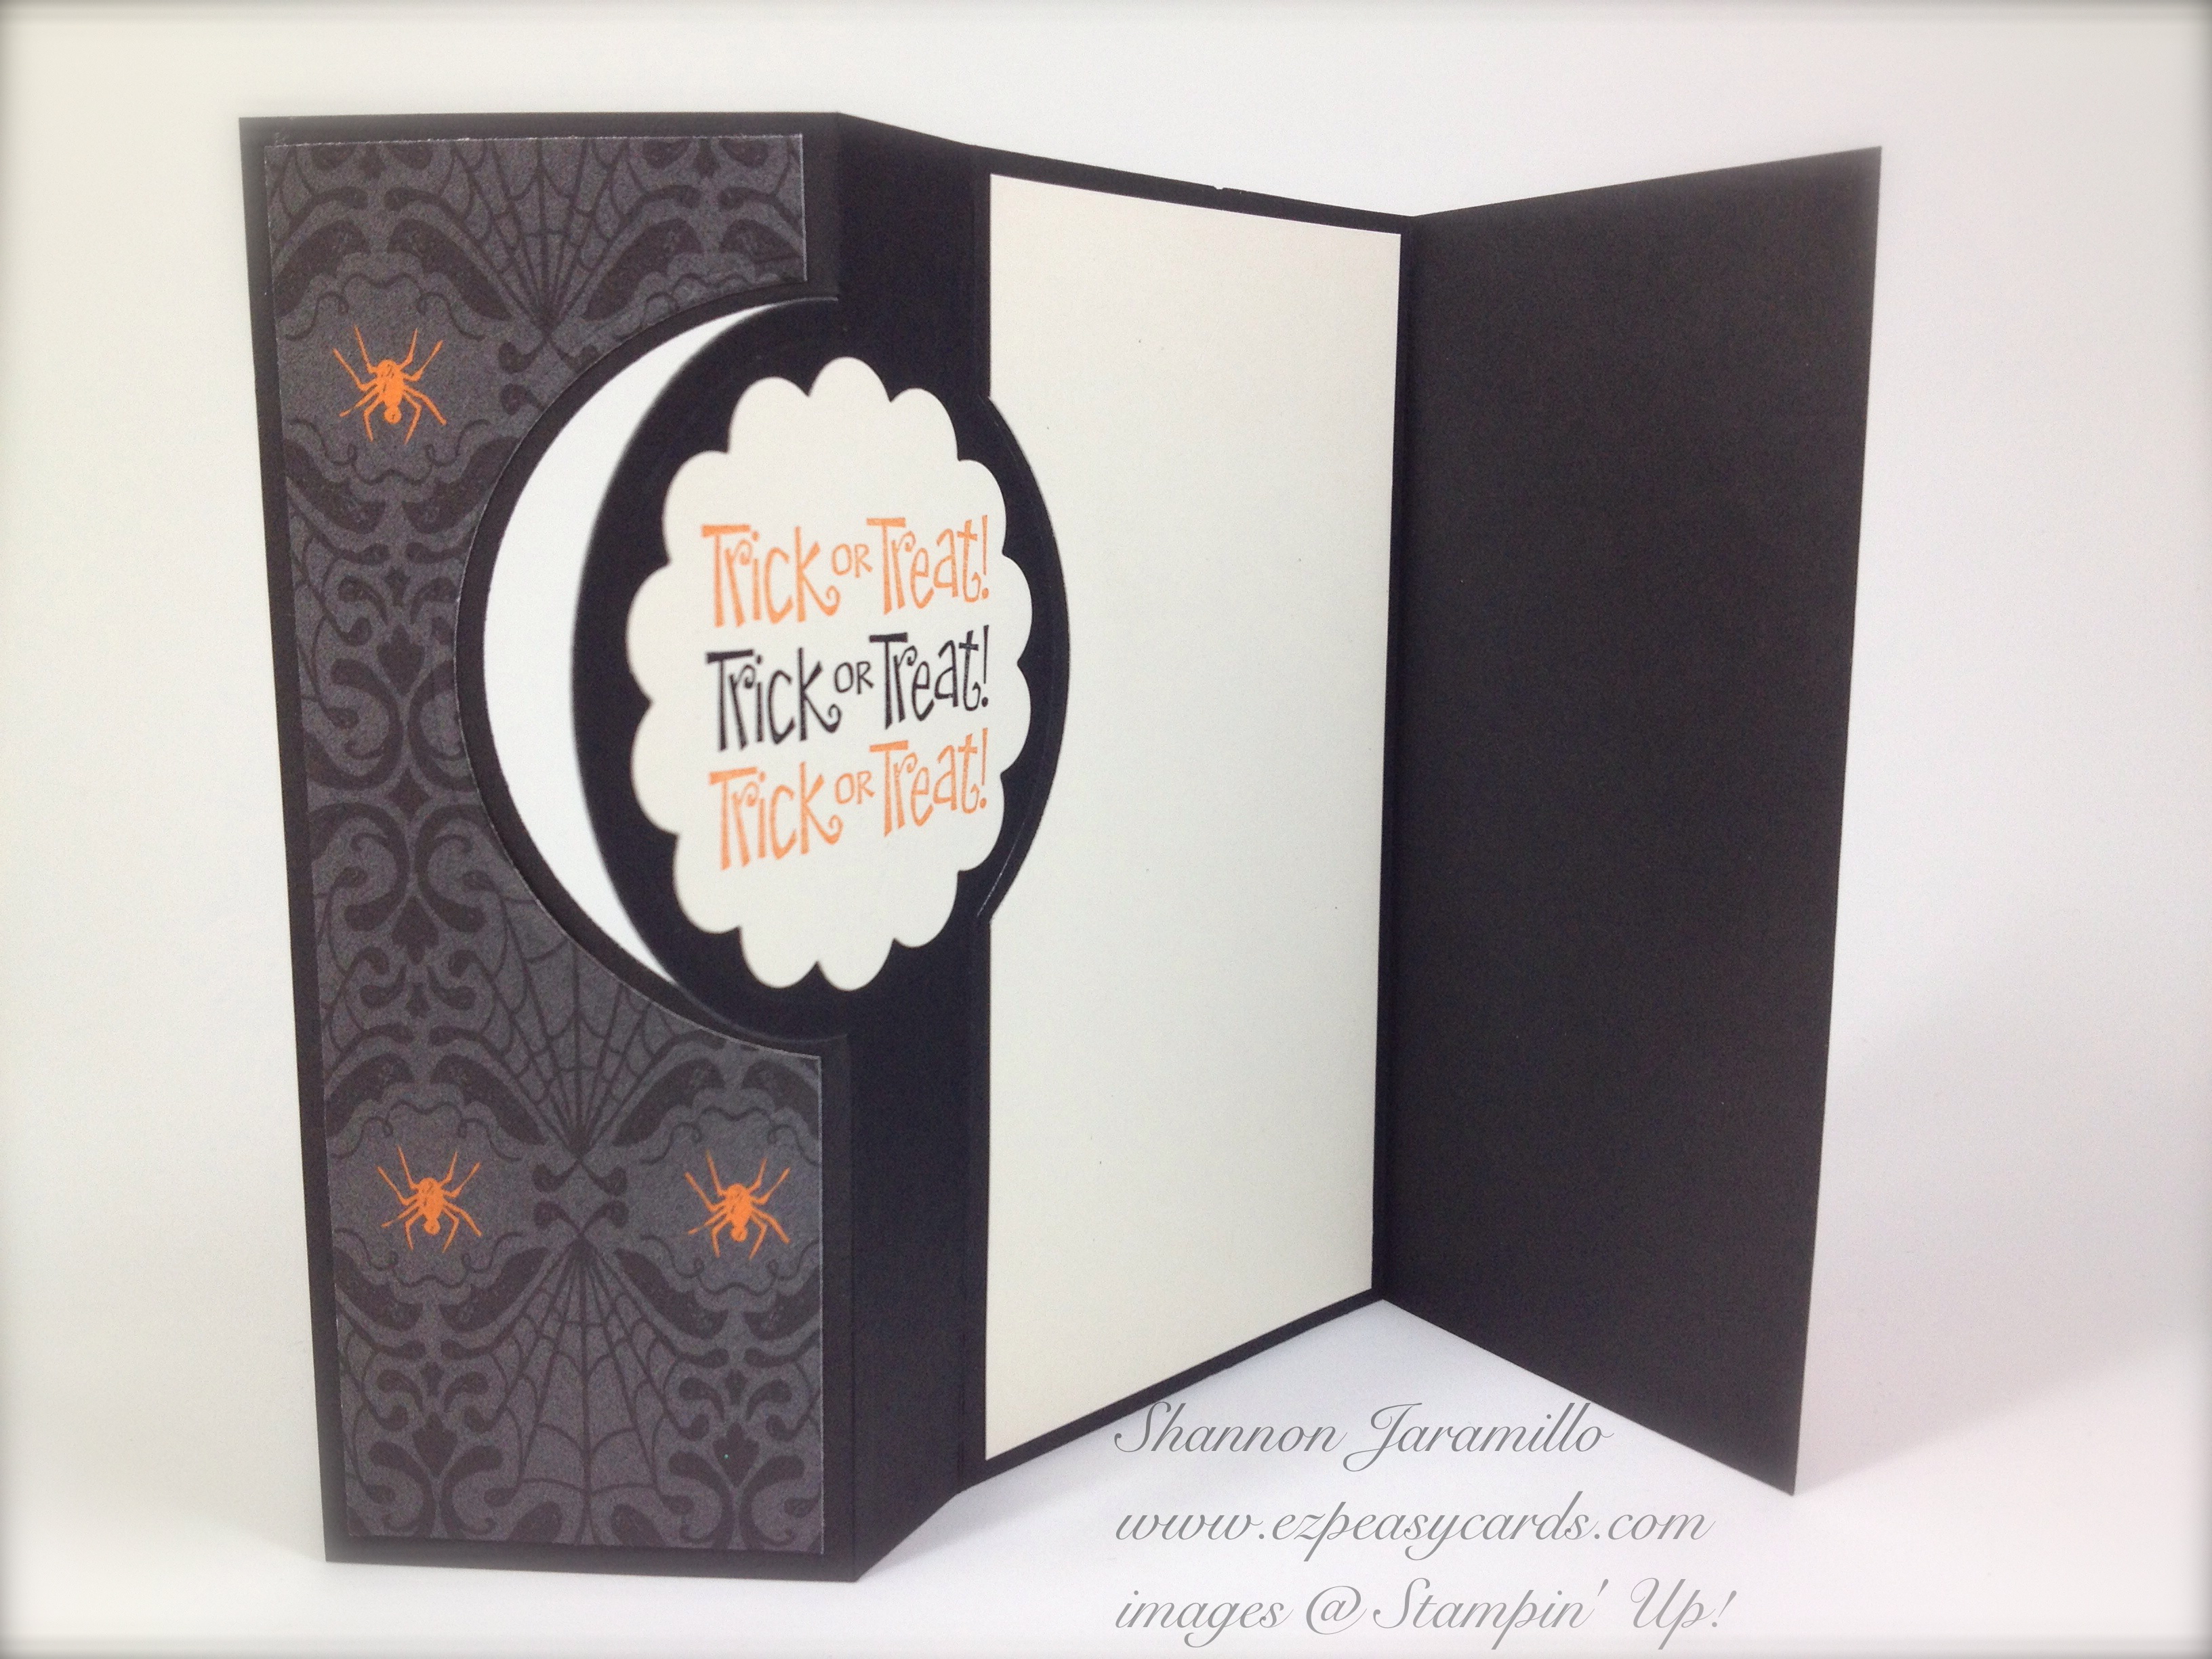
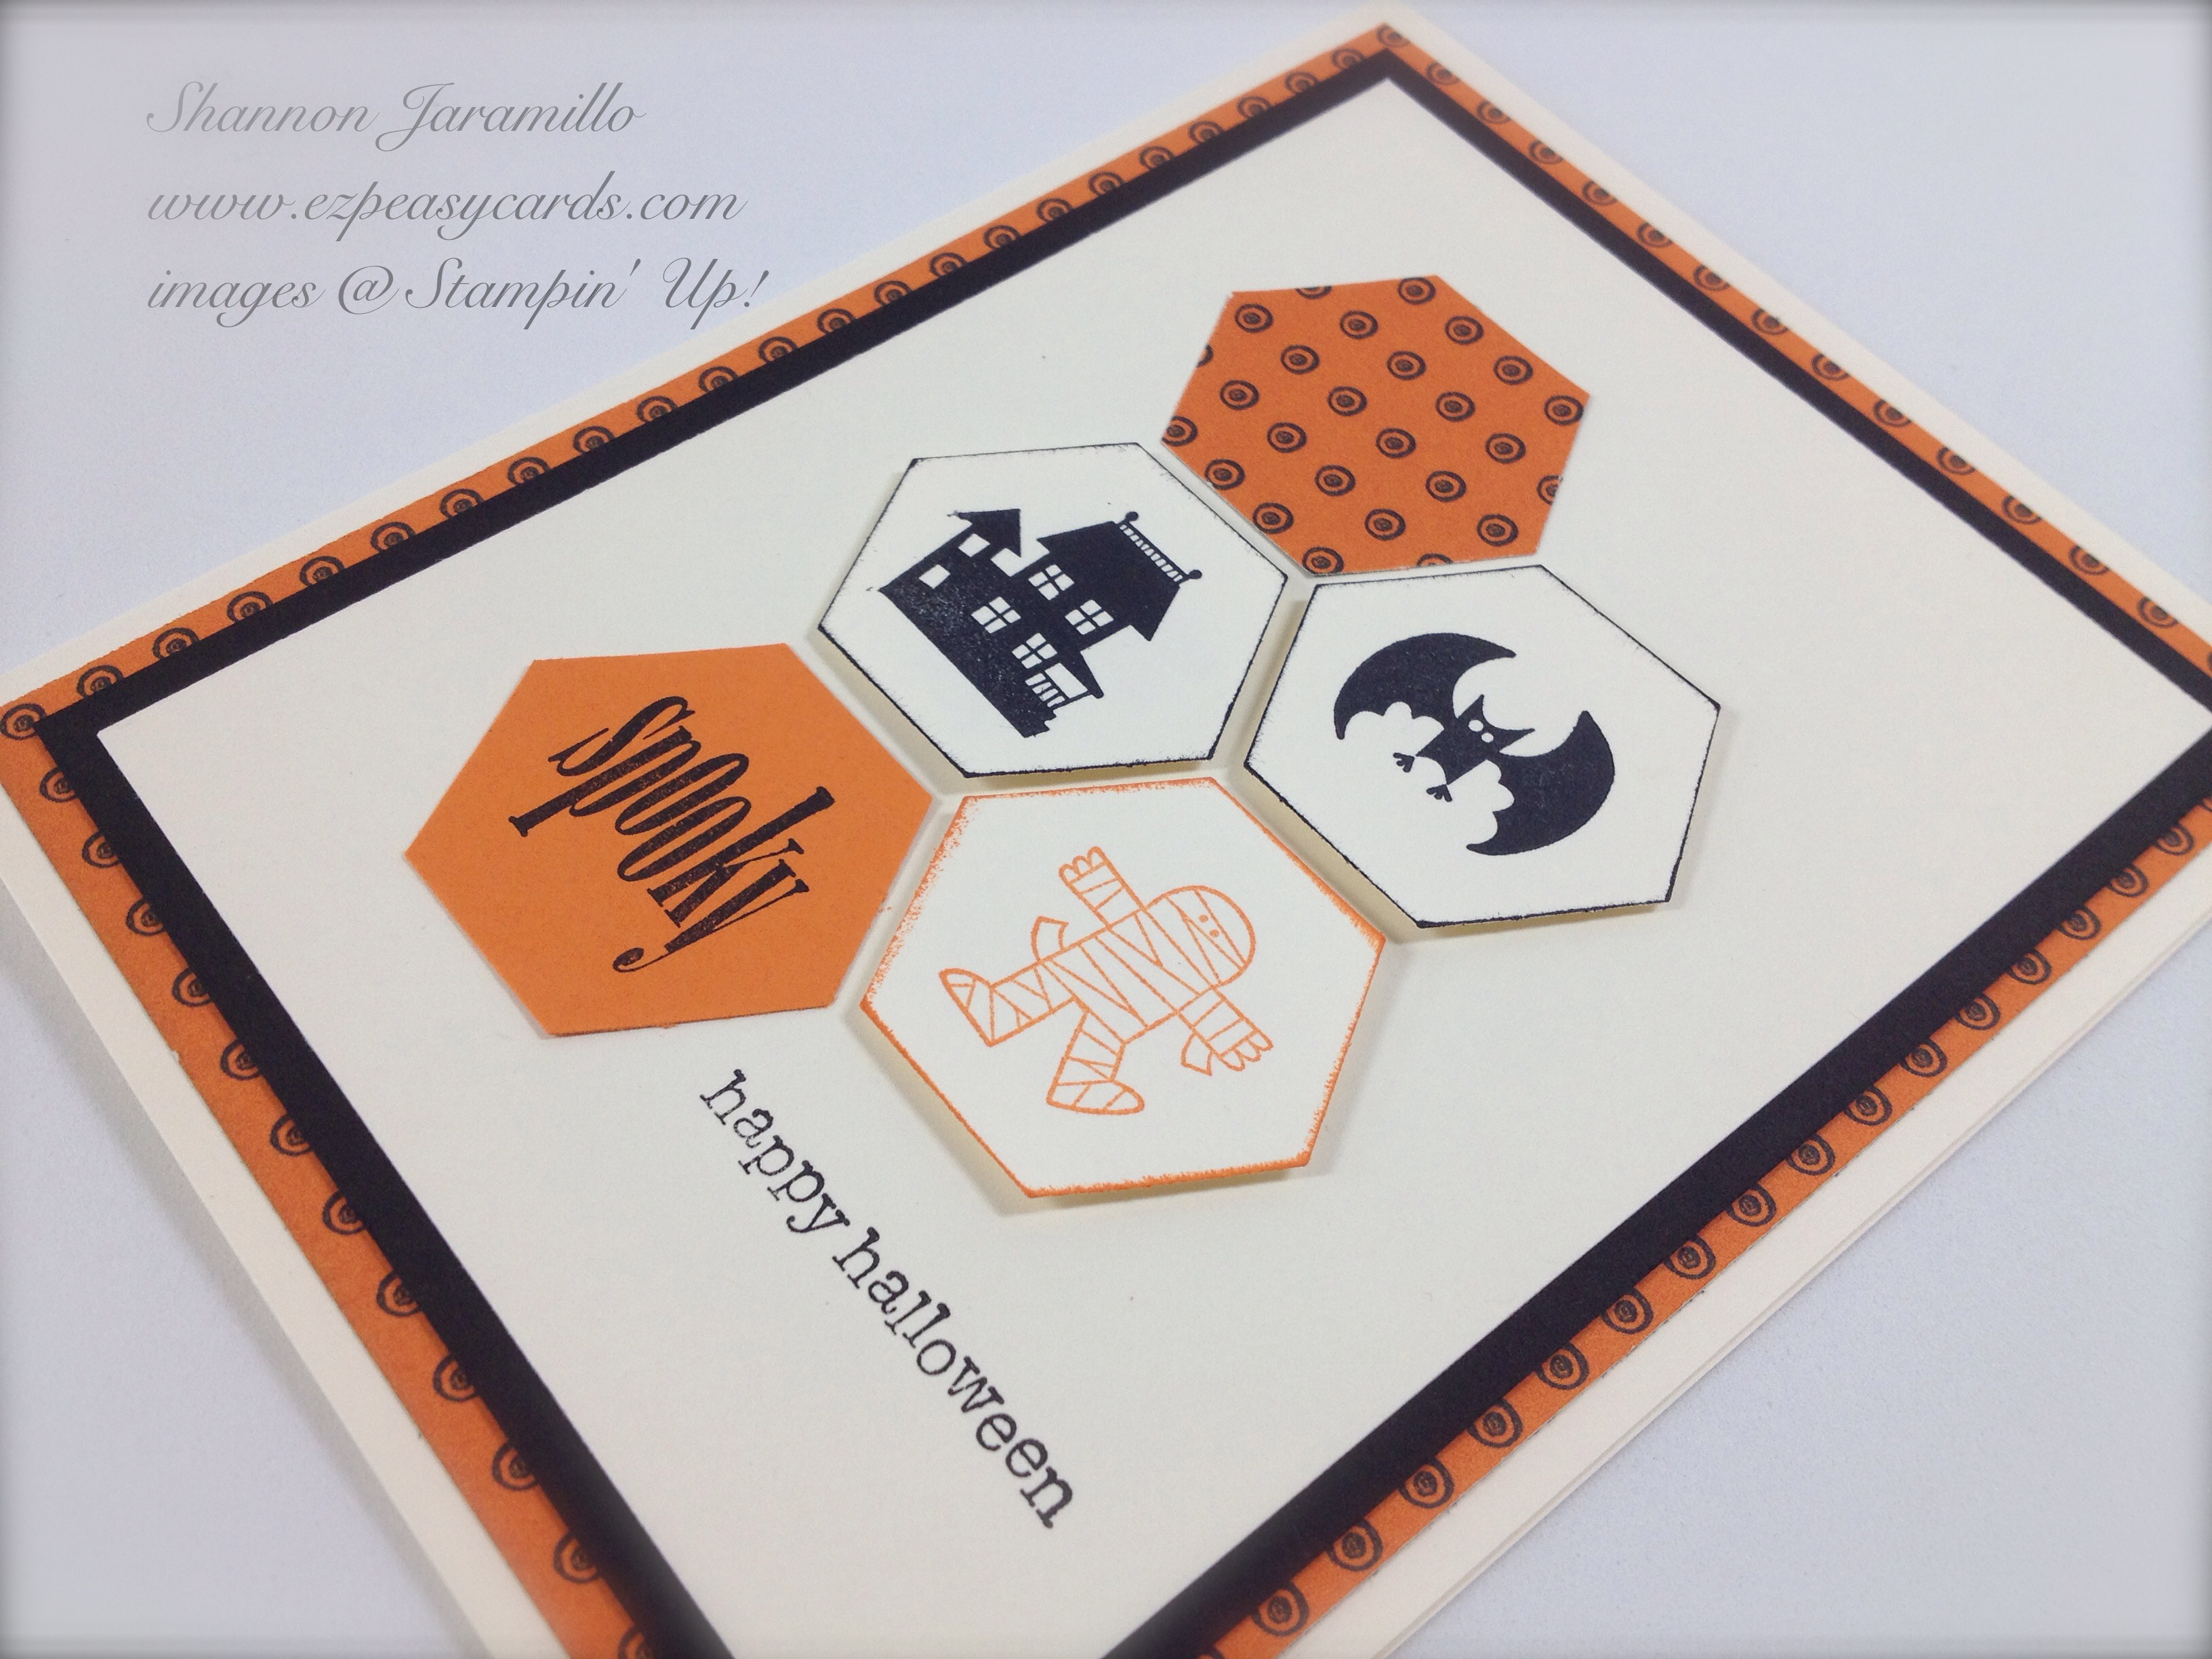
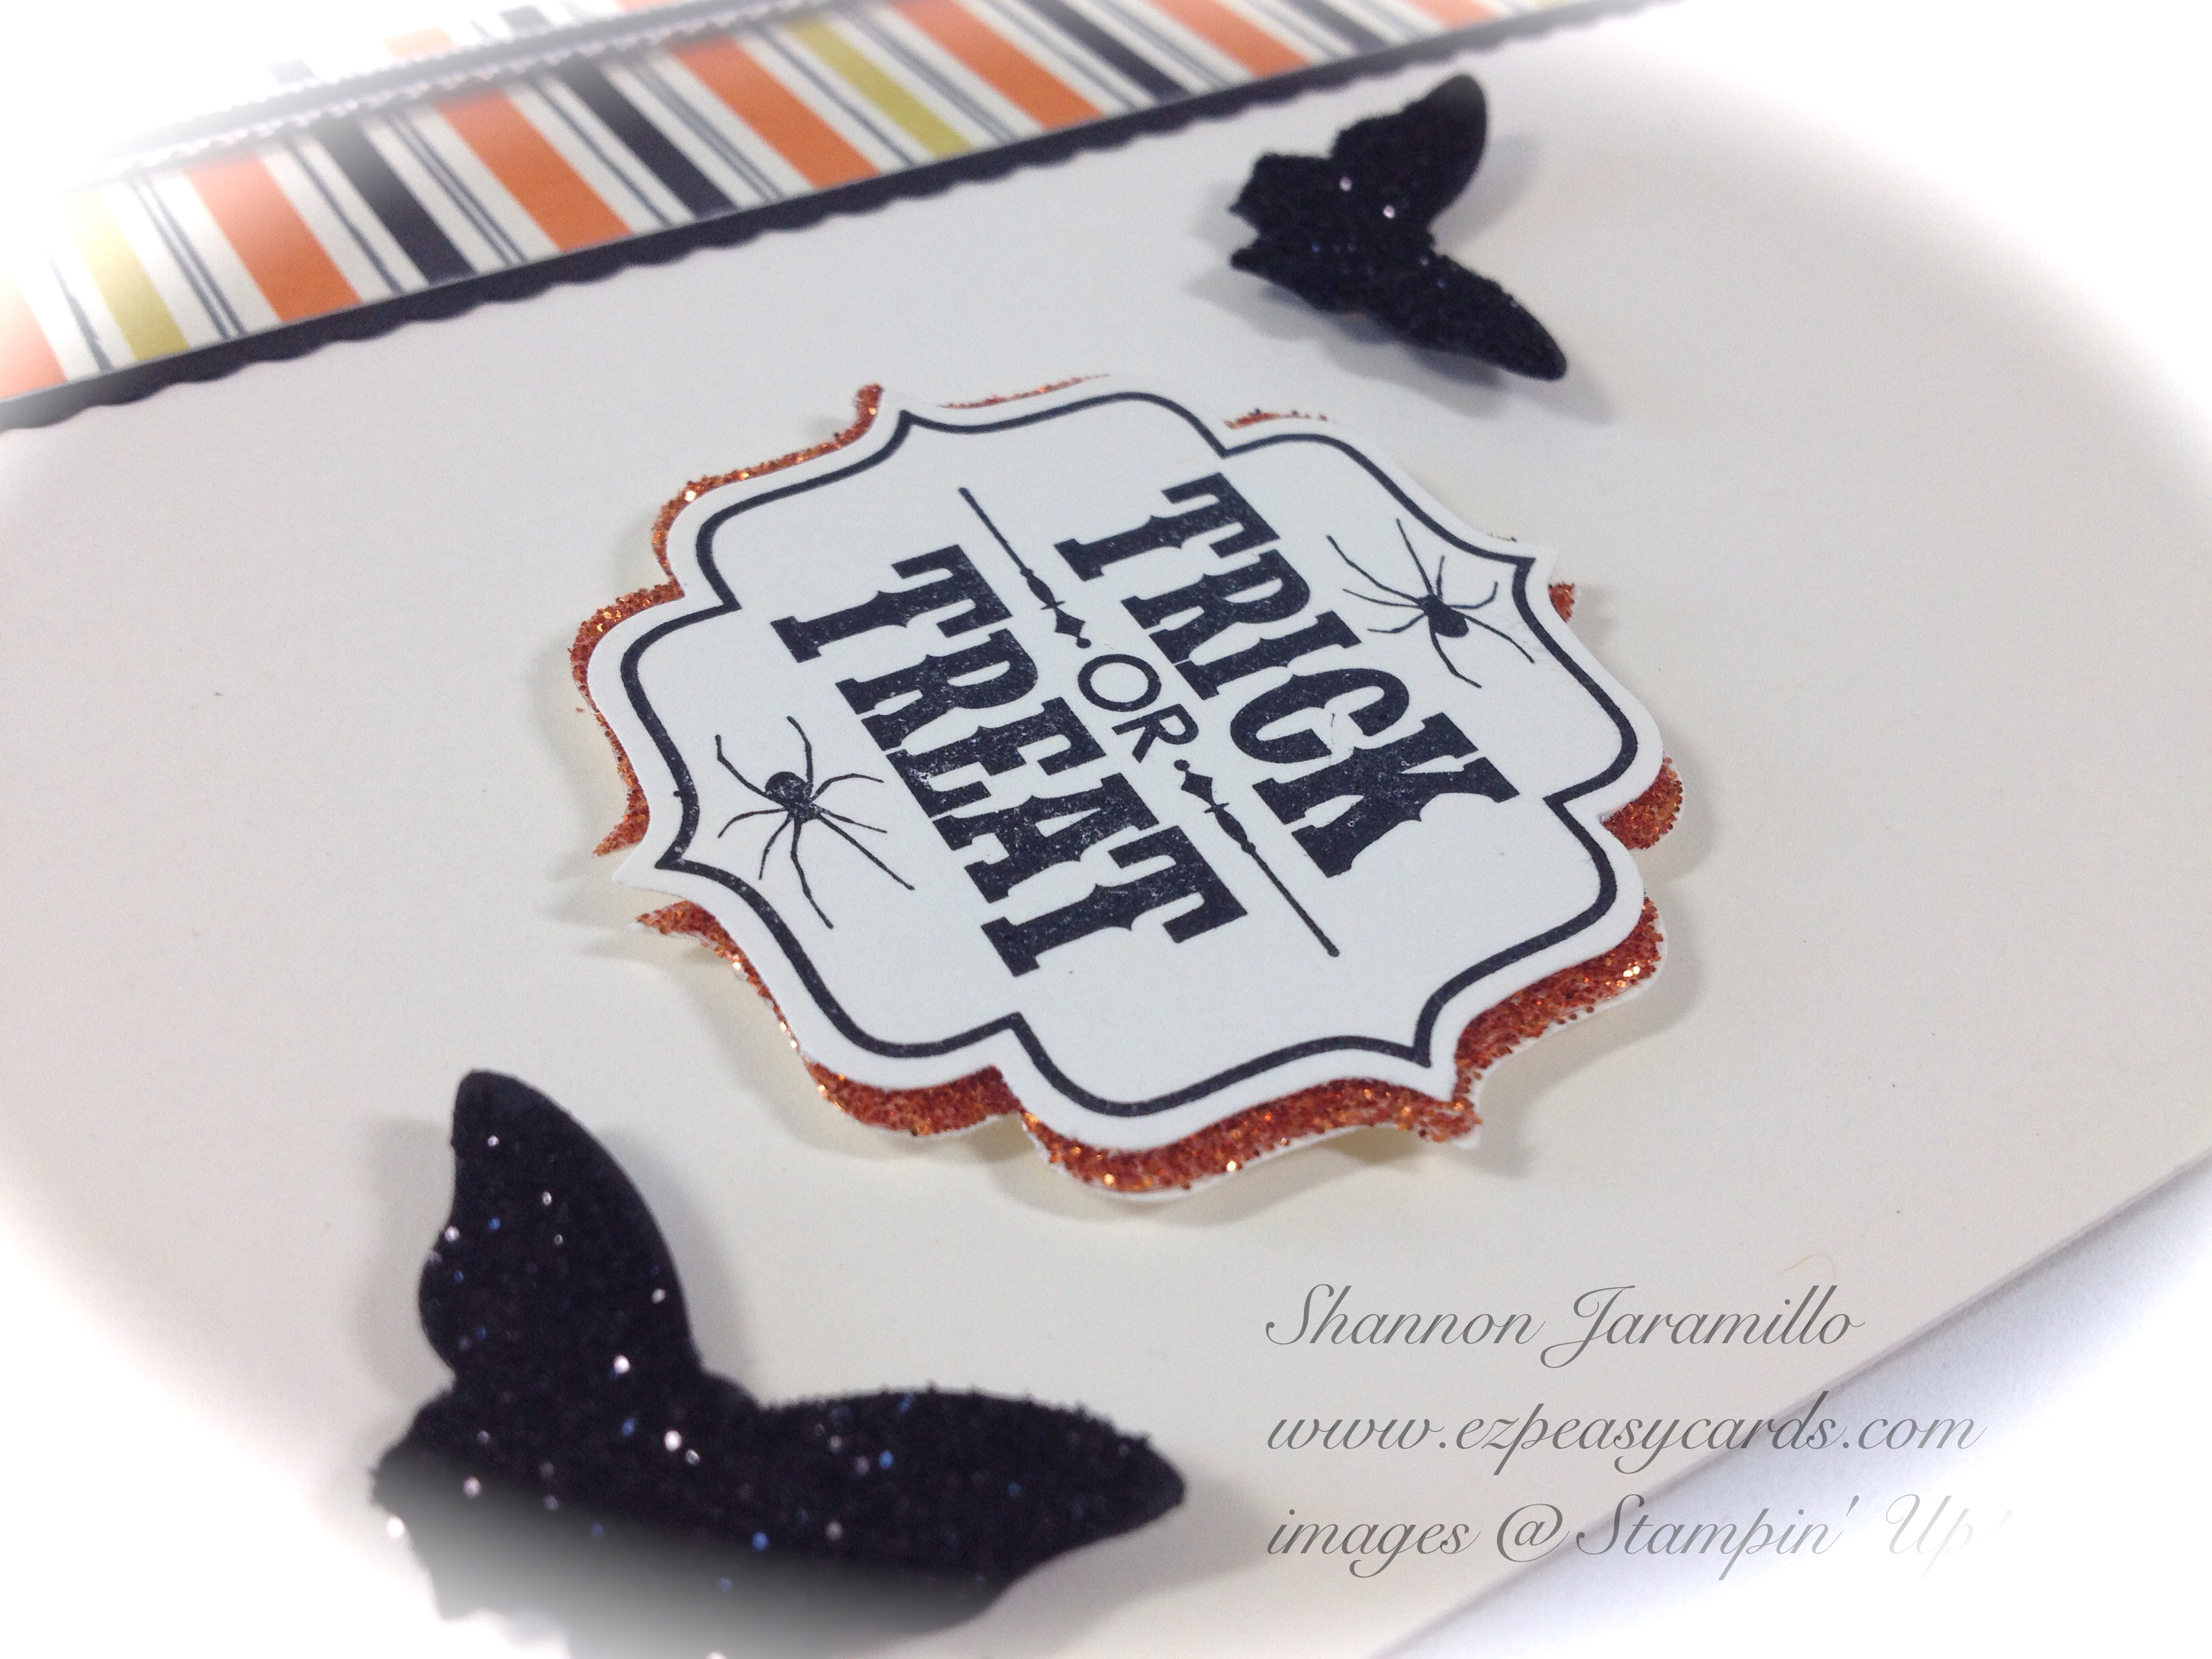
This card looks like it took a lot of time but honestly, the die does all the work for you. I just trimmed the DSP to 1/4" smaller than the card base, centered each, and adhered. EZ Peasy! The sentiment is from the Best of Halloween 25th Anniversay Stamp Set and it is my FAVORITE...I just LOVE the images! I used one stamp and using my Stamp-A-Ma-Jig, lined it up and repeated.
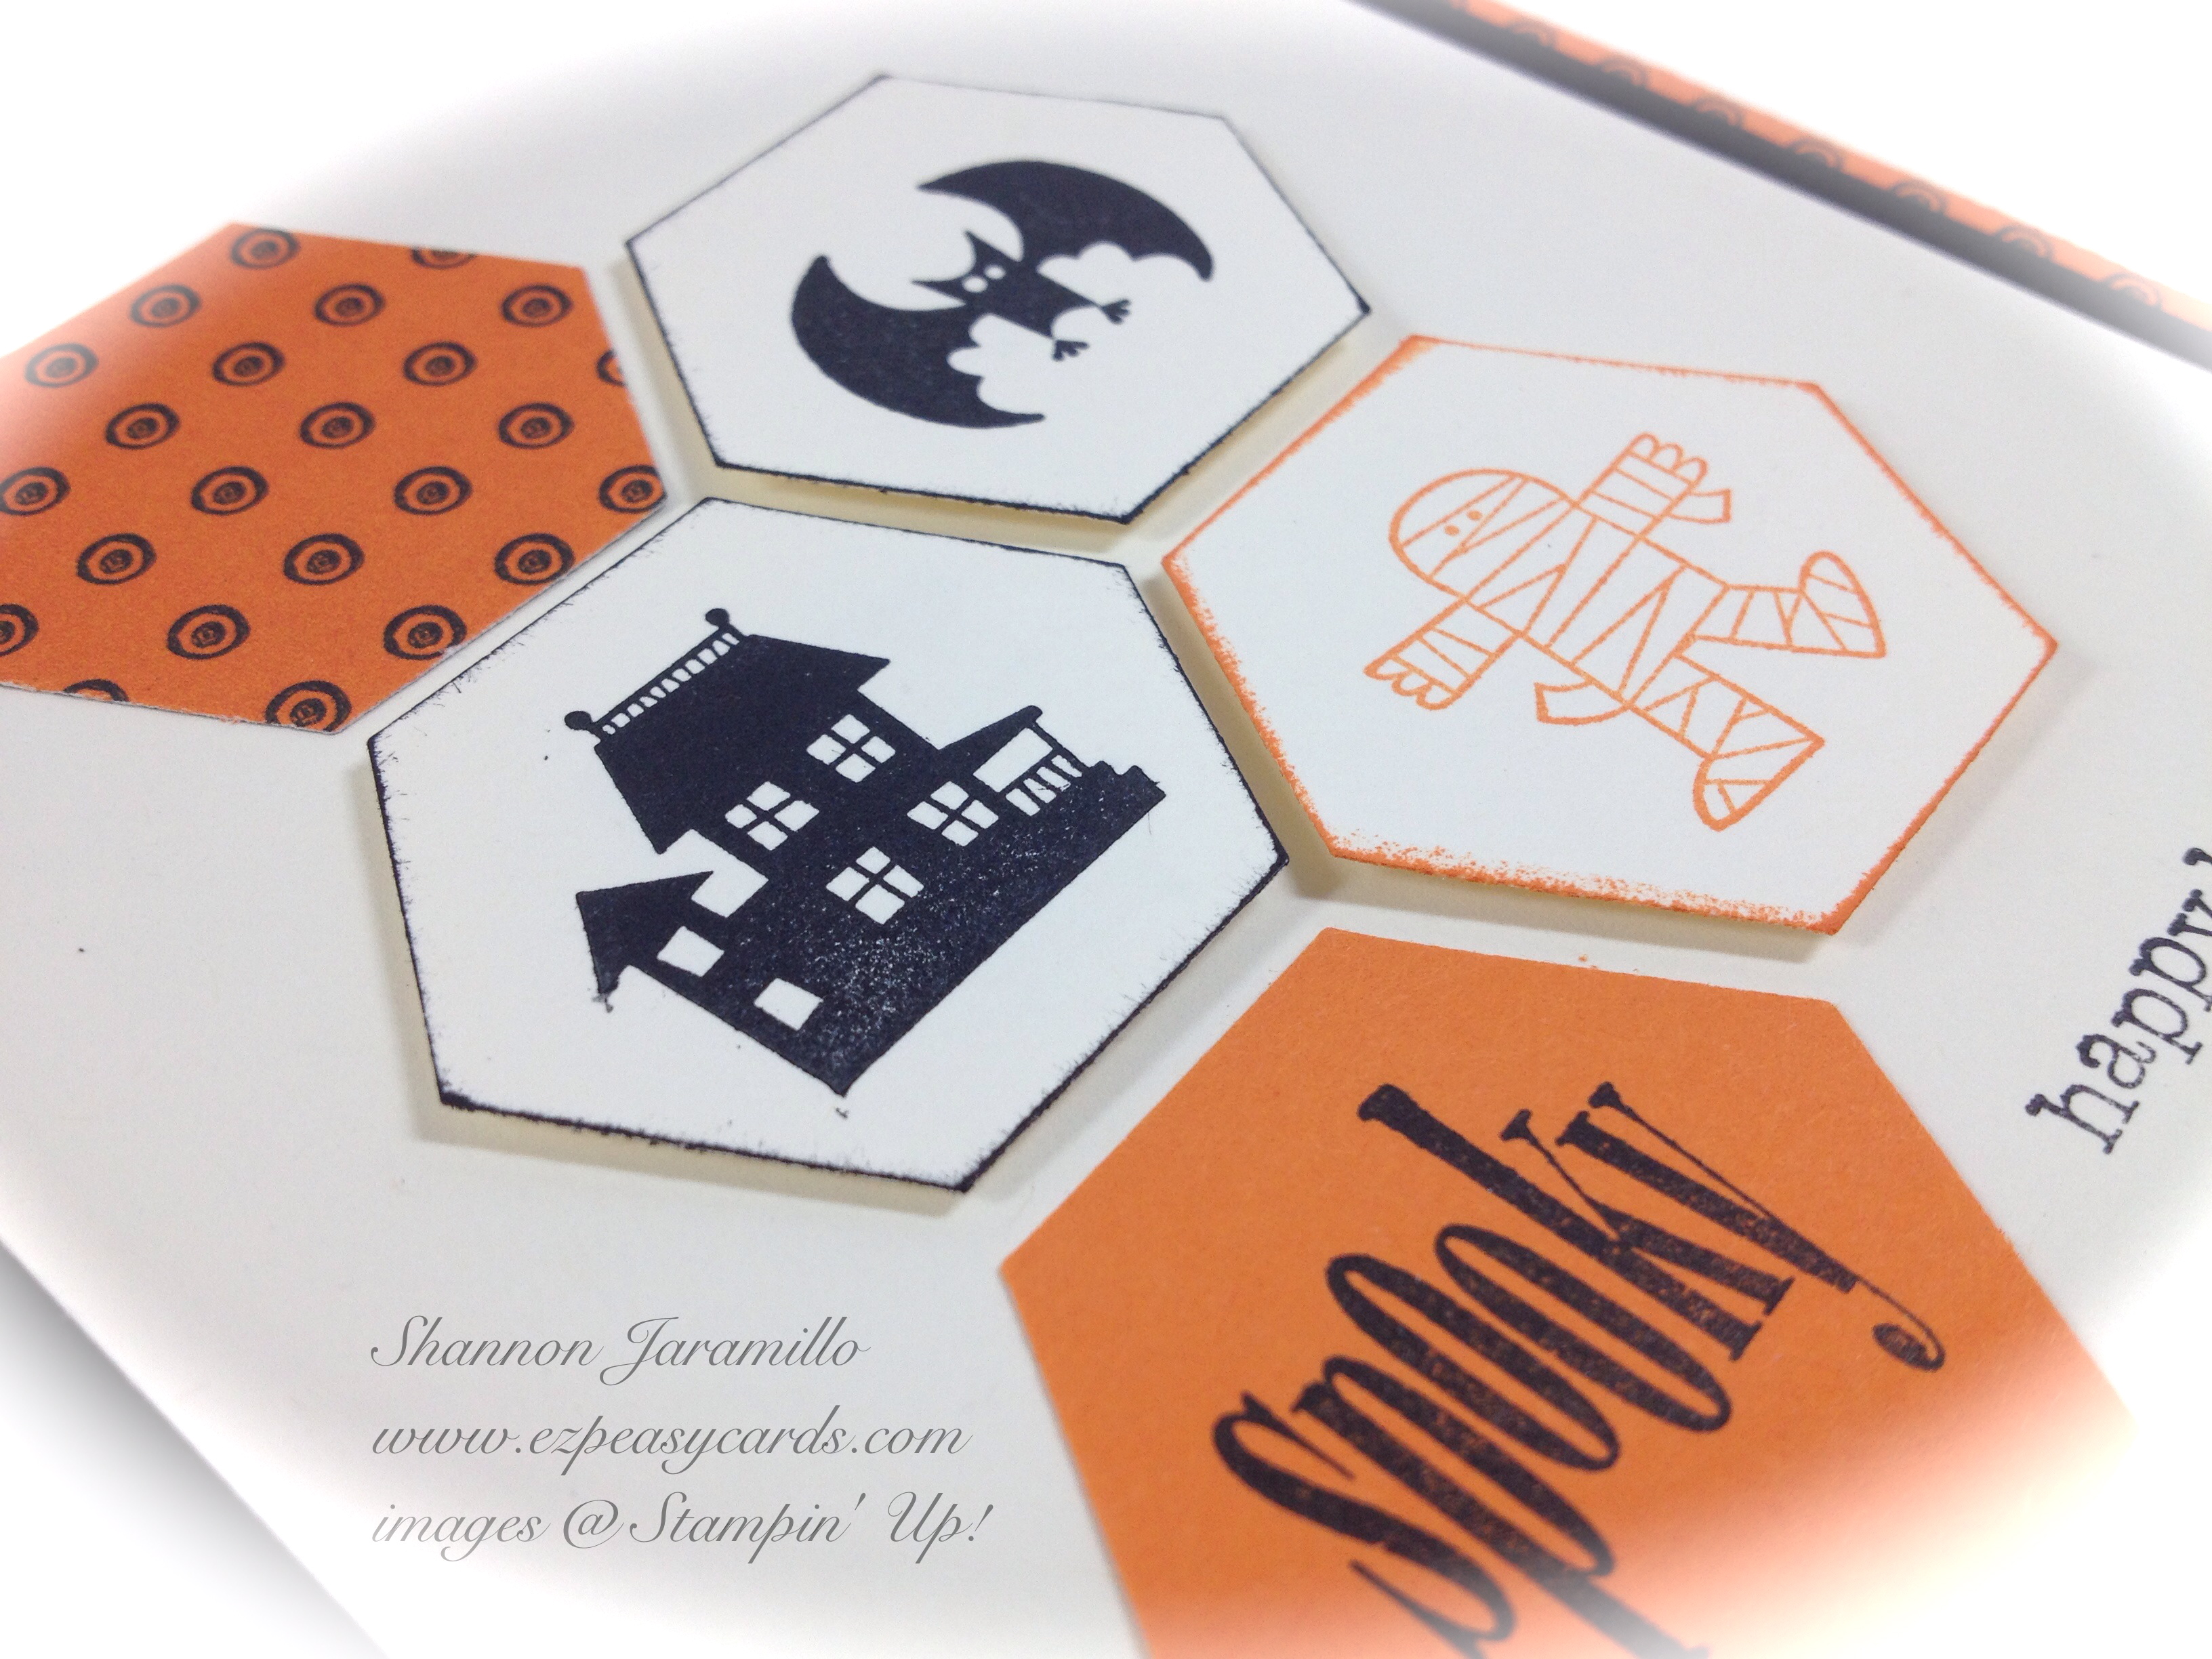
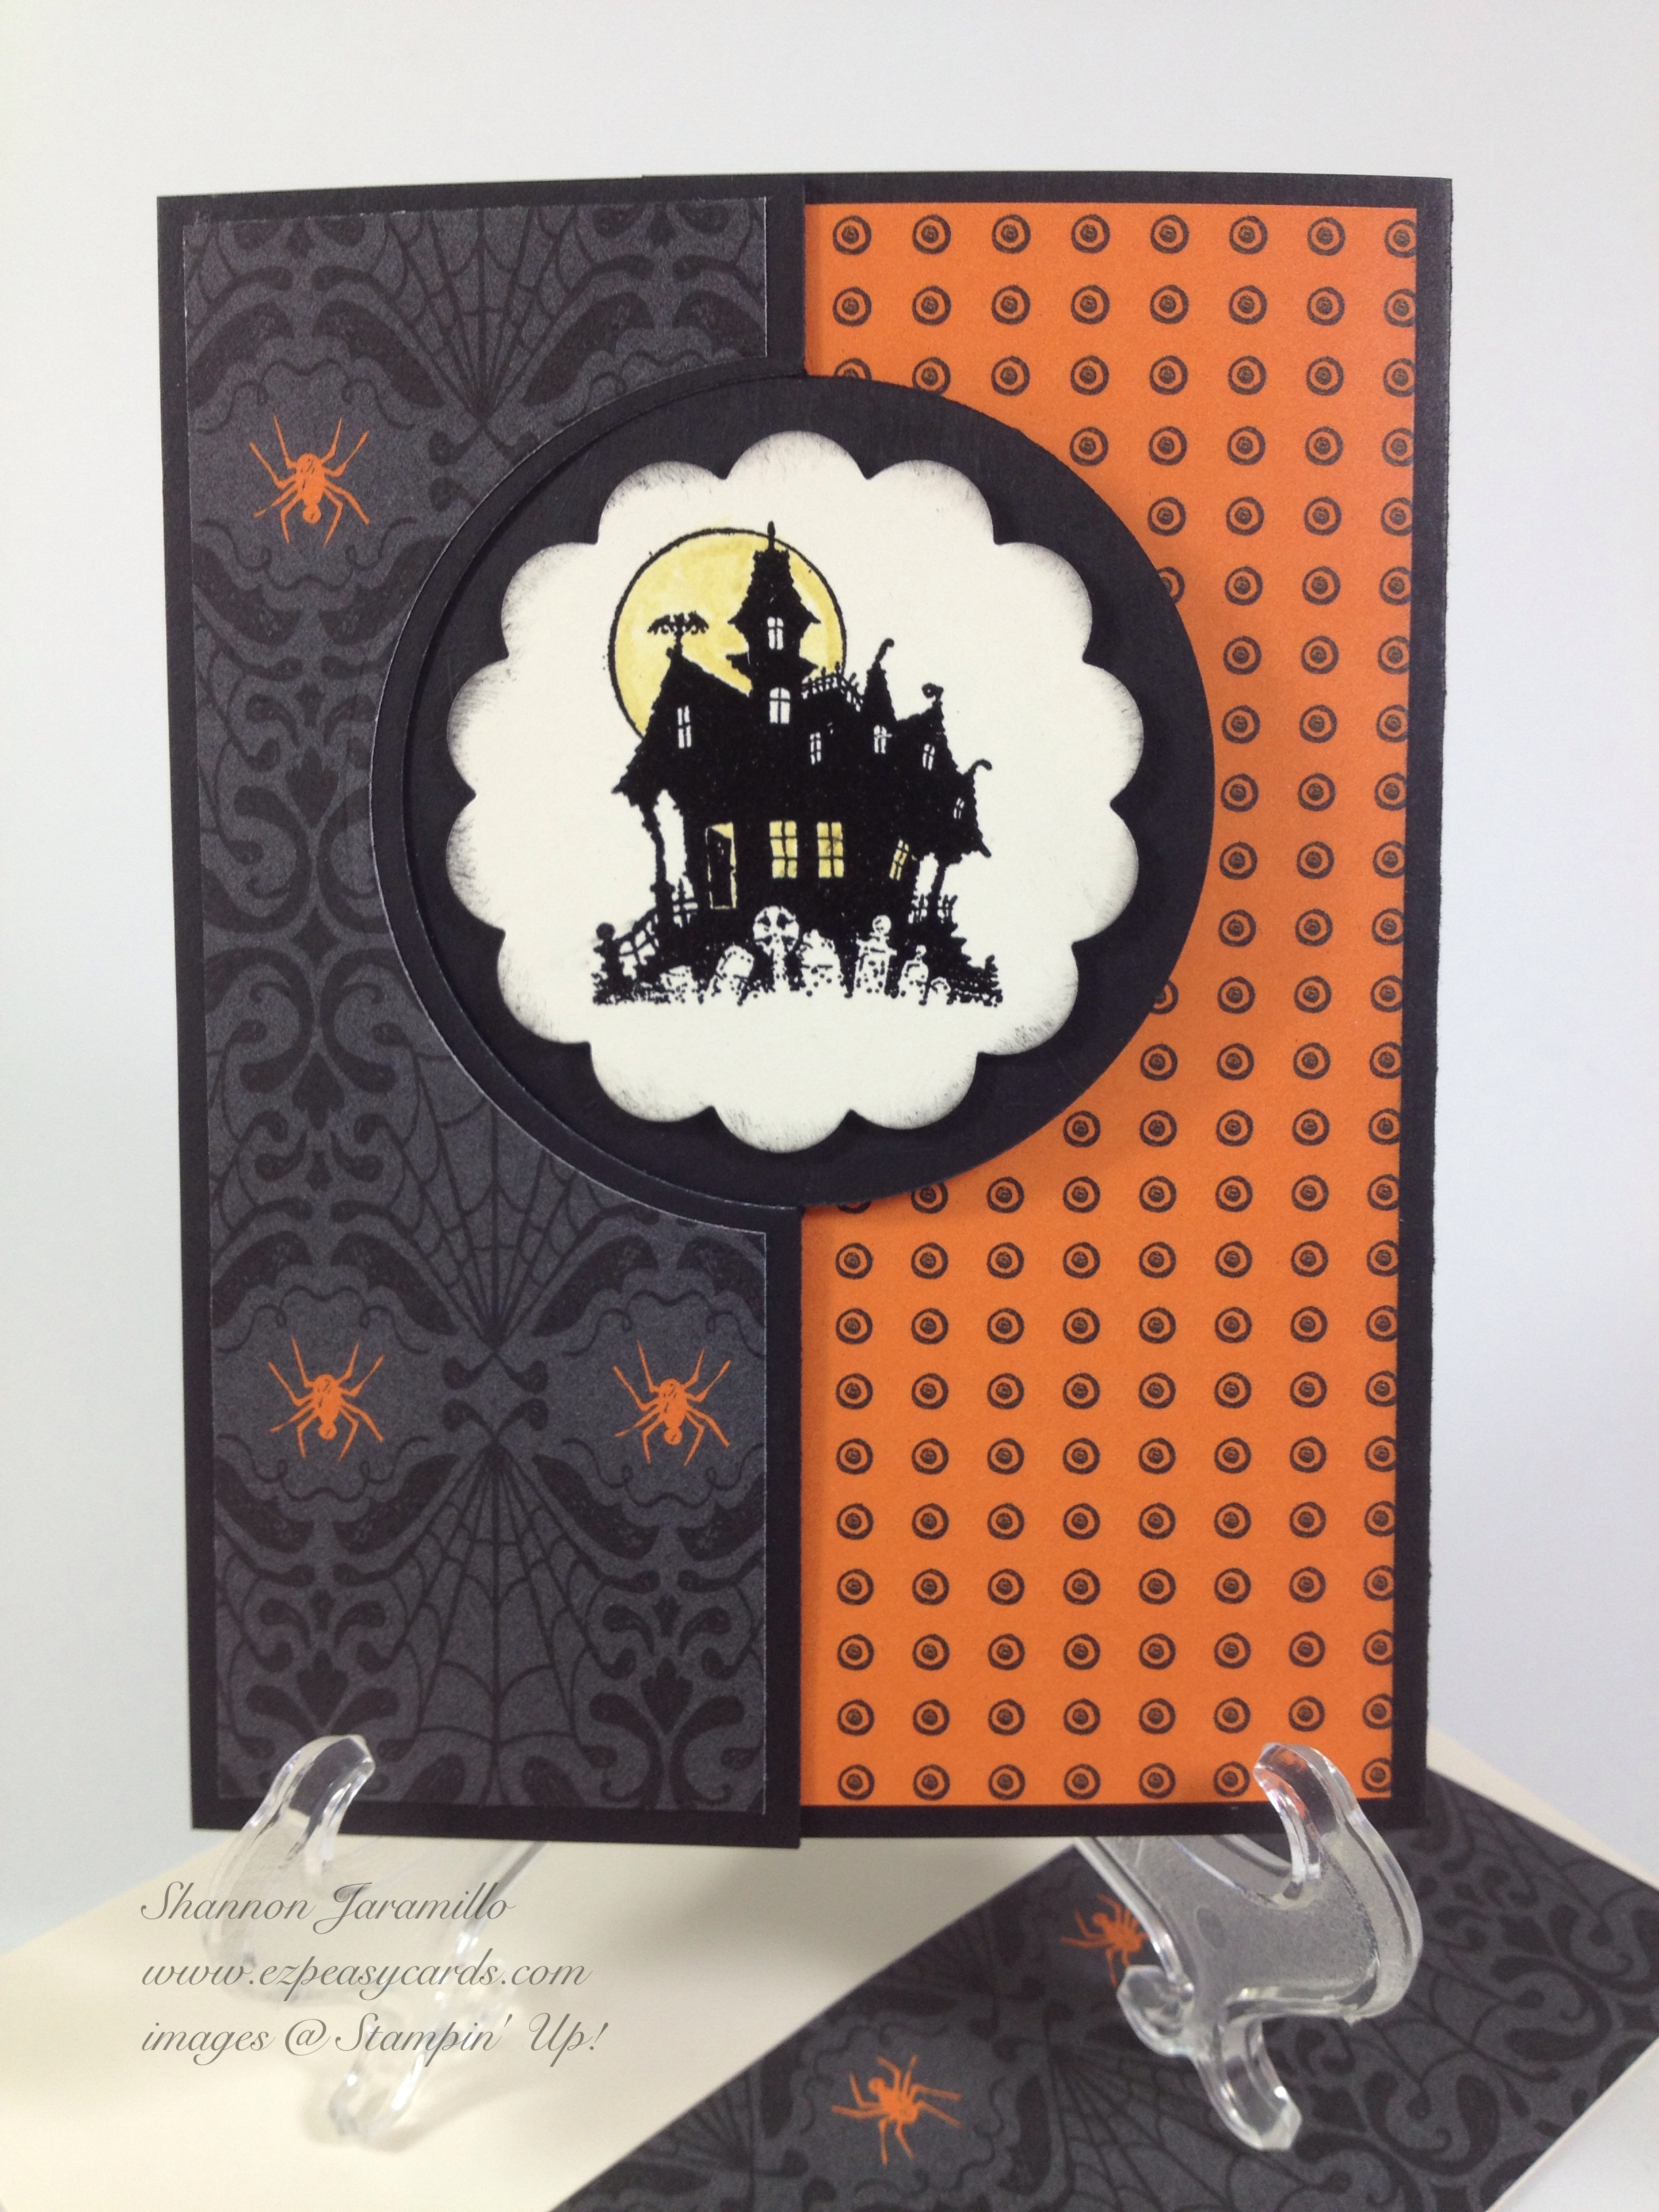
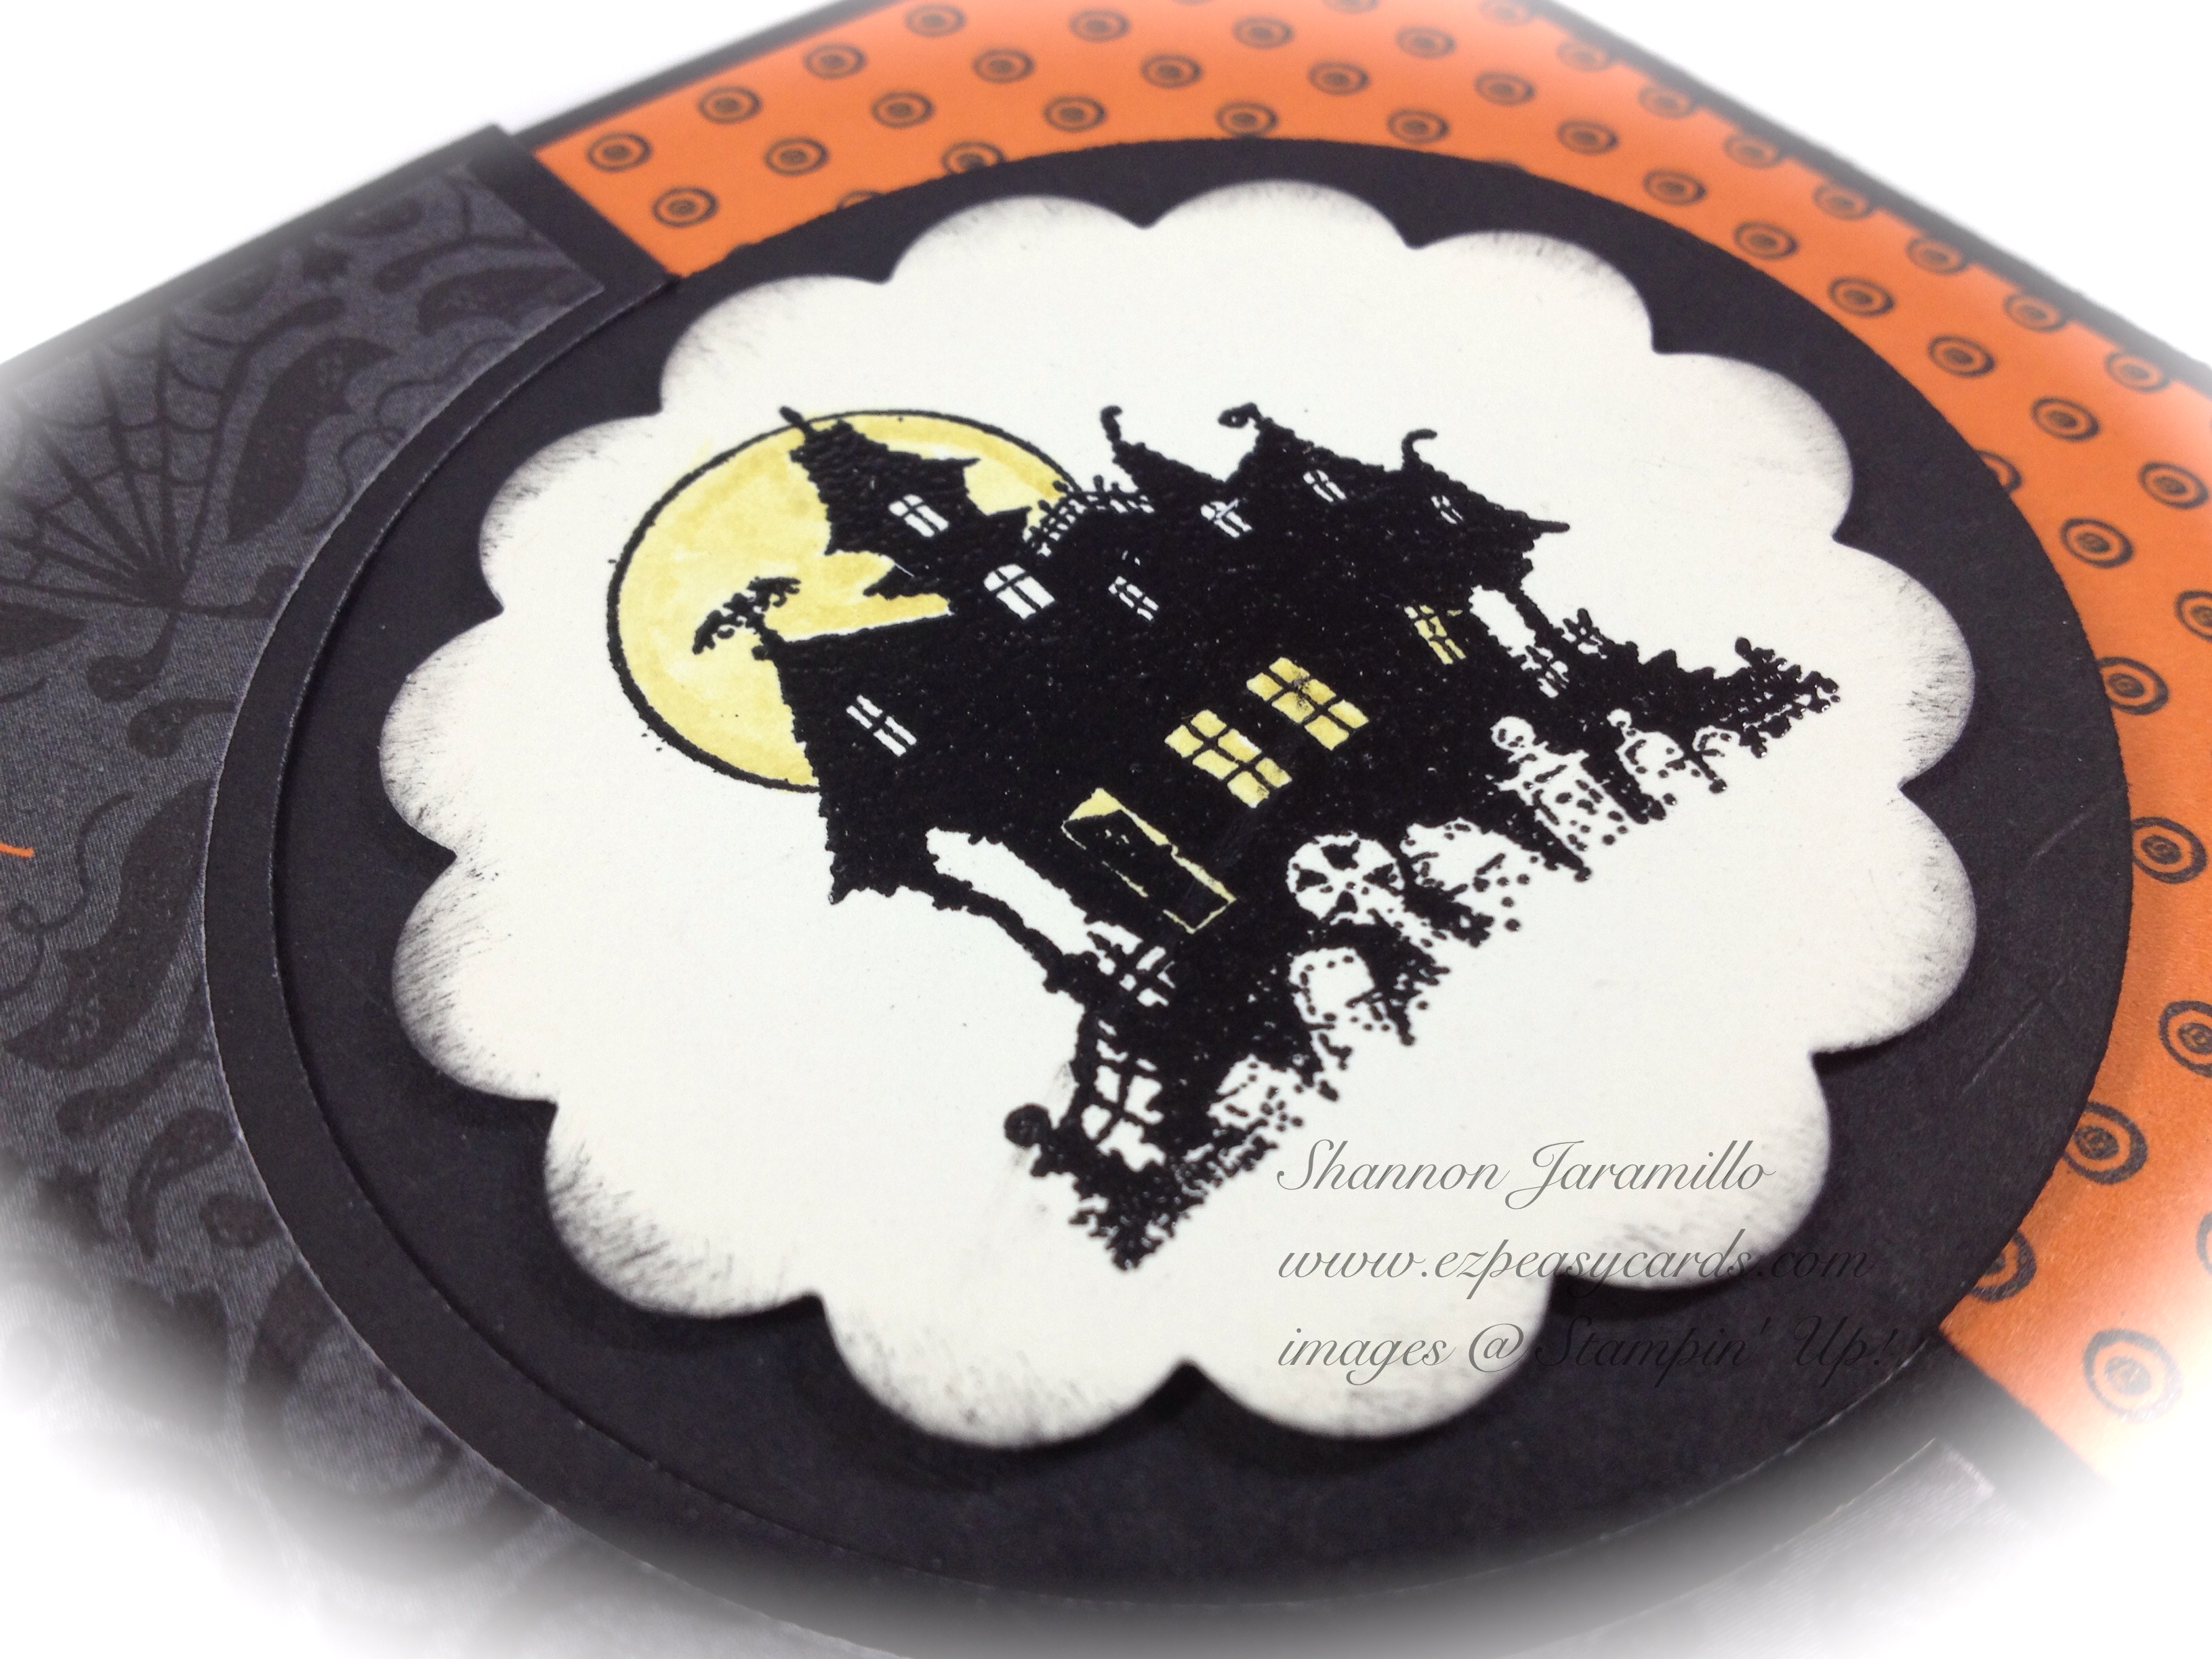 Isn't this haunted house fabulously creepy? It makes me think of the house in the Stephen King novel 'Salem's Lot...I'm just sayin! I embossed the image using black embossing powder and colored in the windows and the moon with a Blender Pen and my Summer Starfruit Stampin' Marker. It's really very easy to use a blender pen. Using the broad tip of the Stampin' Marker I scribbled some ink onto a Clear Mount Block (really). Then I just used my Blender Pen to pick up some of the ink and applied it to my card. That's it! The trick is to use a little bit of ink at first and add until you are satisfied. I also sponged black ink aound the edges of my scallop, which happens to be one of the dies included in the Circle Card Thinlits Dies, and done!
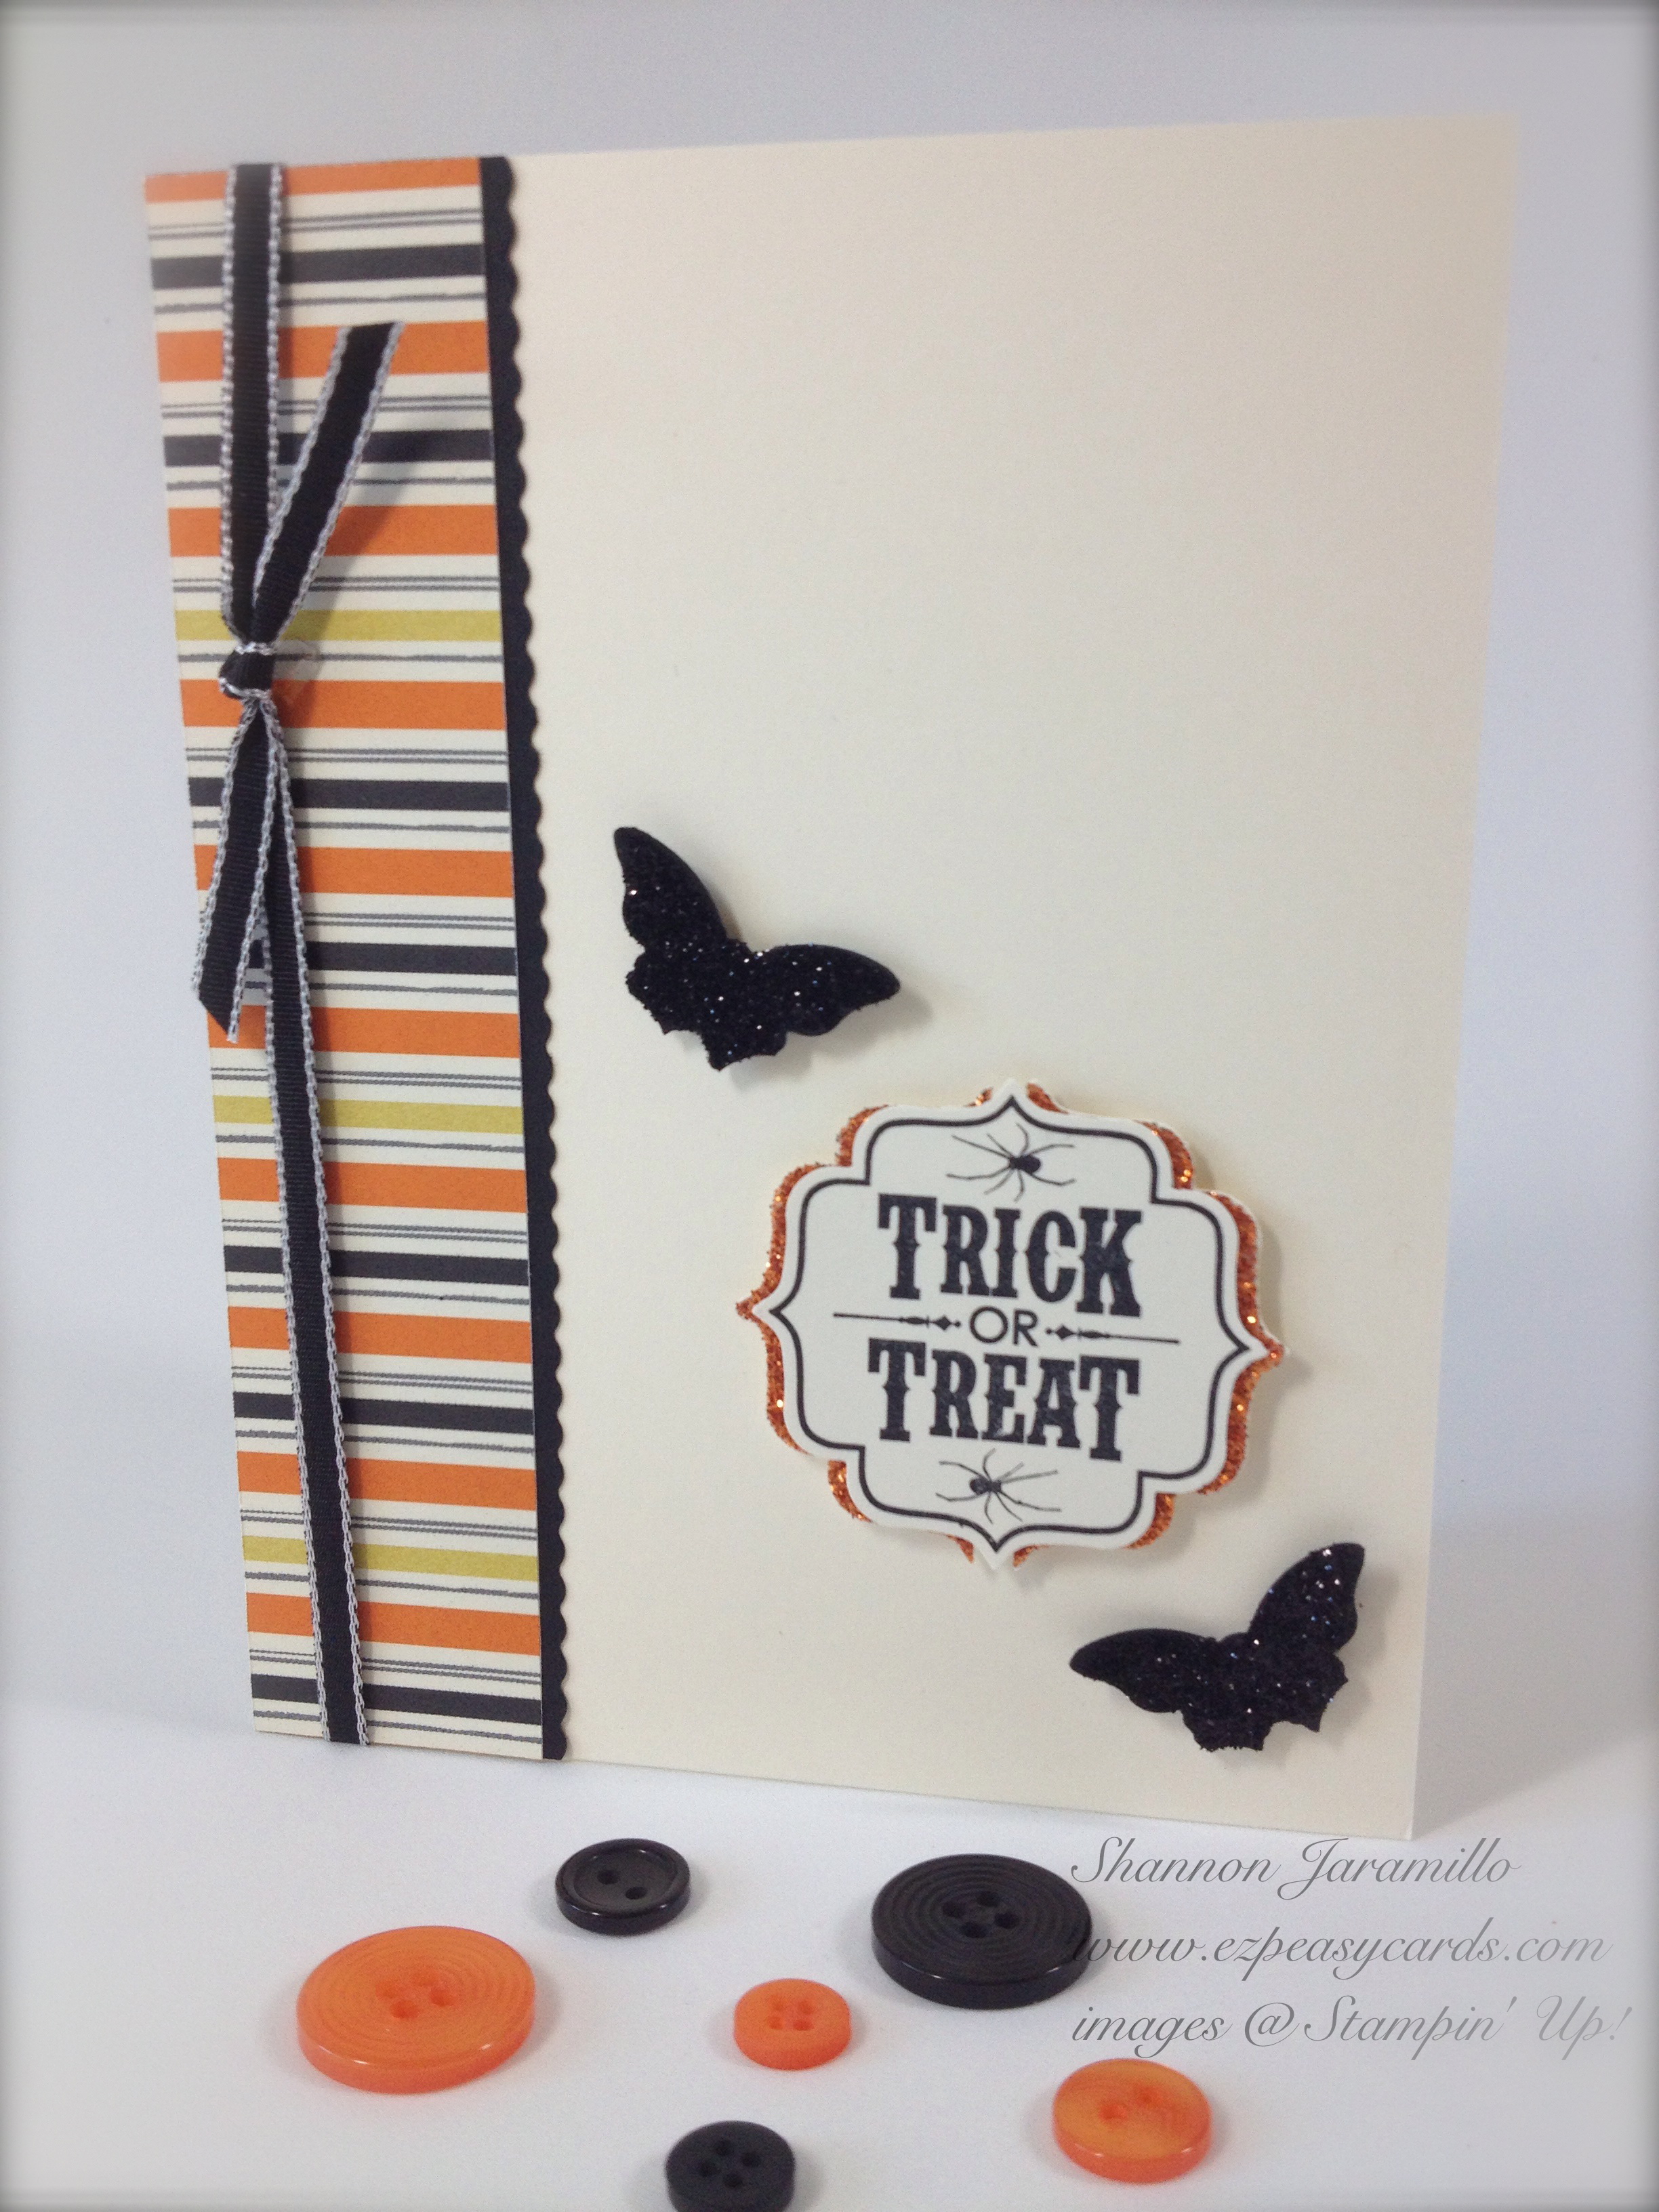
I hope you enjoyed today's post, I will be posting more Halloween cards so please stop back soon!
Stampin Supplies:
Stamps: Best of Halloween (134381)
Paper: Very Vanilla (101650), Basic Black (121045), Cardstock; Witches' Brew Designer Series Paper
Ink: Versamark (102283) Pad; Jet Black (101406) StazOn Ink Pad; Pumpkin Pie (126945) Classic Stampin' Pad; 2012-2014 (126856) Stampin' Write Markers
Tools: Big Shot (113439), Circle Card Thinlits Dies (133480), Black (109133) Stampin' Emboss Powder; Heat Tool (129053); Stampin' Trimmer (126889), Stamp-A-Ma-Jig (101049), Blender Pen (102845); Stampin' Dimensionals (104430)
Embellishments: None
Thanks for stopping by!