Yippee-Skippee Birthday - Freshly Made Sketches #90

Follow Me on Pinterest

Carbs, Schmarbs is right! You only have a birthday once a year...so EAT THE CAKE! I love it! 

For this cheerful greeting card, I started with a wonderfully clean and simple layout created for the challenge this week by Linda C over at Freshly Made Sketches:

I built up the layers on this card using designer series paper and white space with a bit of paper-piercing to balance the two sides out, and then simply alternated the pattern with the next layer. I purposely chose bright and cheerful but fairly neutral patterns to compliment, rather than compete with, the stamped focal images.

This delightful birthday cake is courtesy of the Birthday Cake stamp set while the sentiment is part of the Yippee-Skippee! stamp set...how could you not like it with a name like that? I used markers to ink up both stamps. I like the combination of Delightful Daffodll and Melon Mambo with just a pop of Tempting Turquoise...along with the simple use of bright cardstock and Stampin' Dimensionals to define each layer. 

And of course, the jewelry! Pictures never do justice to the sparkle of the rhinestones, they just shimmer and catch the light and of course are the star of this card! The card just needed a little extra something and my handy dandy candy dots filled the bill perfectly!

Comments feed my creative soul, so if you are so moved, please leave a comment and let me know what you think!

Stampin Supplies:

Stamps: Birthday Cake (130390), Yippee-Skippee! (131344)

Paper: Whisper White (100730), Melon Mambo (115320), Daffodil Delight (119683) Cardstock; Quatrefancy Speciality (130141), Gingham Garden (129310) Designer Series Paper

Ink: Brights Collection (131259), Neutrals Collection (131261) Stampin' Write Markers (Melon Mambo, Daffodil Delight, Tempting Turquoise, Smoky Slate, Basic Gray)

Tools: Stampin' Trimmer (126889), Essentials Paper-Piercing Pack (126187), Stampin' Pierce Mat (126199), Paper-Piercing Tool (126189)

Embellishments: Rhinestone Basic Jewels (119246), Brights Candy Dots (130931)

Thanks for stopping by! 

June Pals Blog Hop - Stepping It Up with Gifts of Kindness

Follow Me on Pinterest

Wow! Isn't the Pals Blog Hop Badge darling? Thank you to Nicole Watt for creating both the badge and buttons for our blog hop as well as featuring a new My Digital Studio download called On Holiday and on sale as part of the 25% of MDS sale through June 15th!

Thank you for joining us for the June Pals Blog Hop and our kickoff to the new catalog! Are you ready to see wonderful creations featuring new products from the 2013-14 Stampin' Up! catalog? Get ready to update your wishlist! 

You should have just left stop number 8 on the Pals Hop - Angie Blake. If so, you are in the right spot.  If you get off track, the full blog lineup below will help you move along from blog to blog so you see all of the amazing creations.

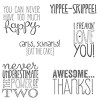
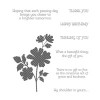
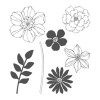
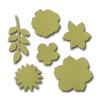
Today I would like to show you how you can start to create beautiful projects with just a few basic supplies and then, as your supplies increase, you can step it up! The stamp set I will be showcasing today is Gifts of Kindness. This is a wonderful starter set because it comes with everything you will need to make the three most commonly created cards: birthday, thank you, and thinking of you.

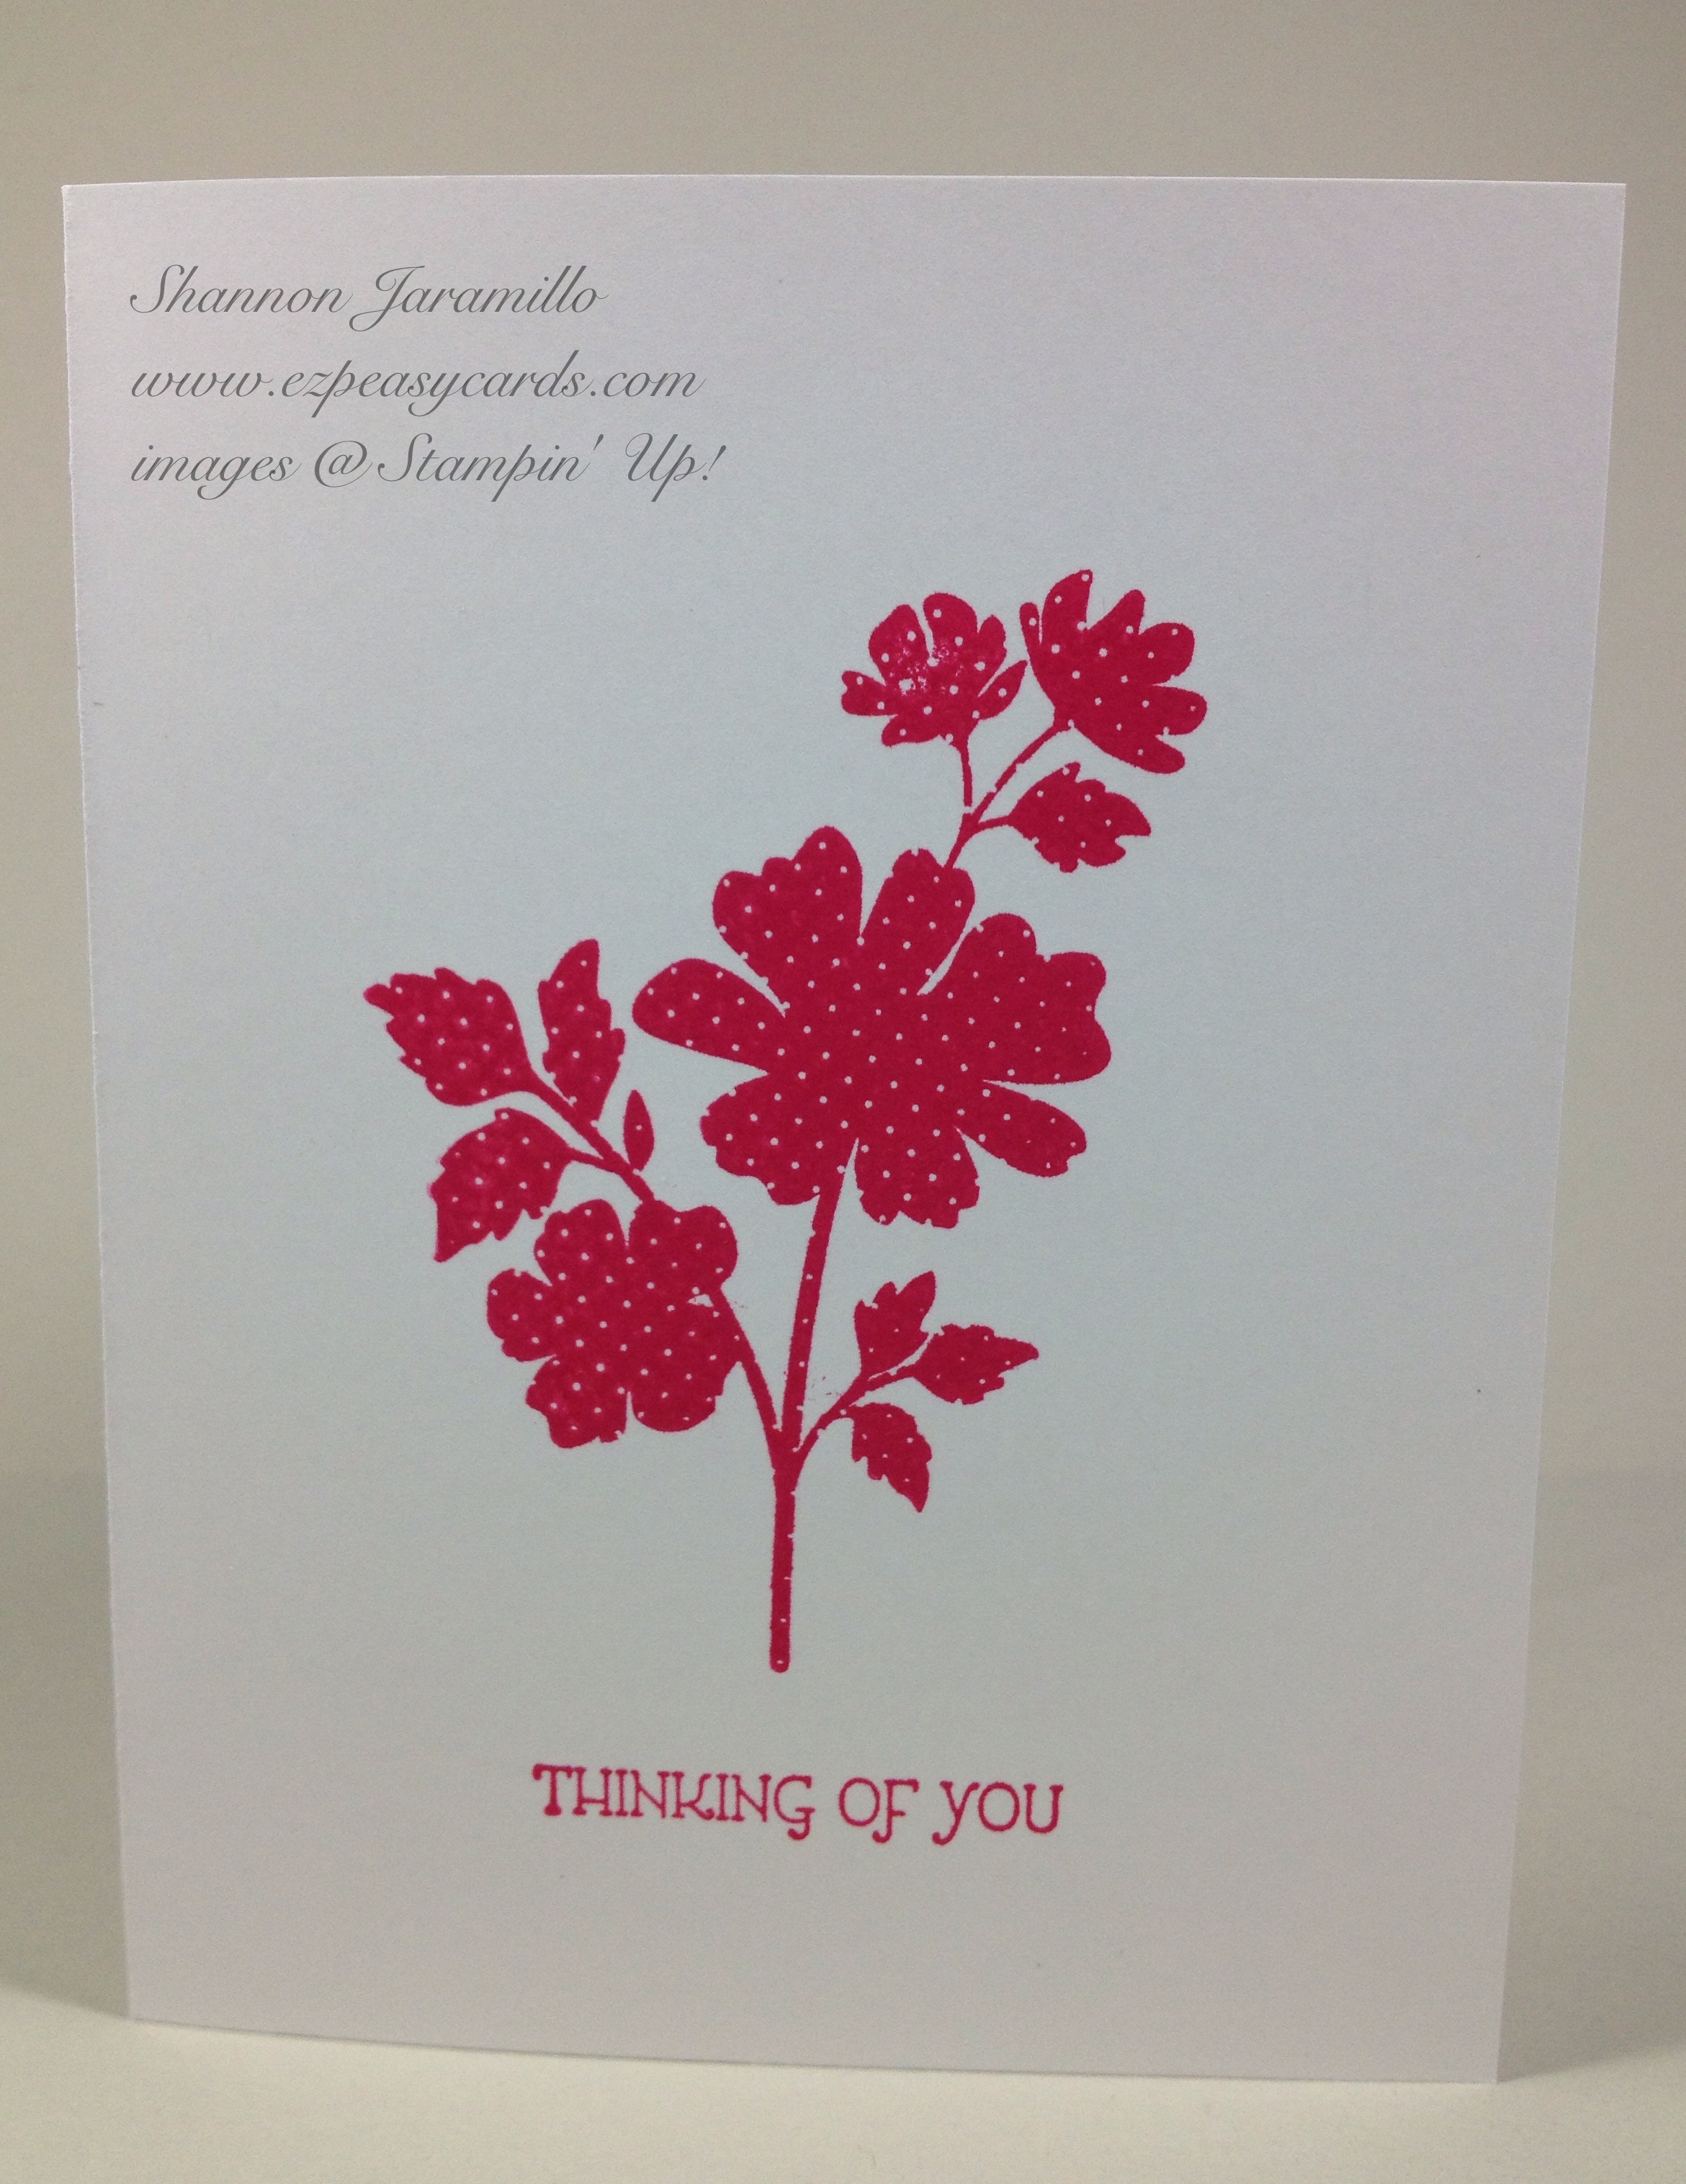
This first card is a perfect clean and simple (CAS) card. The only products required to make it are:

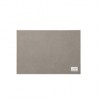
  • Whisper White cardstock - one sheet of 8 1/2" x 11", trimmed to 5 1/2" x 8 1/2" and folded in half
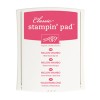
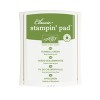
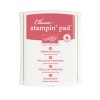
  • Melon Mambo Ink Pad
  • Gifts of Kindness Stamp Set in wood mount

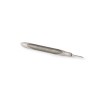
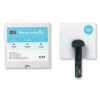
If you can afford it, I would suggest purchasing the Stamp-a-ma-jig to help you create stamped images that are straight, but it is not necessary. A Stampin' Trimmer is also helpful for creating clean straight cuts. If you have a bit of ribbon, a simple knot at them stem of the flower would be a nice optional additional touch.

Stepping it Up:

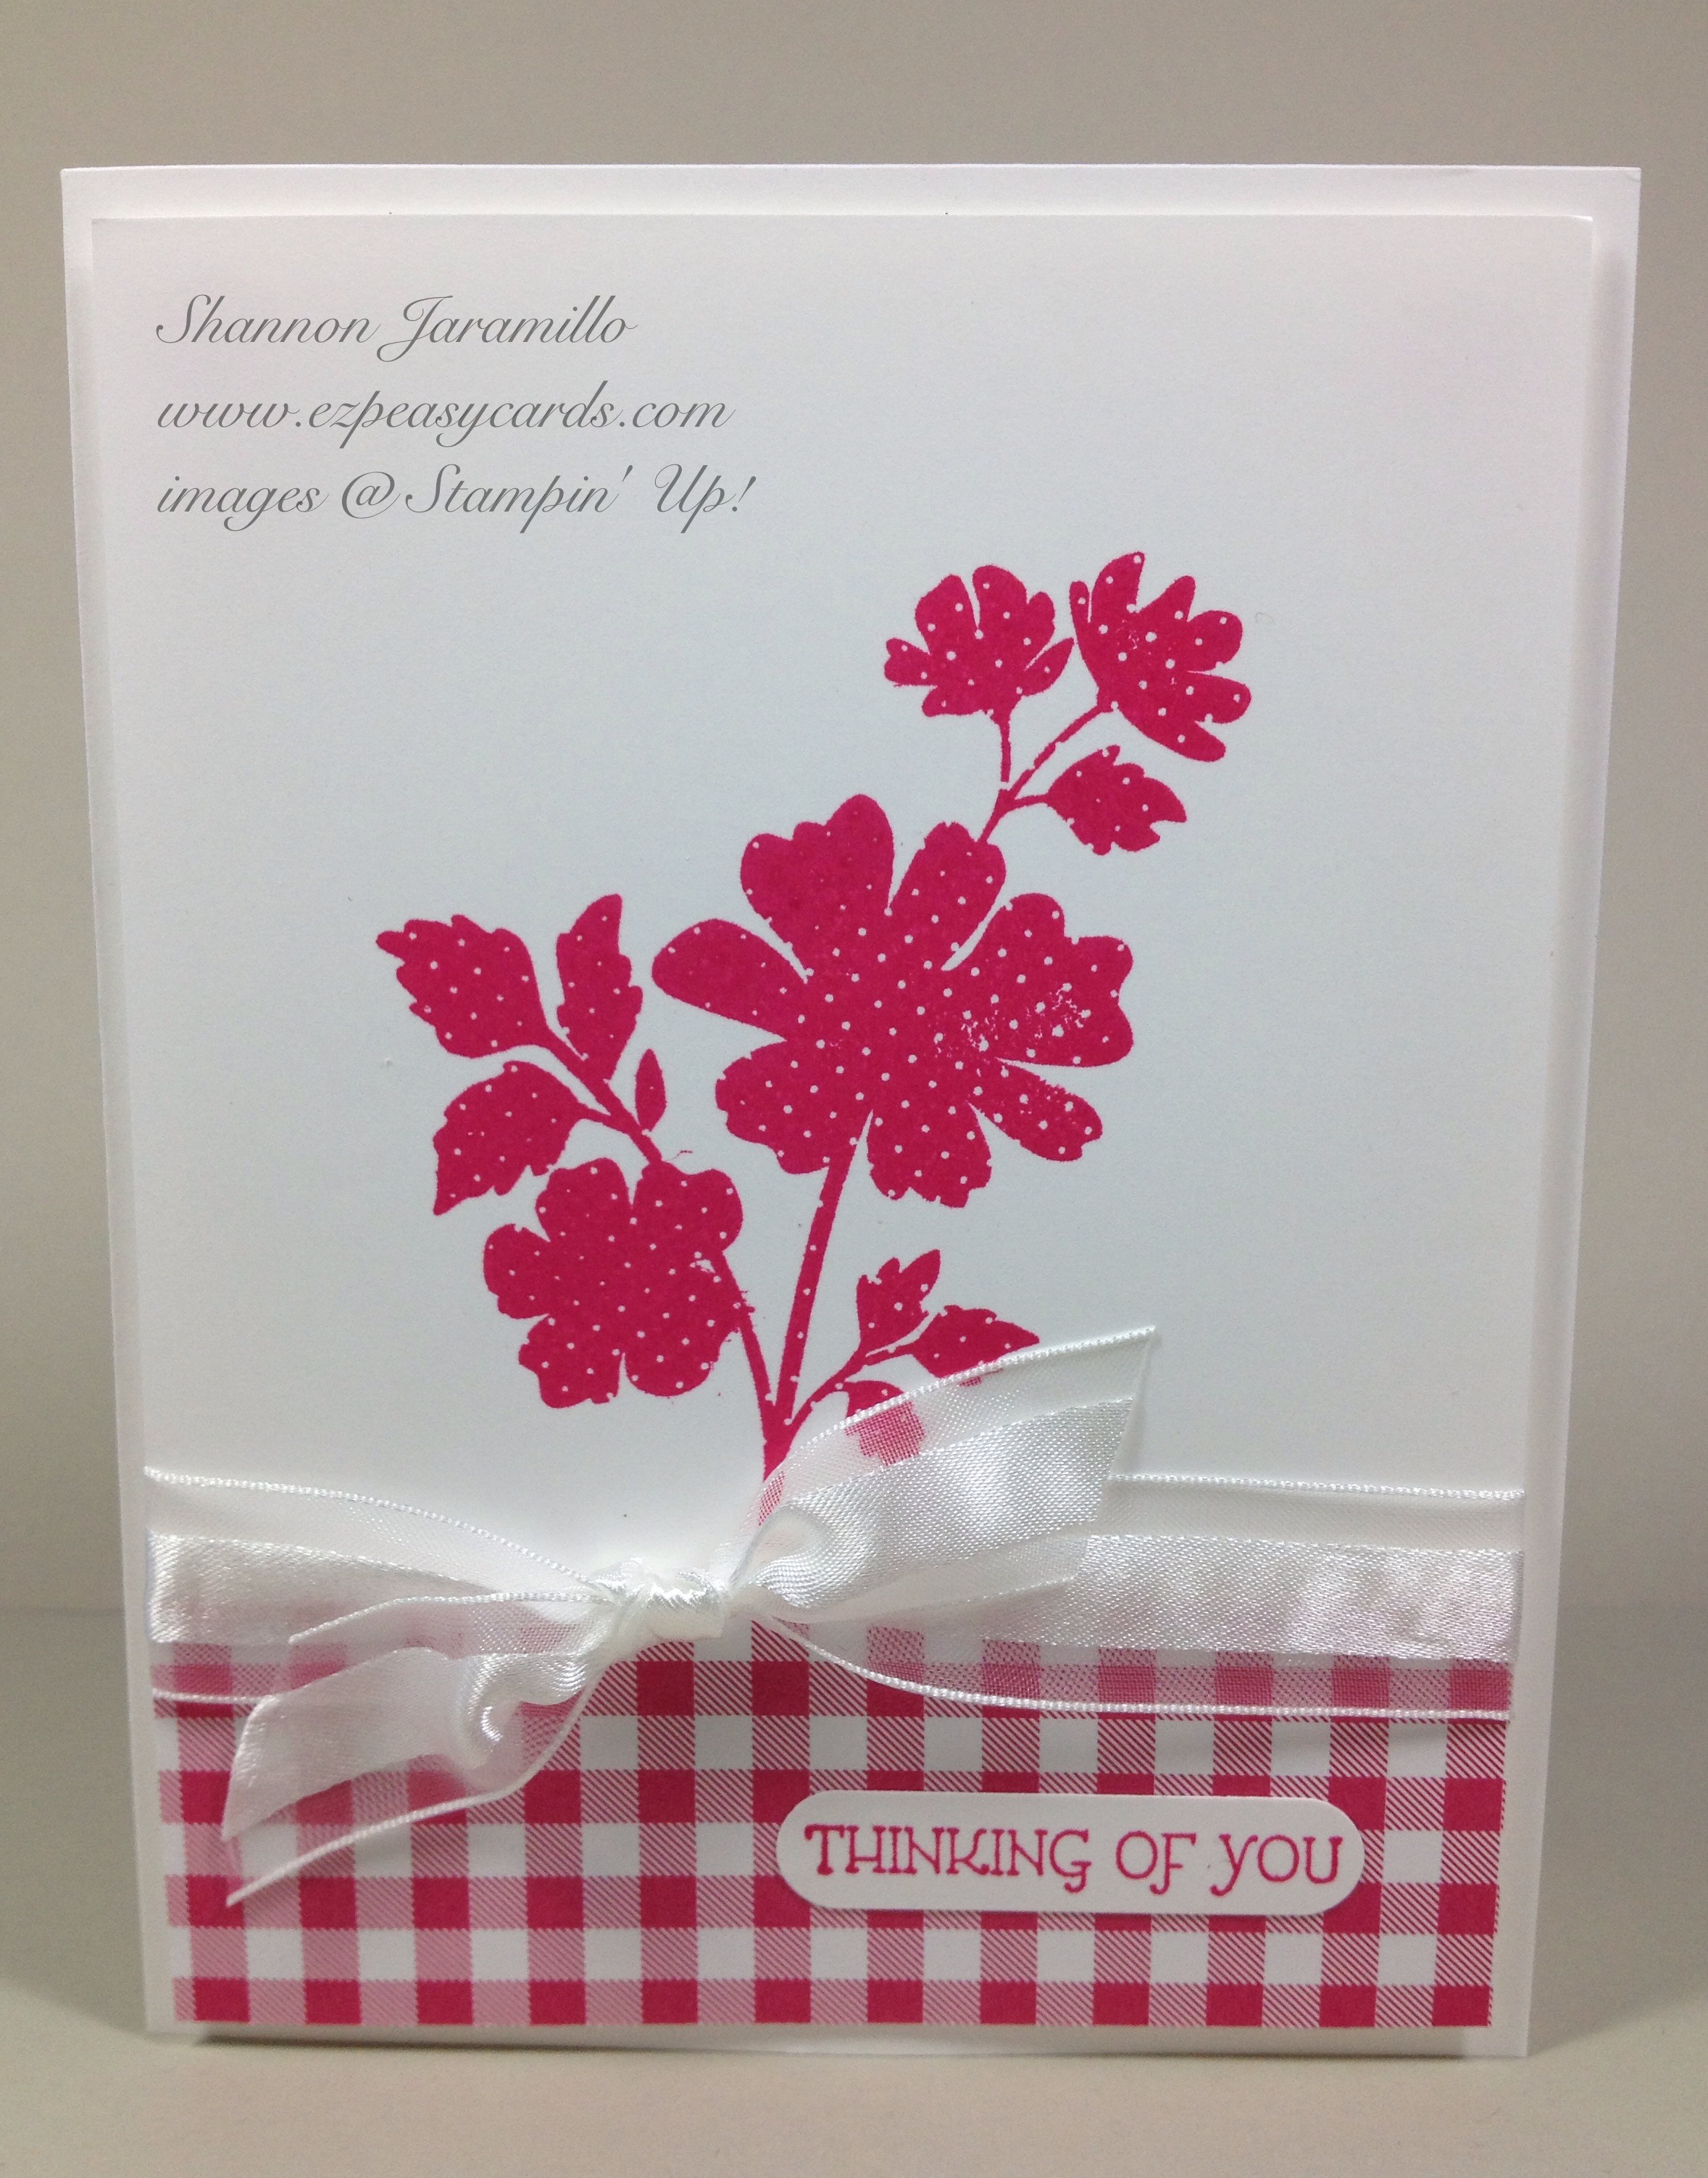
Here I have used the products listed above but added a few more:

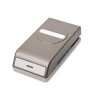
I love the thought that goes into Stampin' Up! products, they create images and sentiments that are made specifically for their punches! I used the longest sentiment in this set to demonstrate that all the sentiments can be punched with the Word Window Punch.

If you don't own this particular punch, another option would be to stamp the sentiment onto a scrap piece of Whisper White card stock and create a banner to attach to the card. You could also use the Gingham Stampin' Wheel in place of Designer Series Paper.

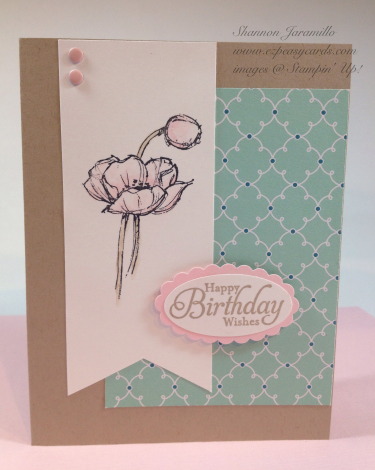
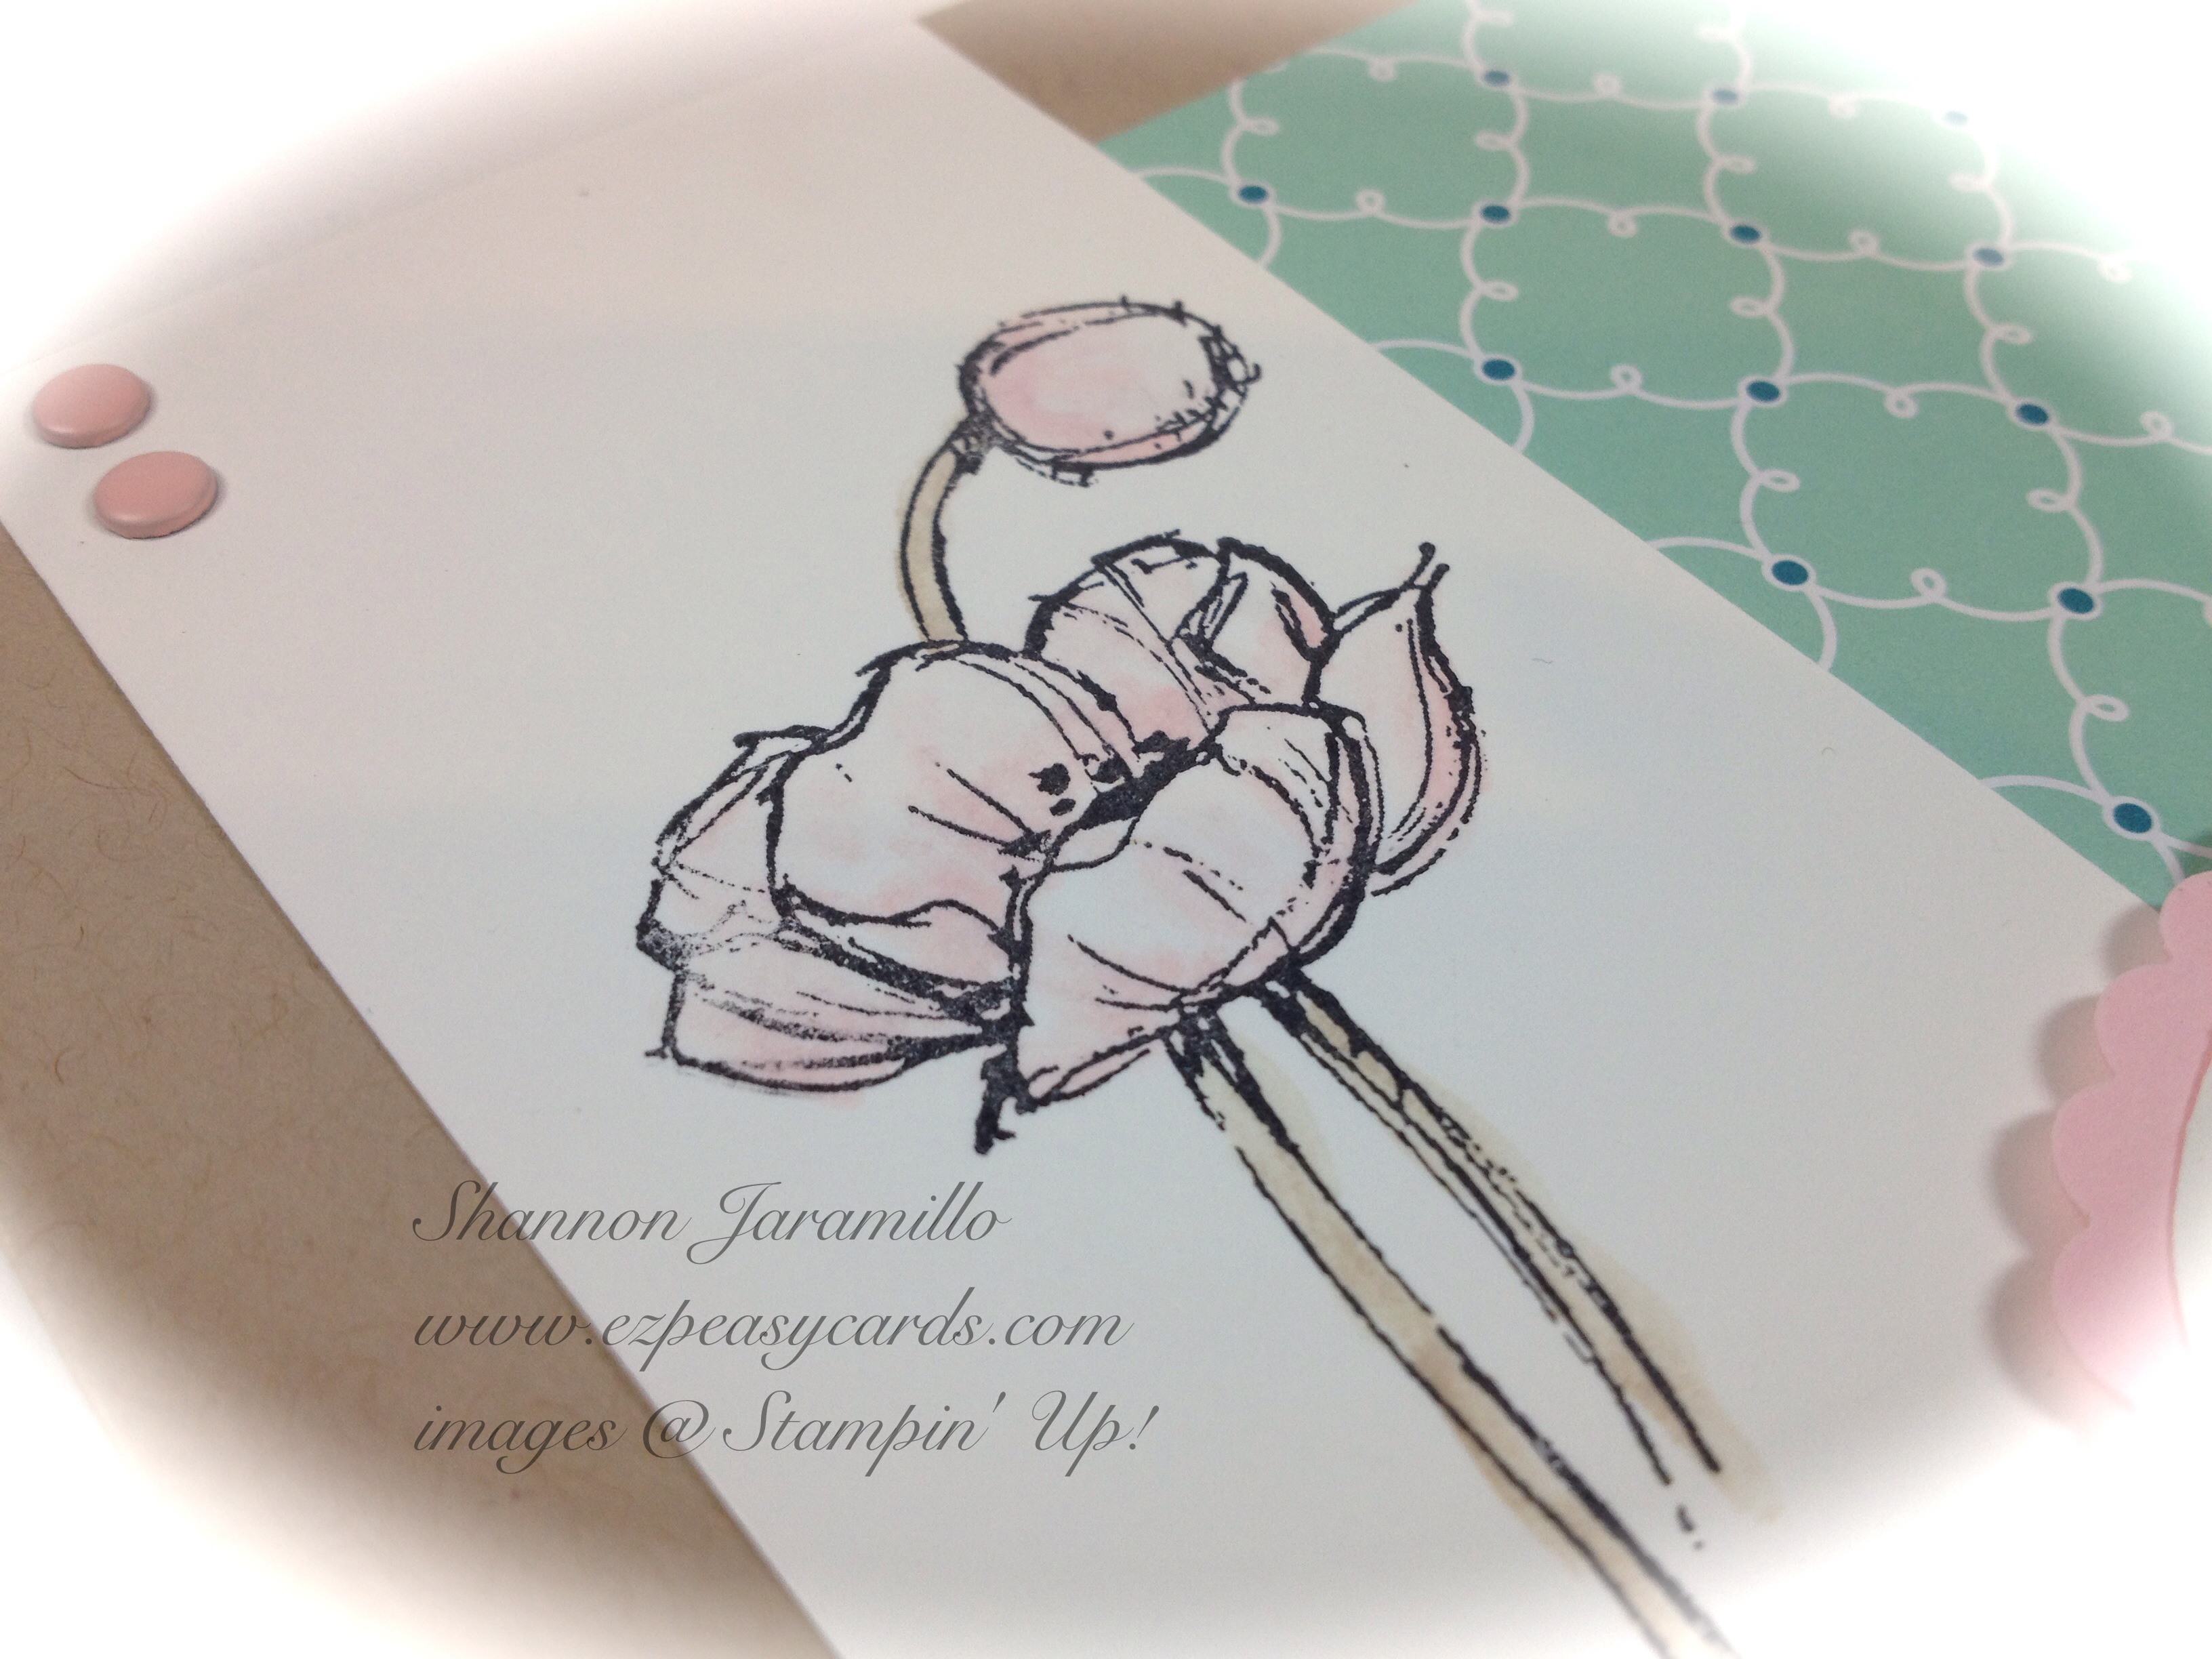
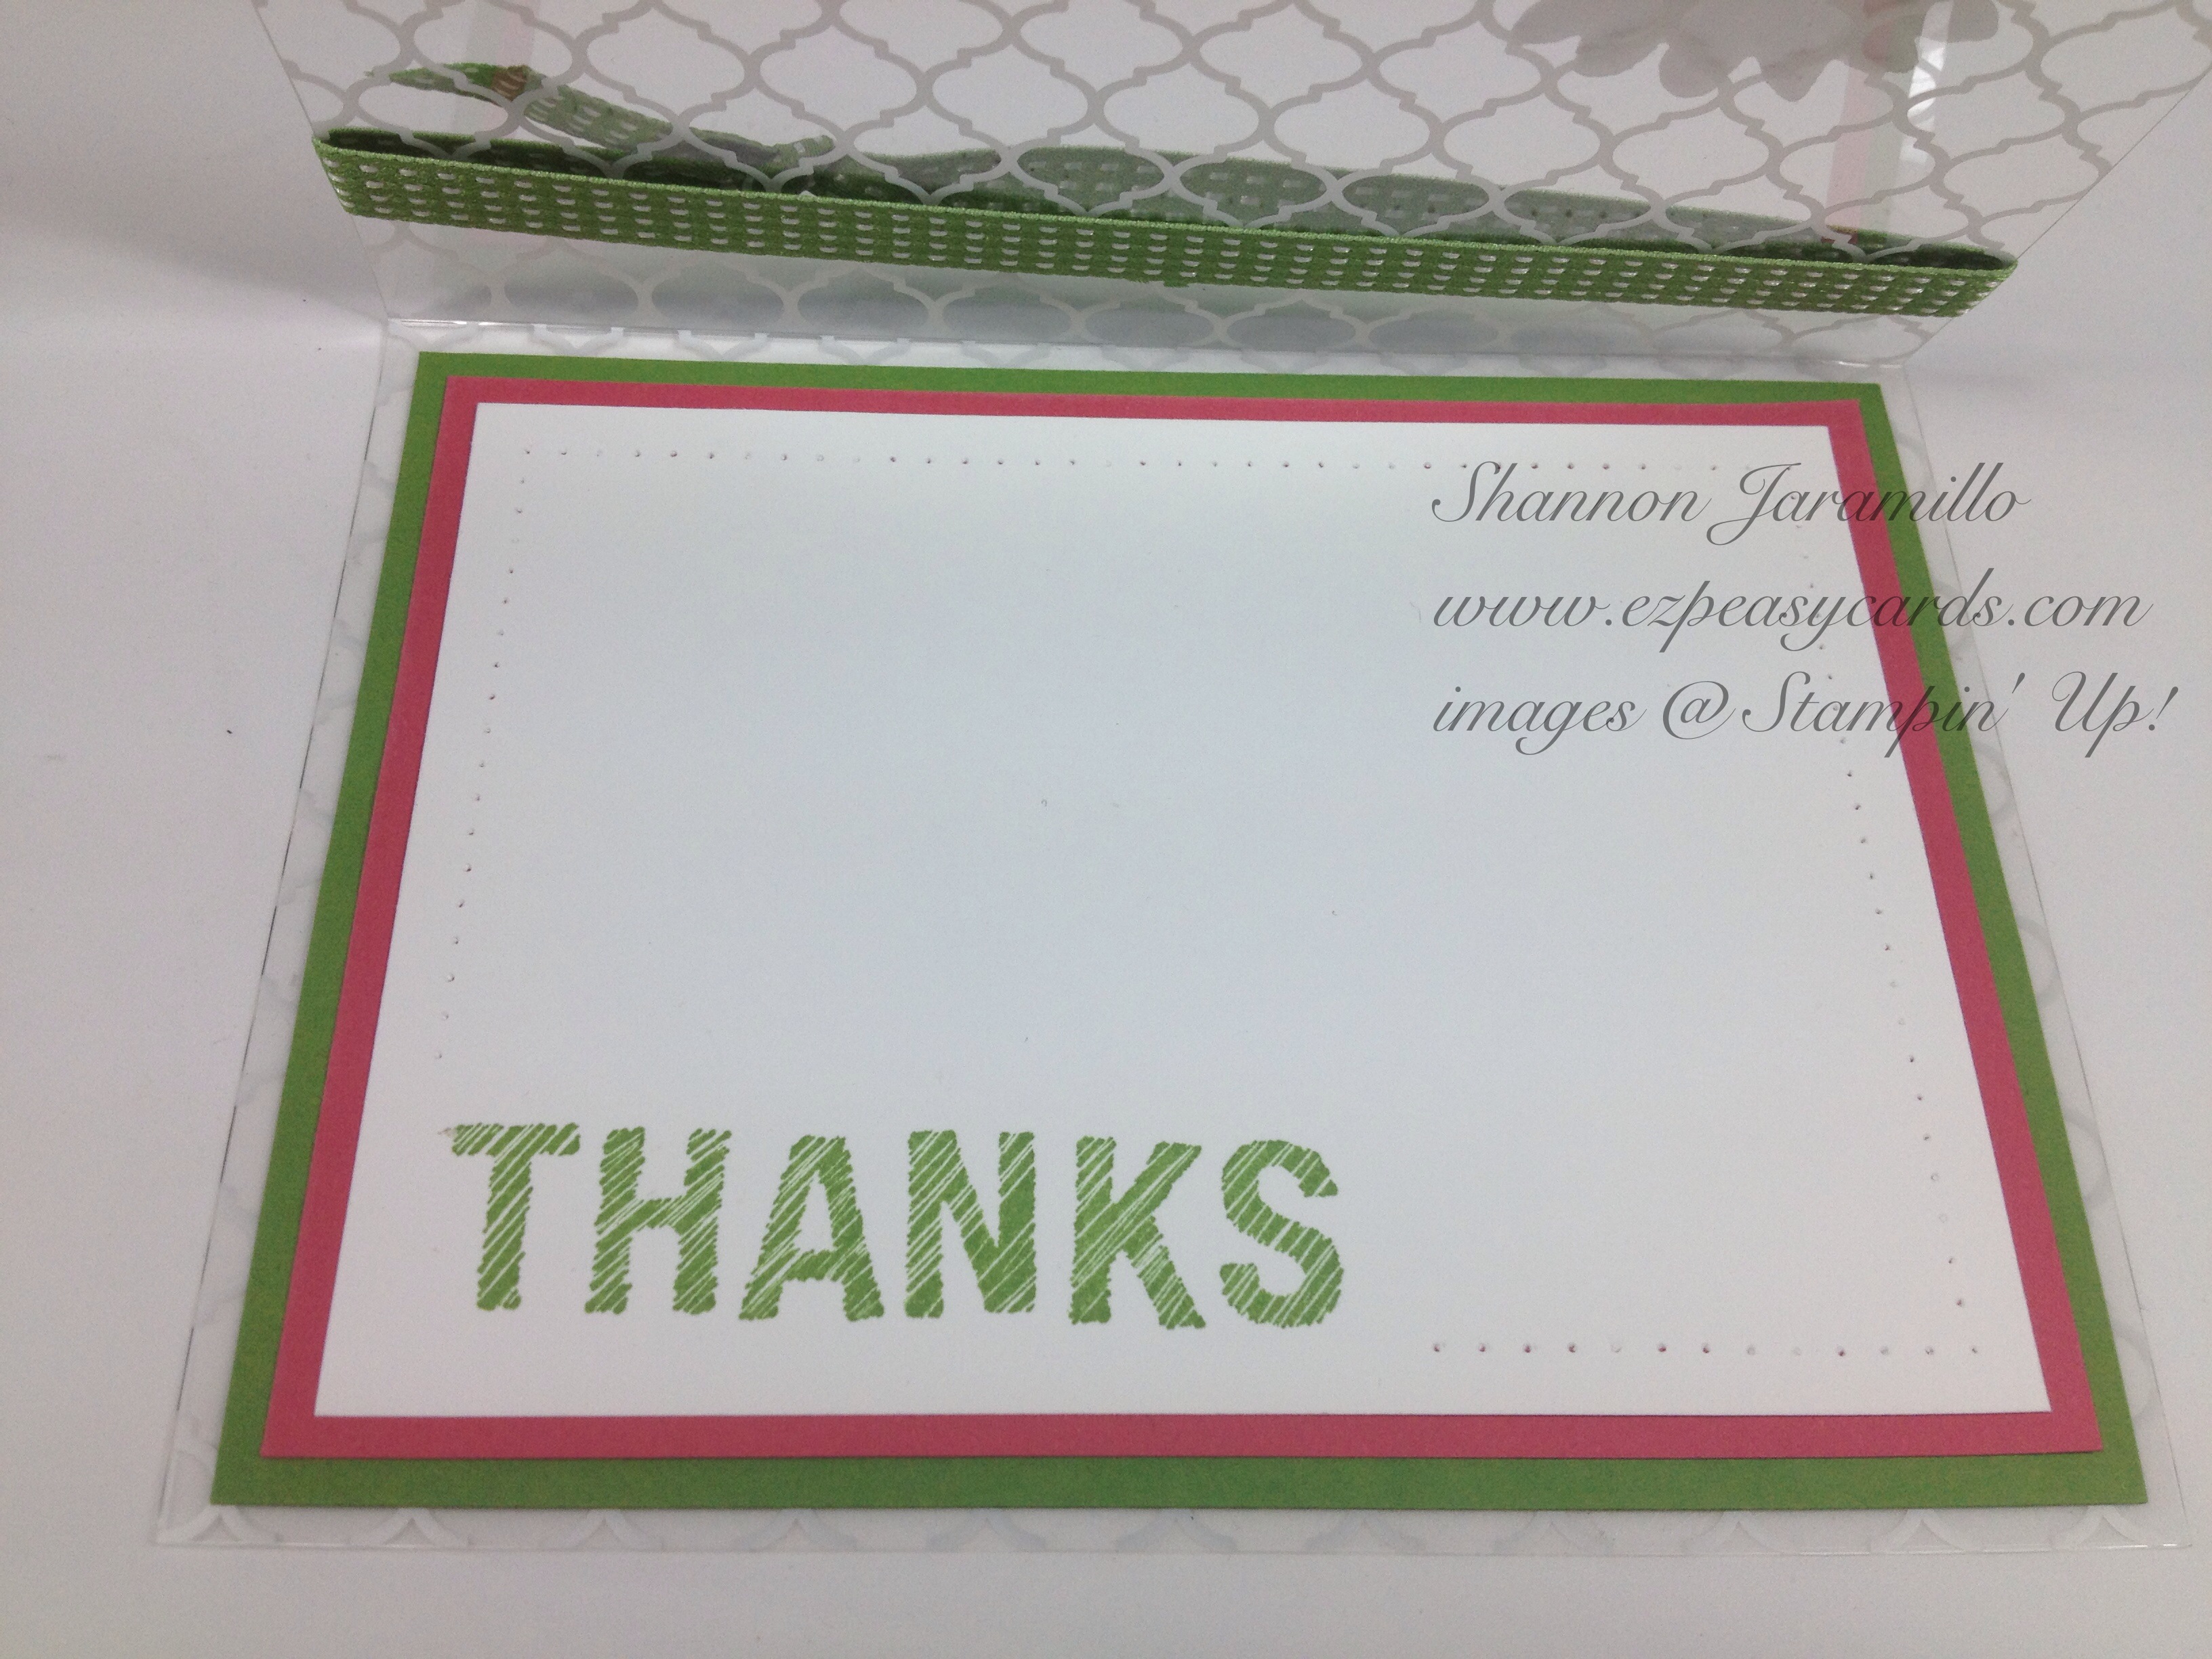
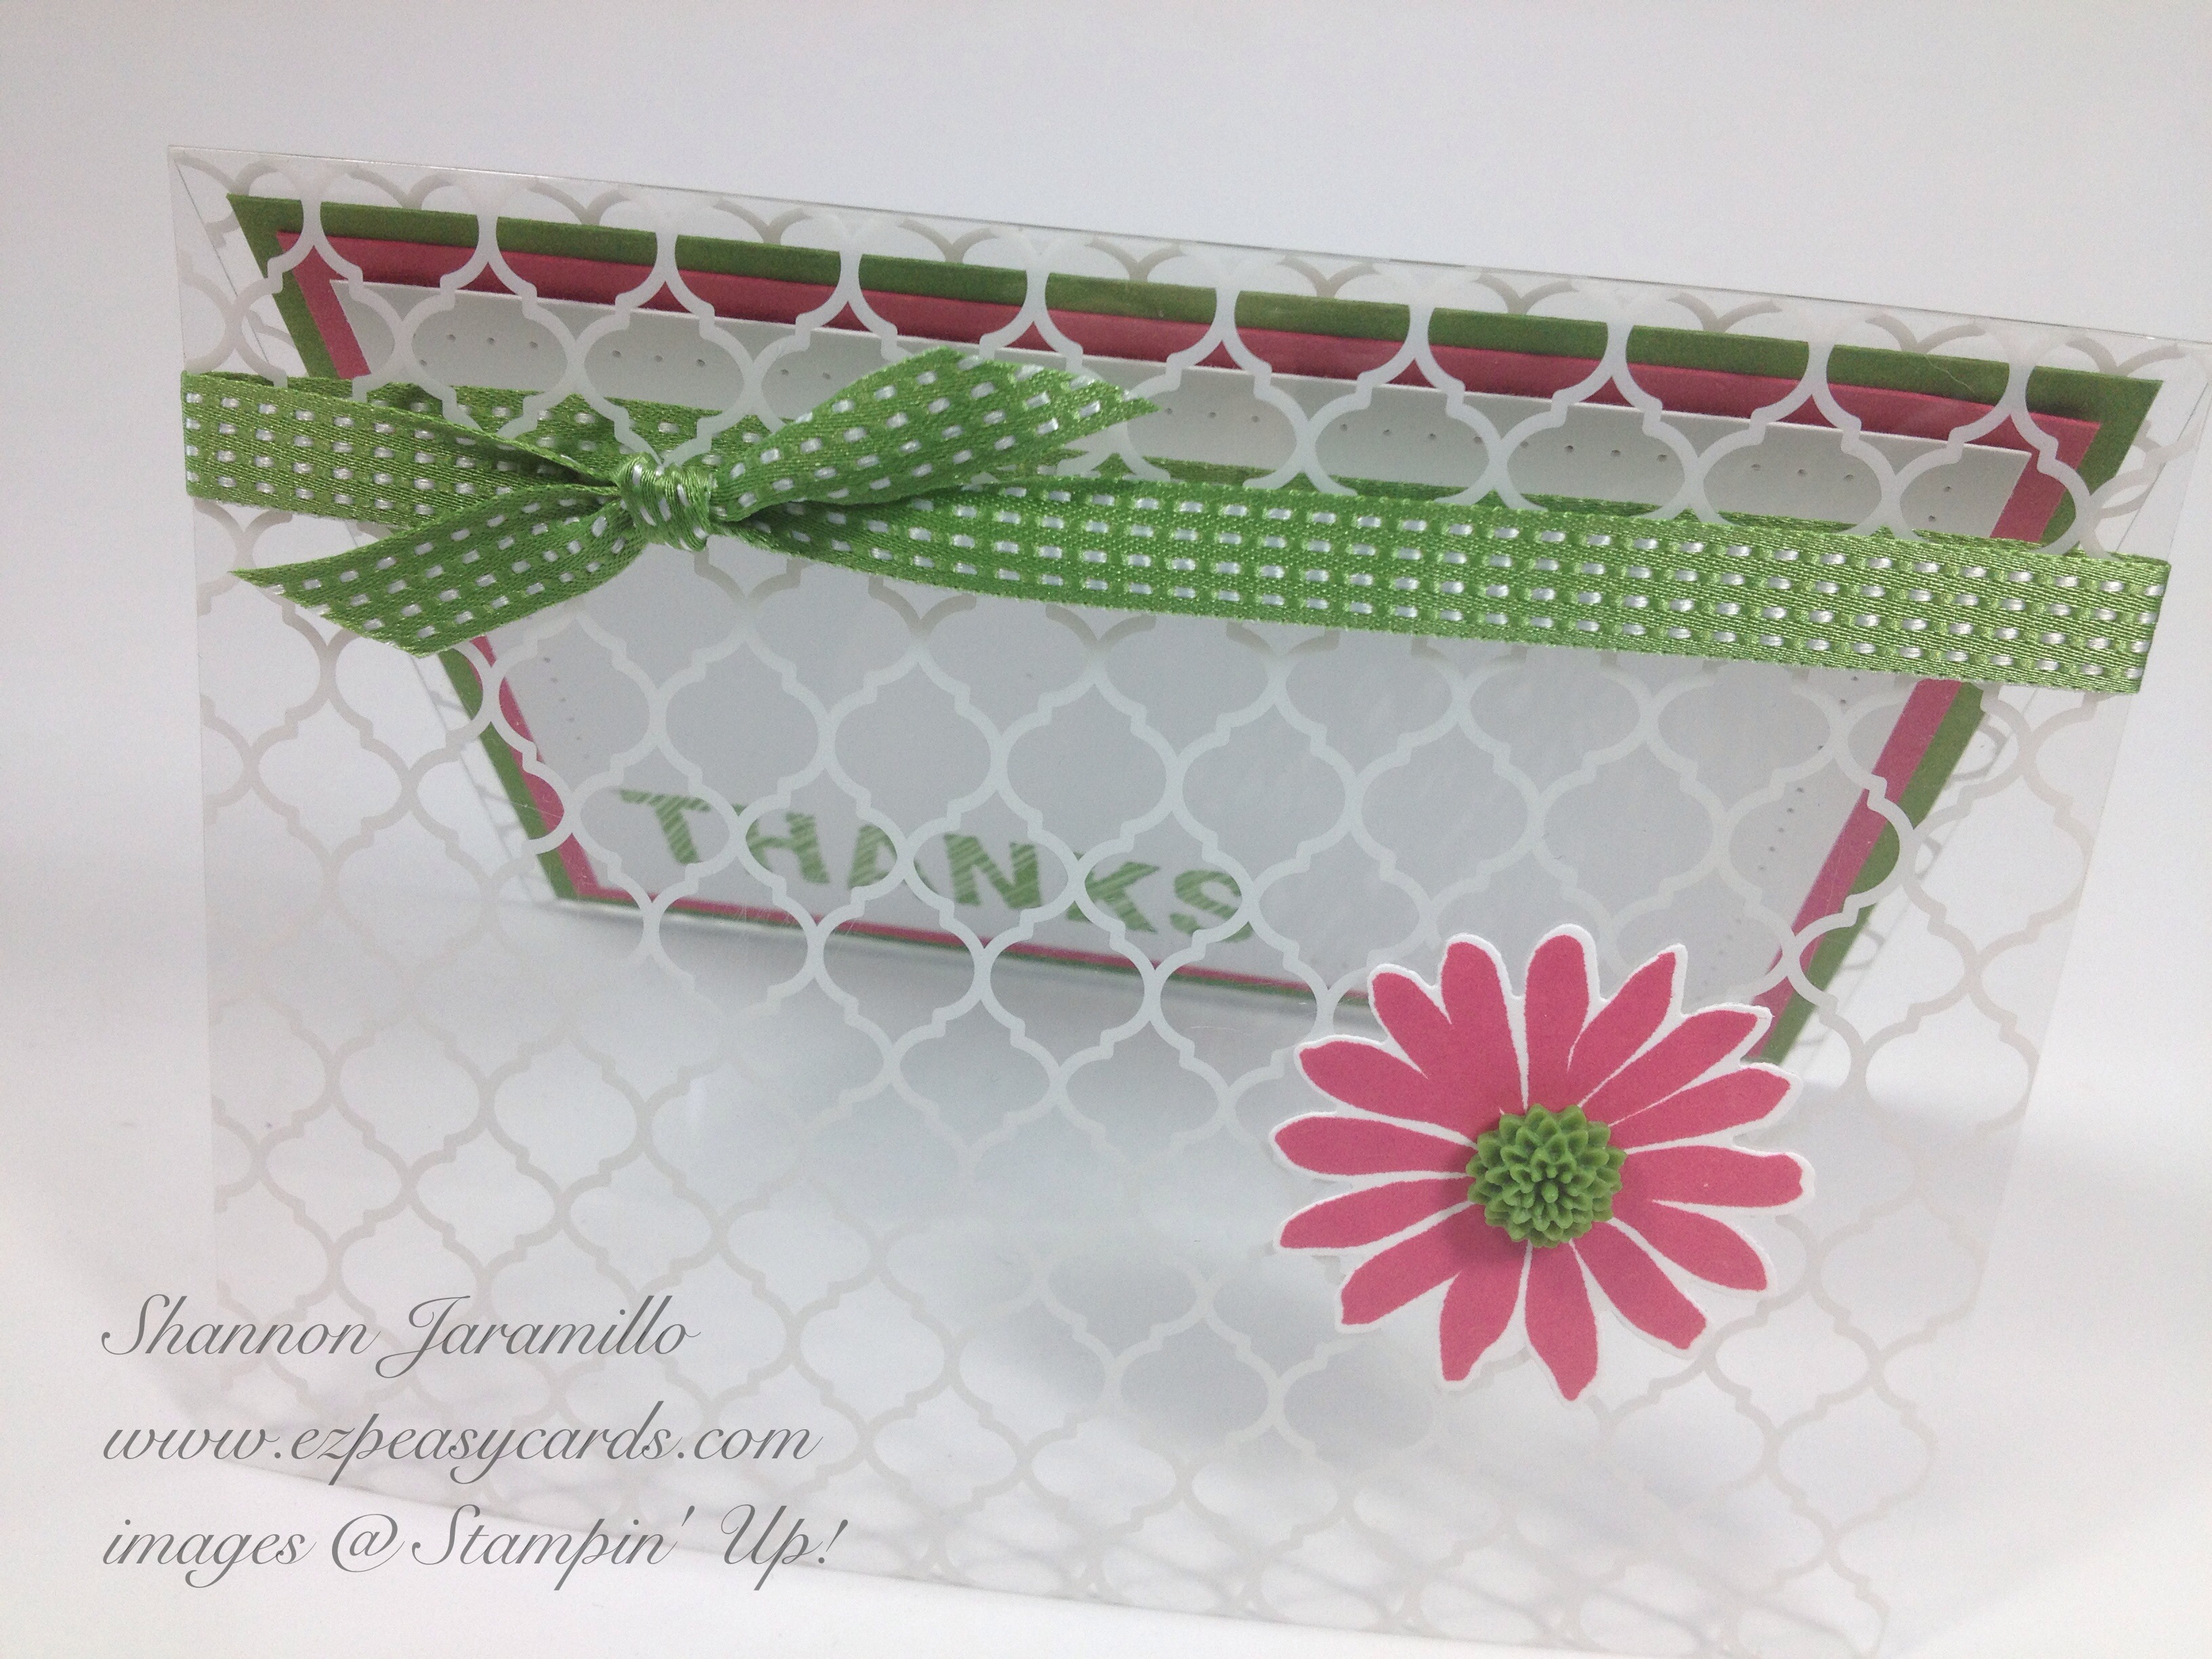
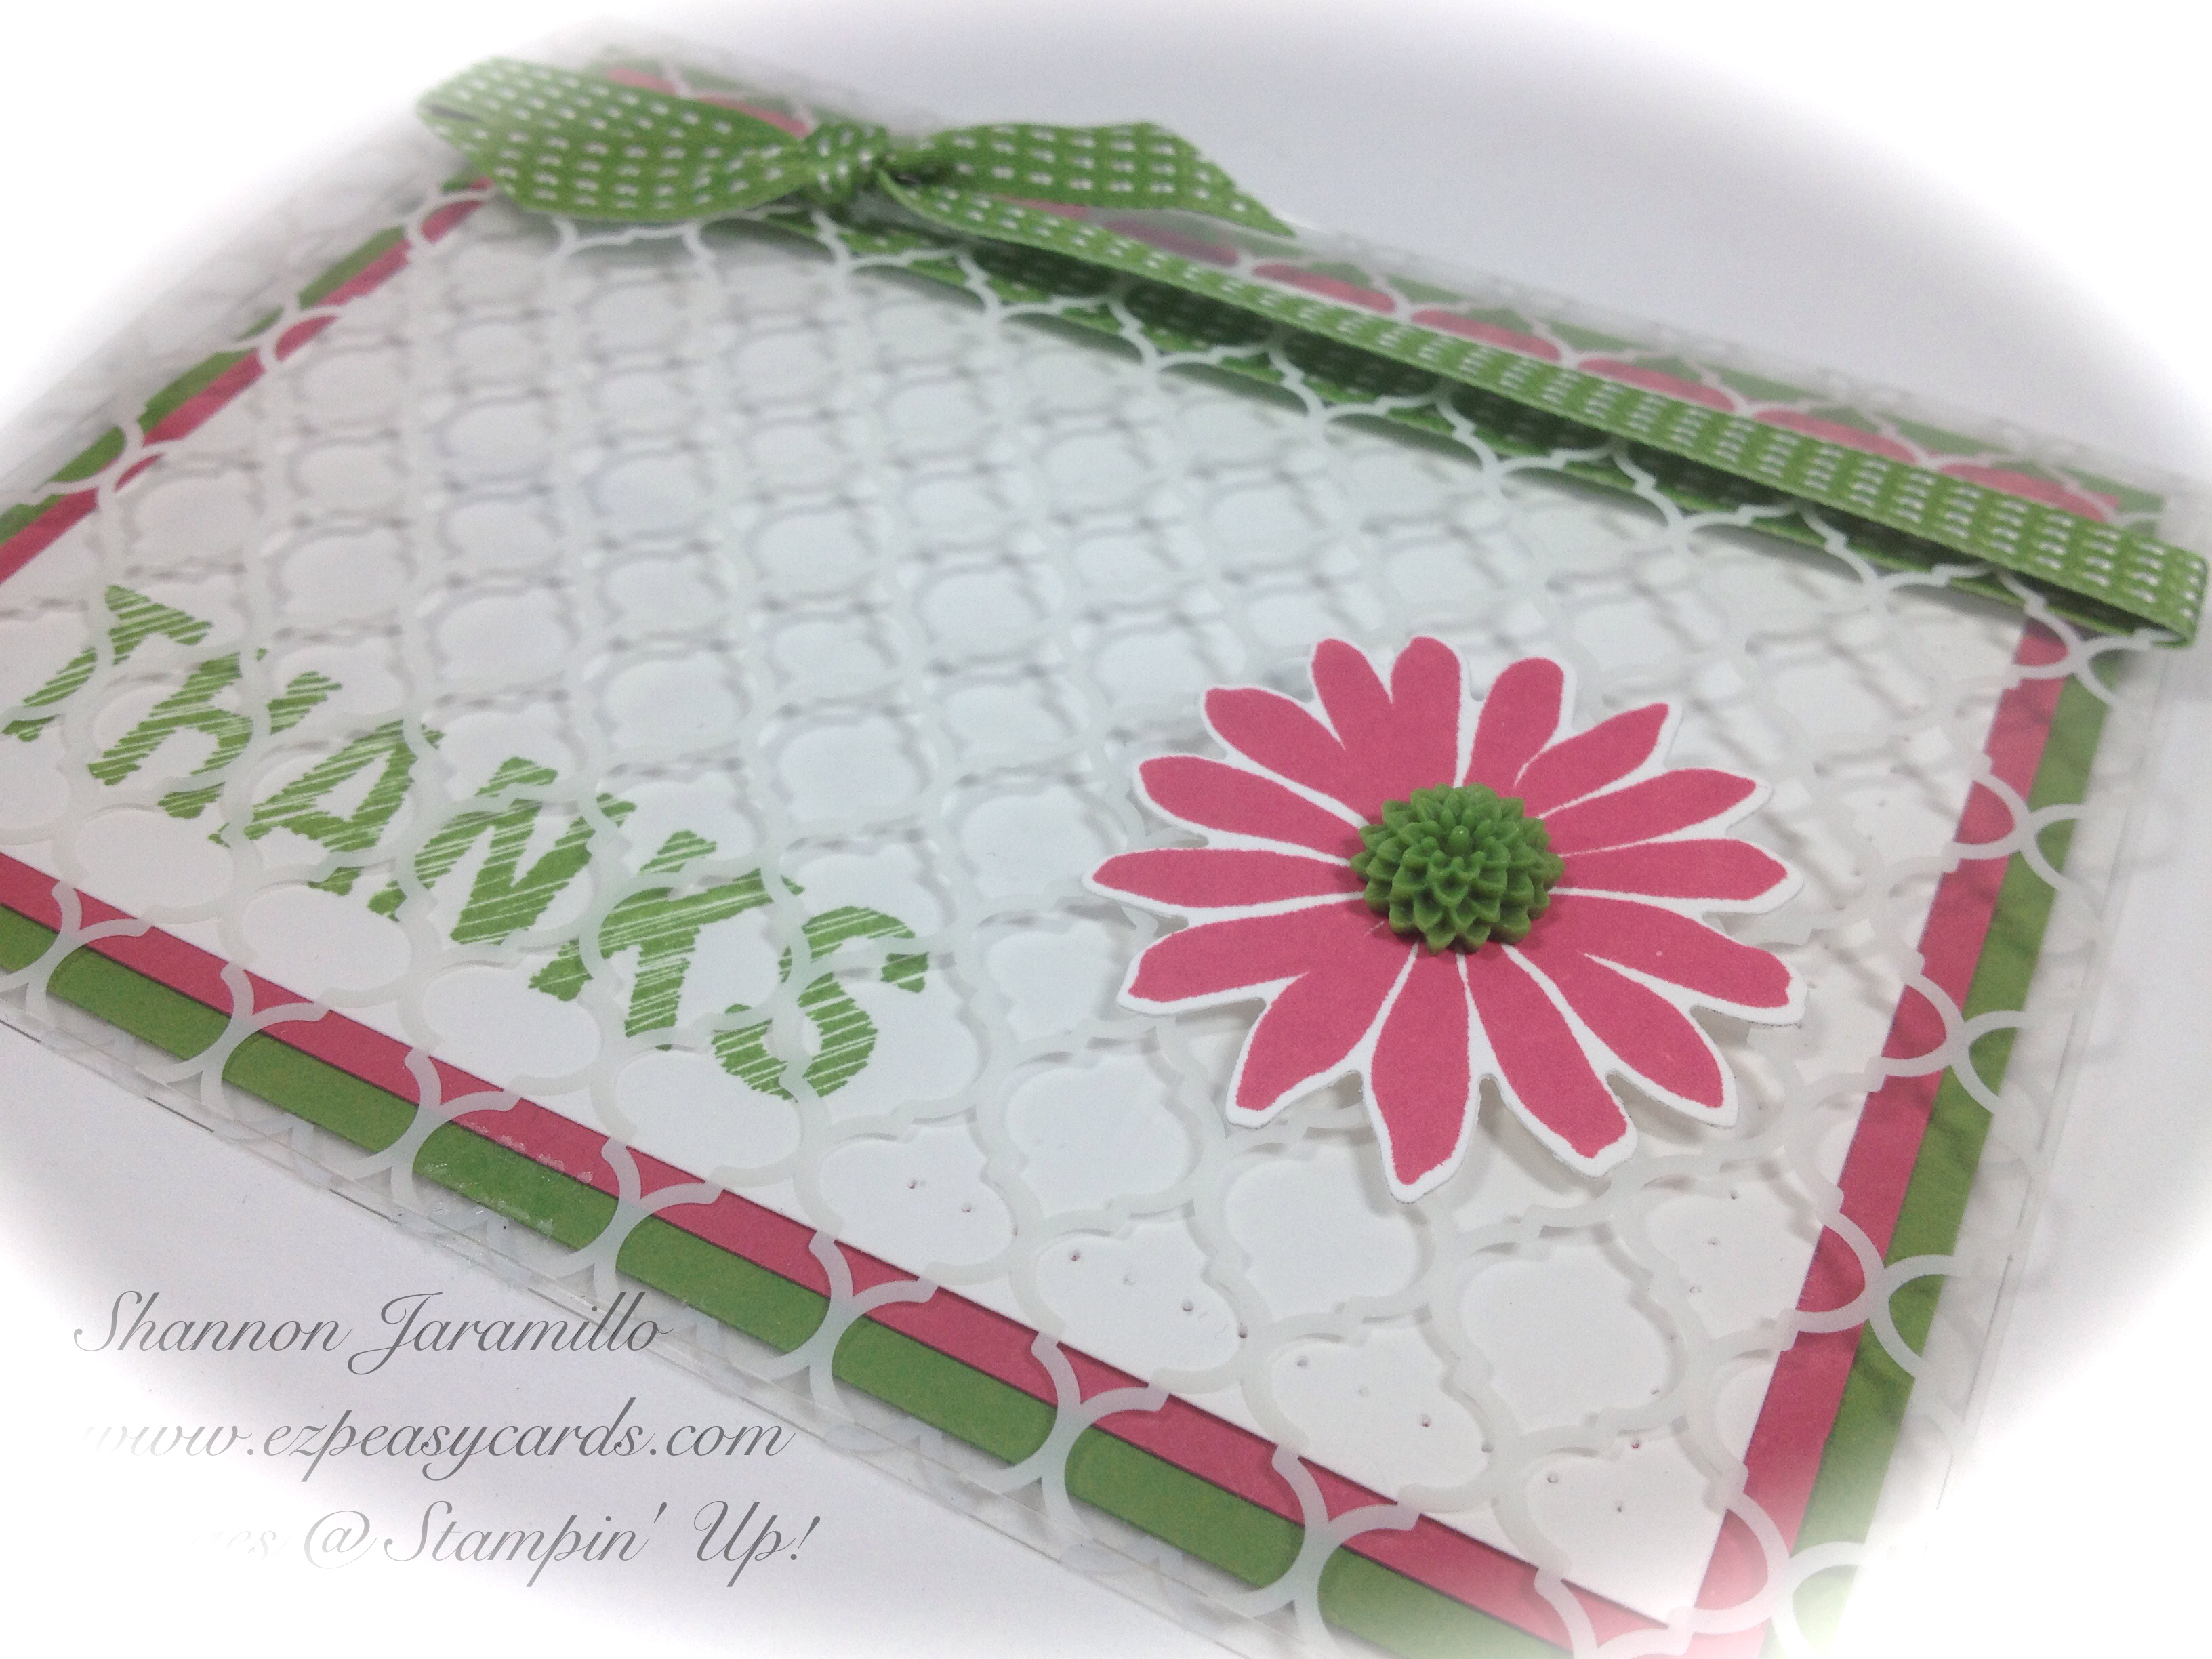
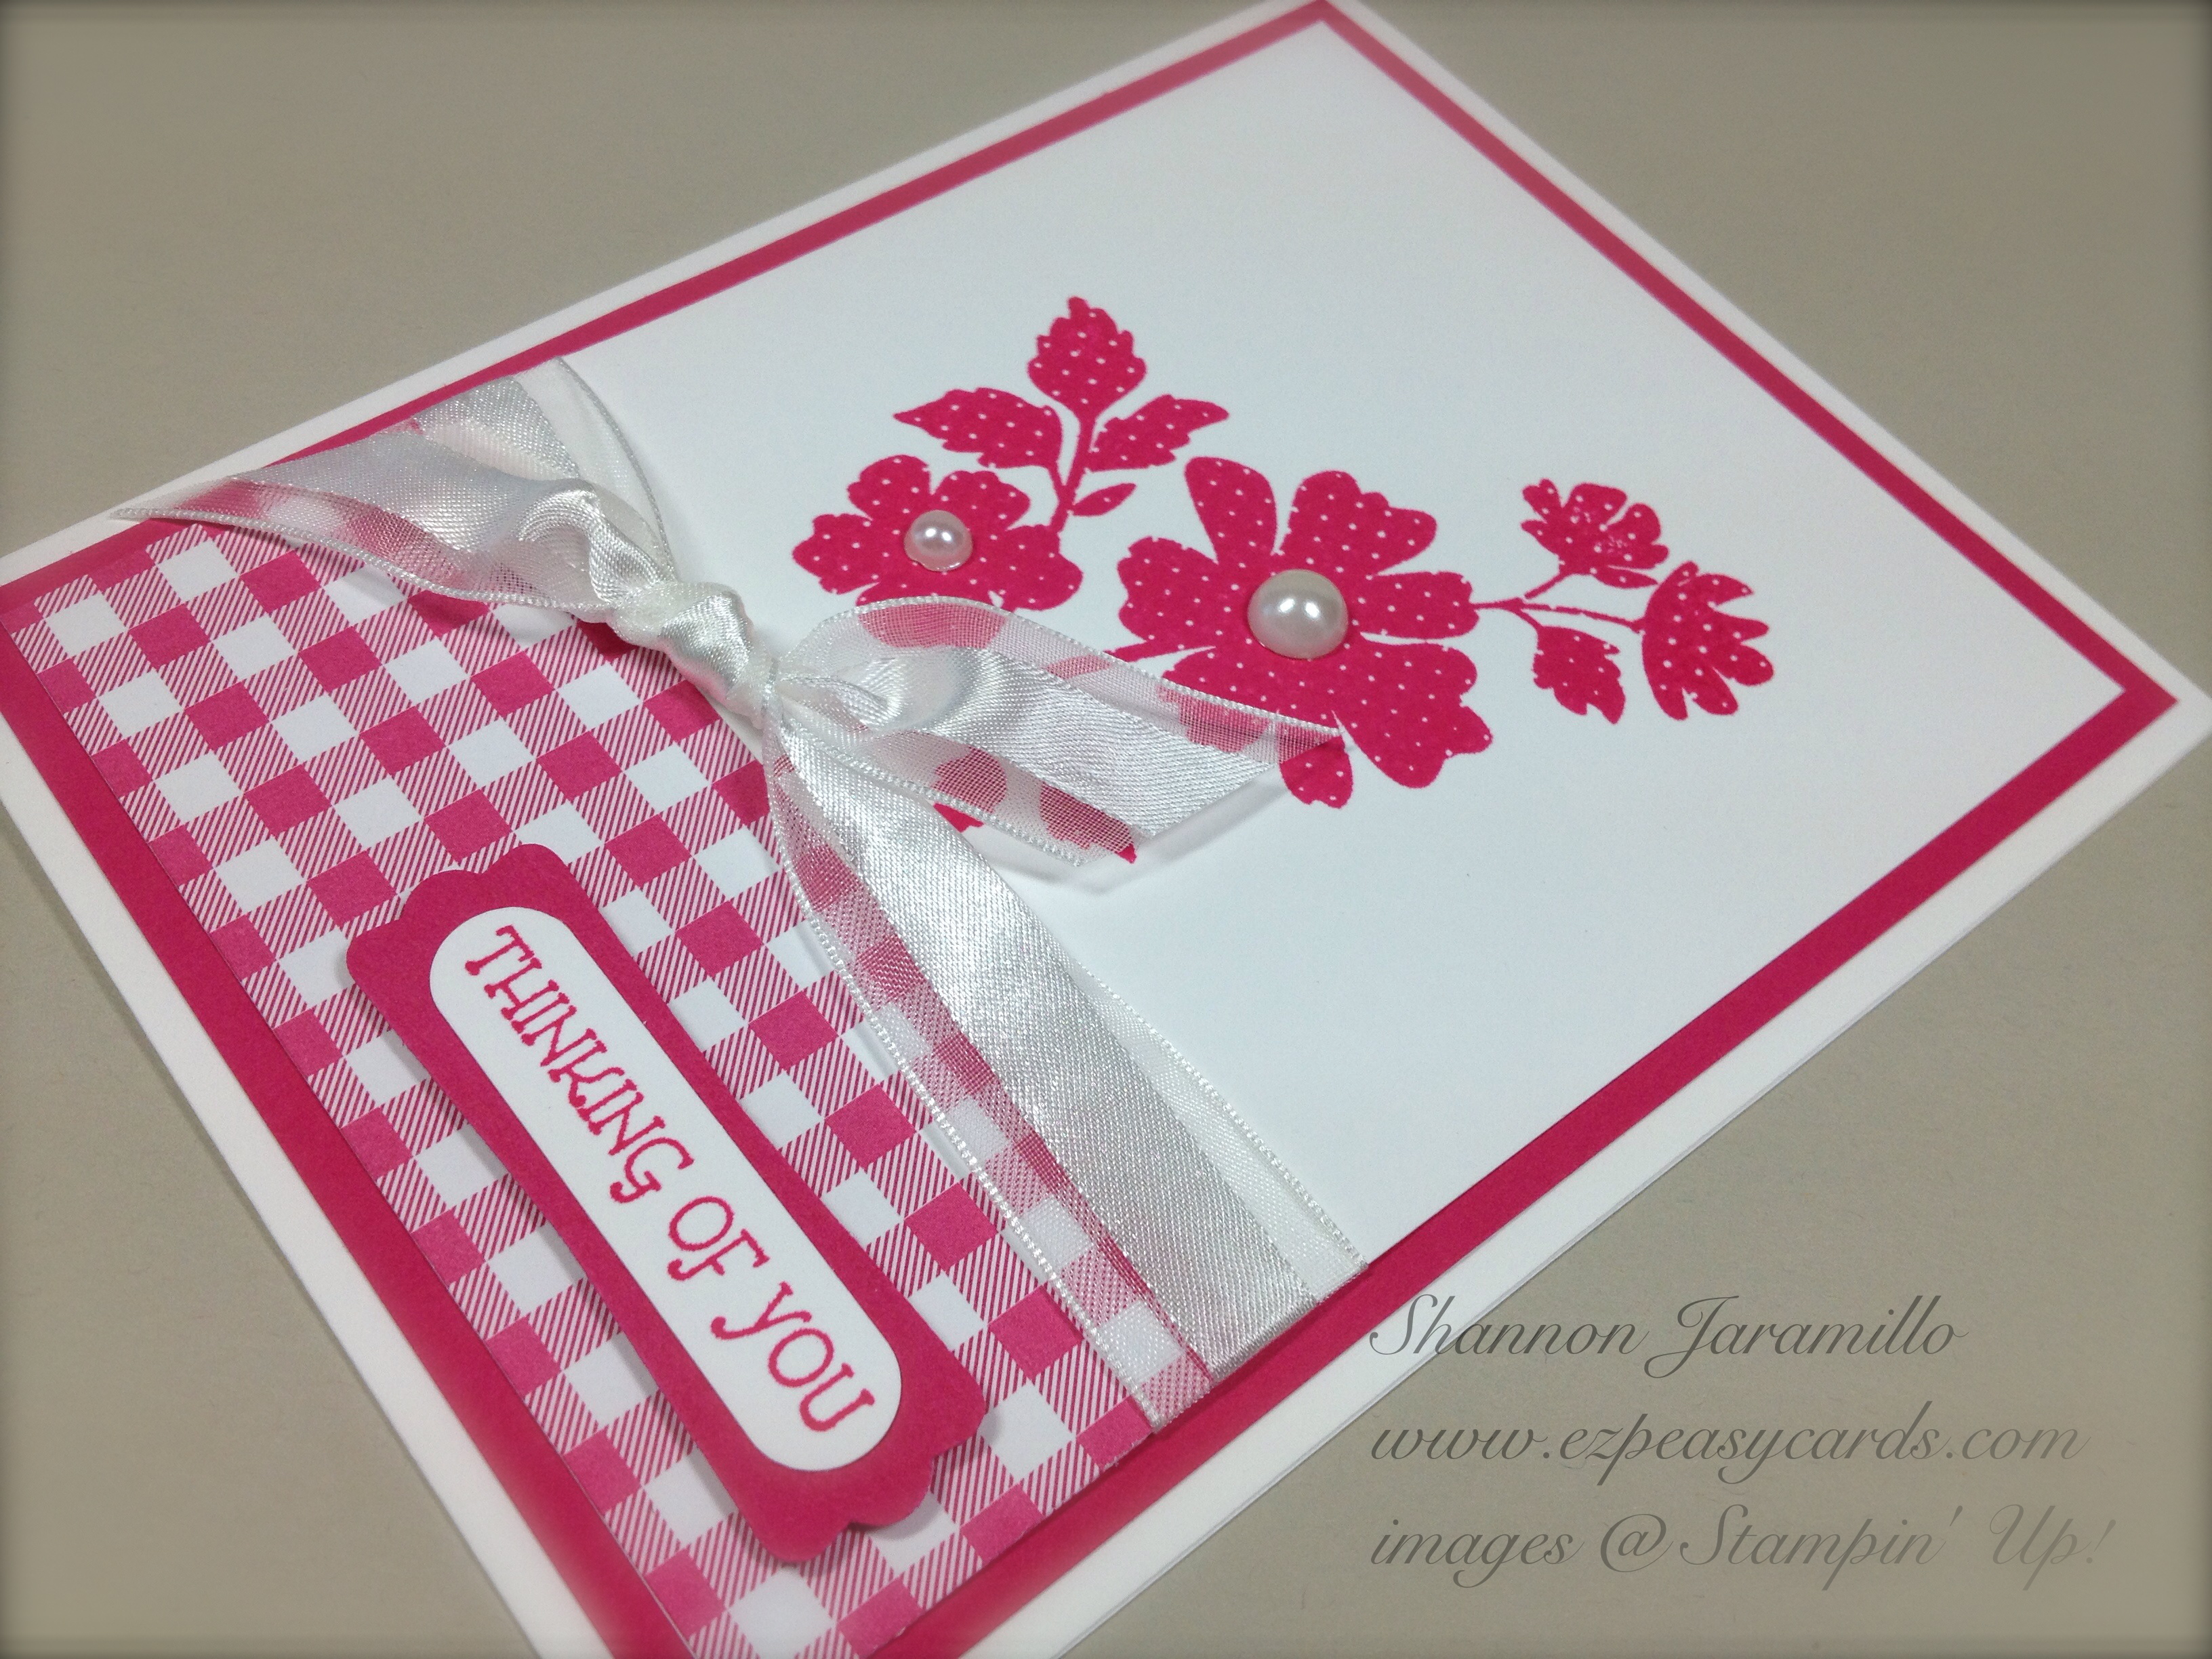
My last sample for you is REALLY stepped up but just uses a few more supplies:

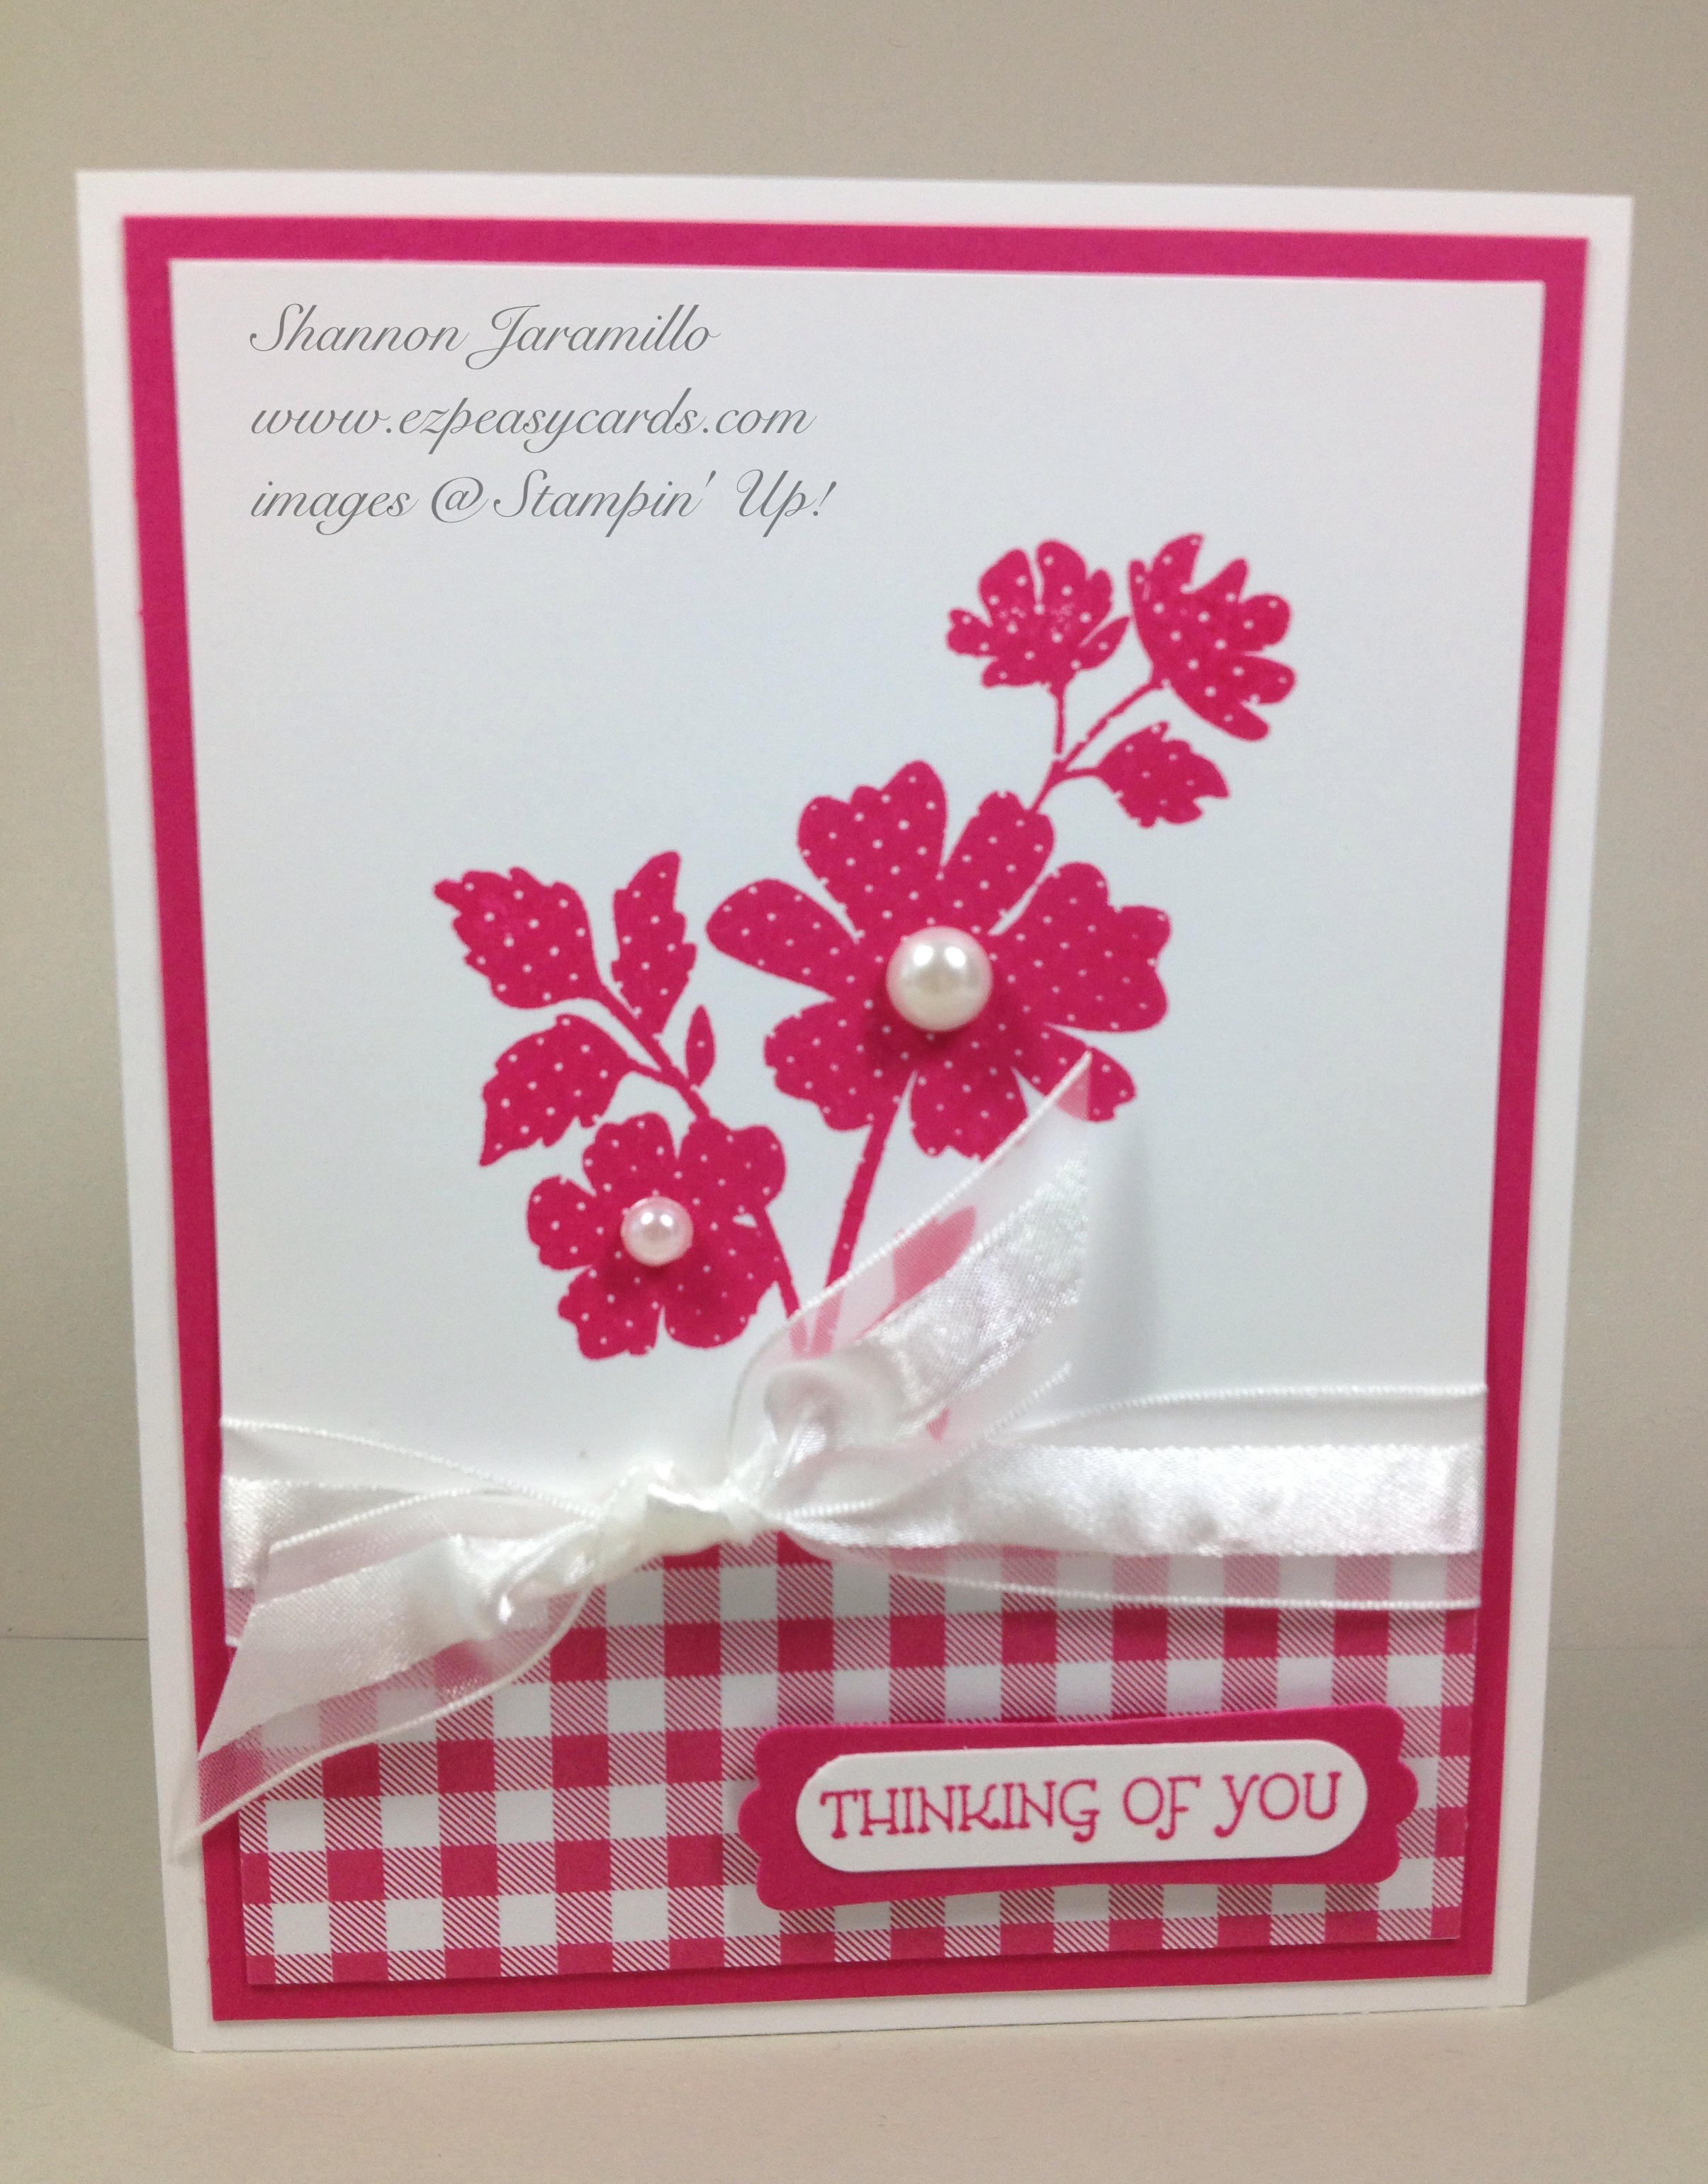
I have added the following steps to create this card:

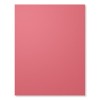
  • I added a layer of 4" x 5 1/4" Melon Mambo card stock for a POP of color
  • I reduced the layer of Whisper White card stock to 3 3/4" x 5" and adhered it to the Melon Mambo layer
  • I layered the sentiment onto an small piece of Melon Mambo card stock using the Modern Label Punch...yes, it was specifically designed to be used with the Word Window Punch!
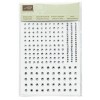
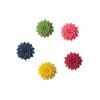
  • I added pearls to the center of the flowers. 

So there you have it...three wonderful options to show you how you can start creating with just a few basic supplies and then add bits to your cards as your confidence and supplies increase.

Just a side note here regarding the Word Window Punch is that it can be utilized with MANY of the stamps made by Stampin' Up!, making it a versatile tool and a great investment. All of the sentiments in the stamp set Teeny Tiny Wishes can be used with the Word Window Punch. In fact this stamp set was on my first Stampin' Up! order just over three years ago!

Please let me know if you like this post and would like to see more in the future! 

Stampin Supplies for Card One:

Stamps: Gifts of Kindness (130444)

Paper: Whisper White (100730) Cardstock

Ink: Melon Mambo (126948) Classic Stampin' Pad 

Tools: Stampin' Trimmer (126889), Stamp-a-ma-jig (101049)

Embellishments:  None

Stampin Supplies for Card Two:

Stamps: Gifts of Kindness (130444)

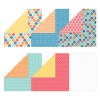
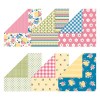
Paper: Whisper White (100730) Cardstock, Quatrefancy Specialty Designer Series Paper (130141)

Ink: Melon Mambo (126948) Classic Stampin' Pad 

Tools: Stampin' Trimmer (126889), Stamp-a-ma-jig (101049), Word Window Punch (119857), SNAIL Adhesive (104332)

Embellishments:  5/8" Whisper White Organza Ribbon (114319)

Stampin Supplies for Card Three:

Stamps: Gifts of Kindness (130444)

Paper: Whisper White (100730), Melon Mambo (115320) Cardstock, Quatrefancy Specialty Designer Series Paper (130141)

Ink: Melon Mambo (126948) Classic Stampin' Pad 

Tools: Stampin' Trimmer (126889), Stamp-a-ma-jig (101049), Word Window Punch (119857), Modern Label Punch (119849), SNAIL Adhesive (104332)

Embellishments:  5/8" Whisper White Organza Ribbon (114319), Peal Basic Jewels (119247), Large Pearl Basic Jewels (129324)

Thanks for stopping by!


The next stop is Debbie Crowley, stop number 10 on the Pals Blog Hop! Thanks for visiting – and I hope to see you next month!

2013junhop_back 2013junhop_next

  1. Penny Nichols at Sierra Stampin!
  2. Linda Callahan at Stampin' Seasons
  3. Shannon Hokanson at Paper Works
  4. Maggie Mata at Maggie Made Cards
  5. Lynn Hoyt at cattaildesigns
  6. Susan Itell at Simple Stampin'
  7. Kerry Willard Bray at Stampgoodness
  8. Angie Blake at Angie's Musings
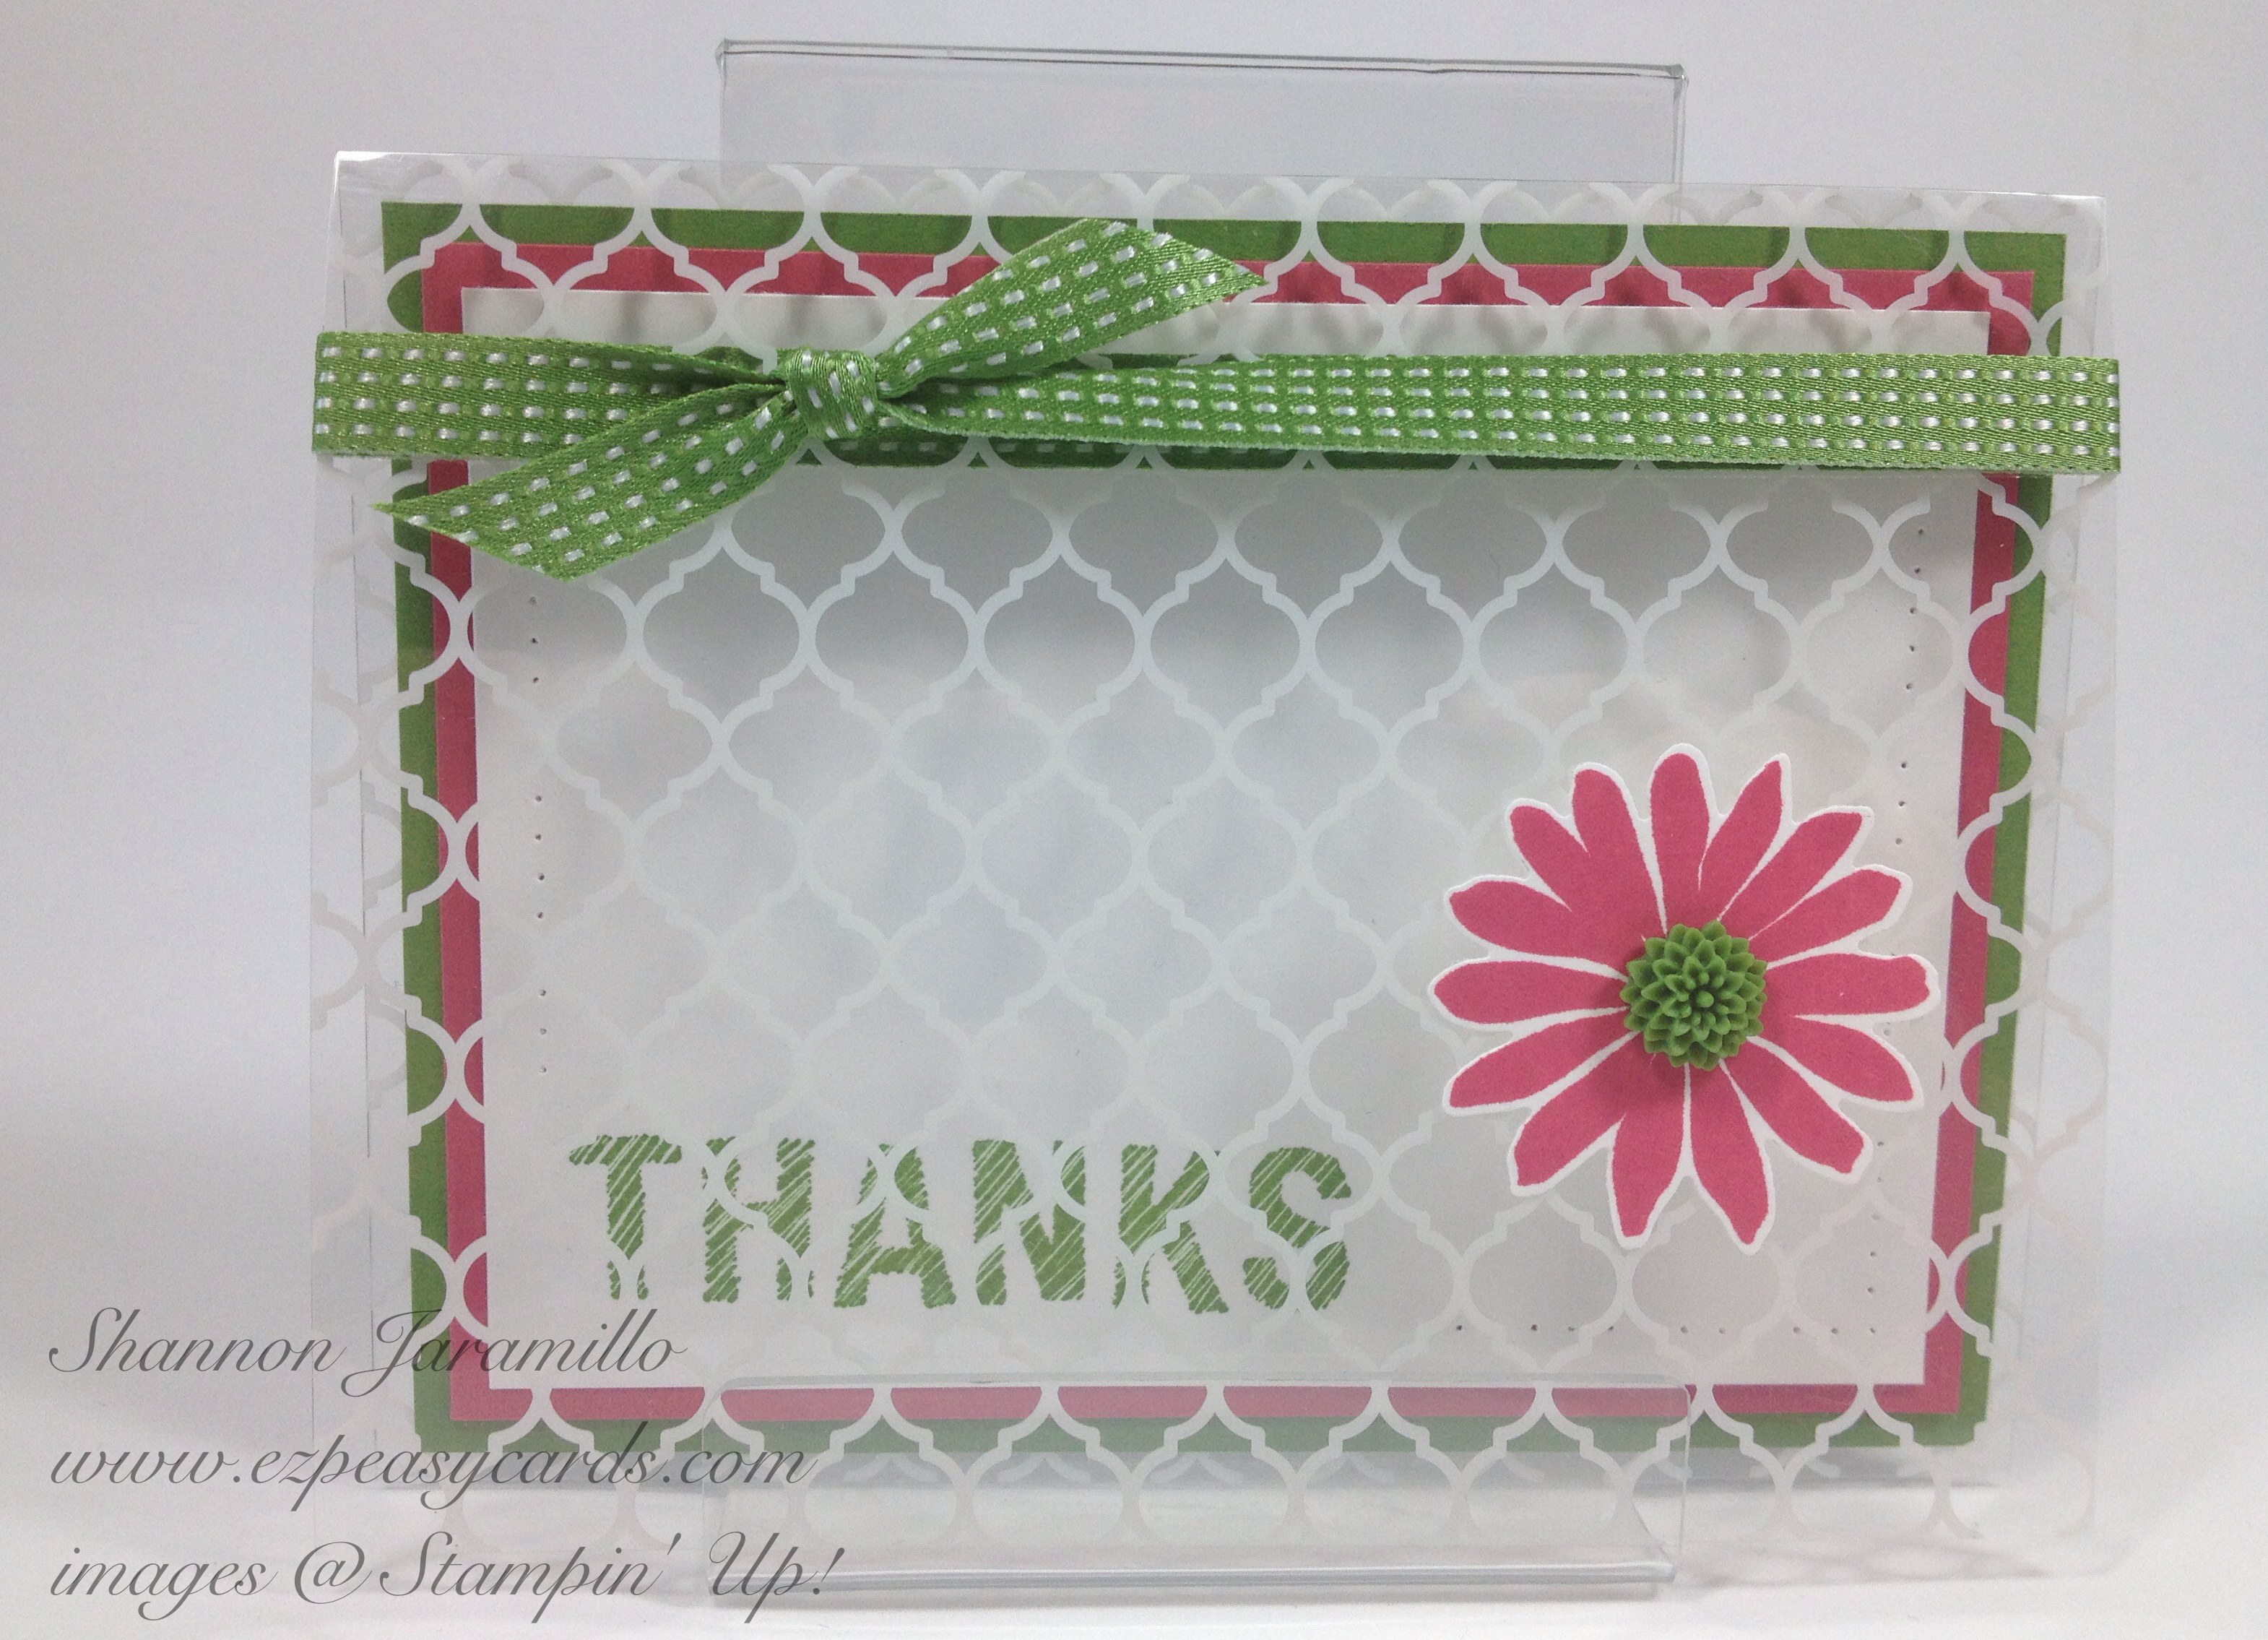
  9. Shannon Jaramillo at ezpeasycards.com
  10. Debbie Crowley at expressivelydeb...
  11. Nicole Watt at Pixel Maven's Retreat
  12. Amy L. Lazzell at Just a Thought...Cards by Amy
  13. Sherrie Gross at Stampin' Sunshine
  14. Katy McGloin at Just Fun Stampin
  15. Patti Macleith at Papercrafts by Patti
  16. Nicole Picadura at Scraps & Stamps
  17. Dawn Tidd at Tiddbits from Dawn
  18. Brian King at Stamp with Brian
  19. Diane Roberts at Score at Four and a Quarter
  20. Martie Pollard at The Crafty Bandit
  21. Rae Harper at Wild West Paper Arts
  22. Mary Fish at Stampin' Pretty
  23. Barb Furlong at The Love of Stamping
  24. Peggy Noe at Prettypapercards.com
  25. Nancy Gleason at My Stampin Space
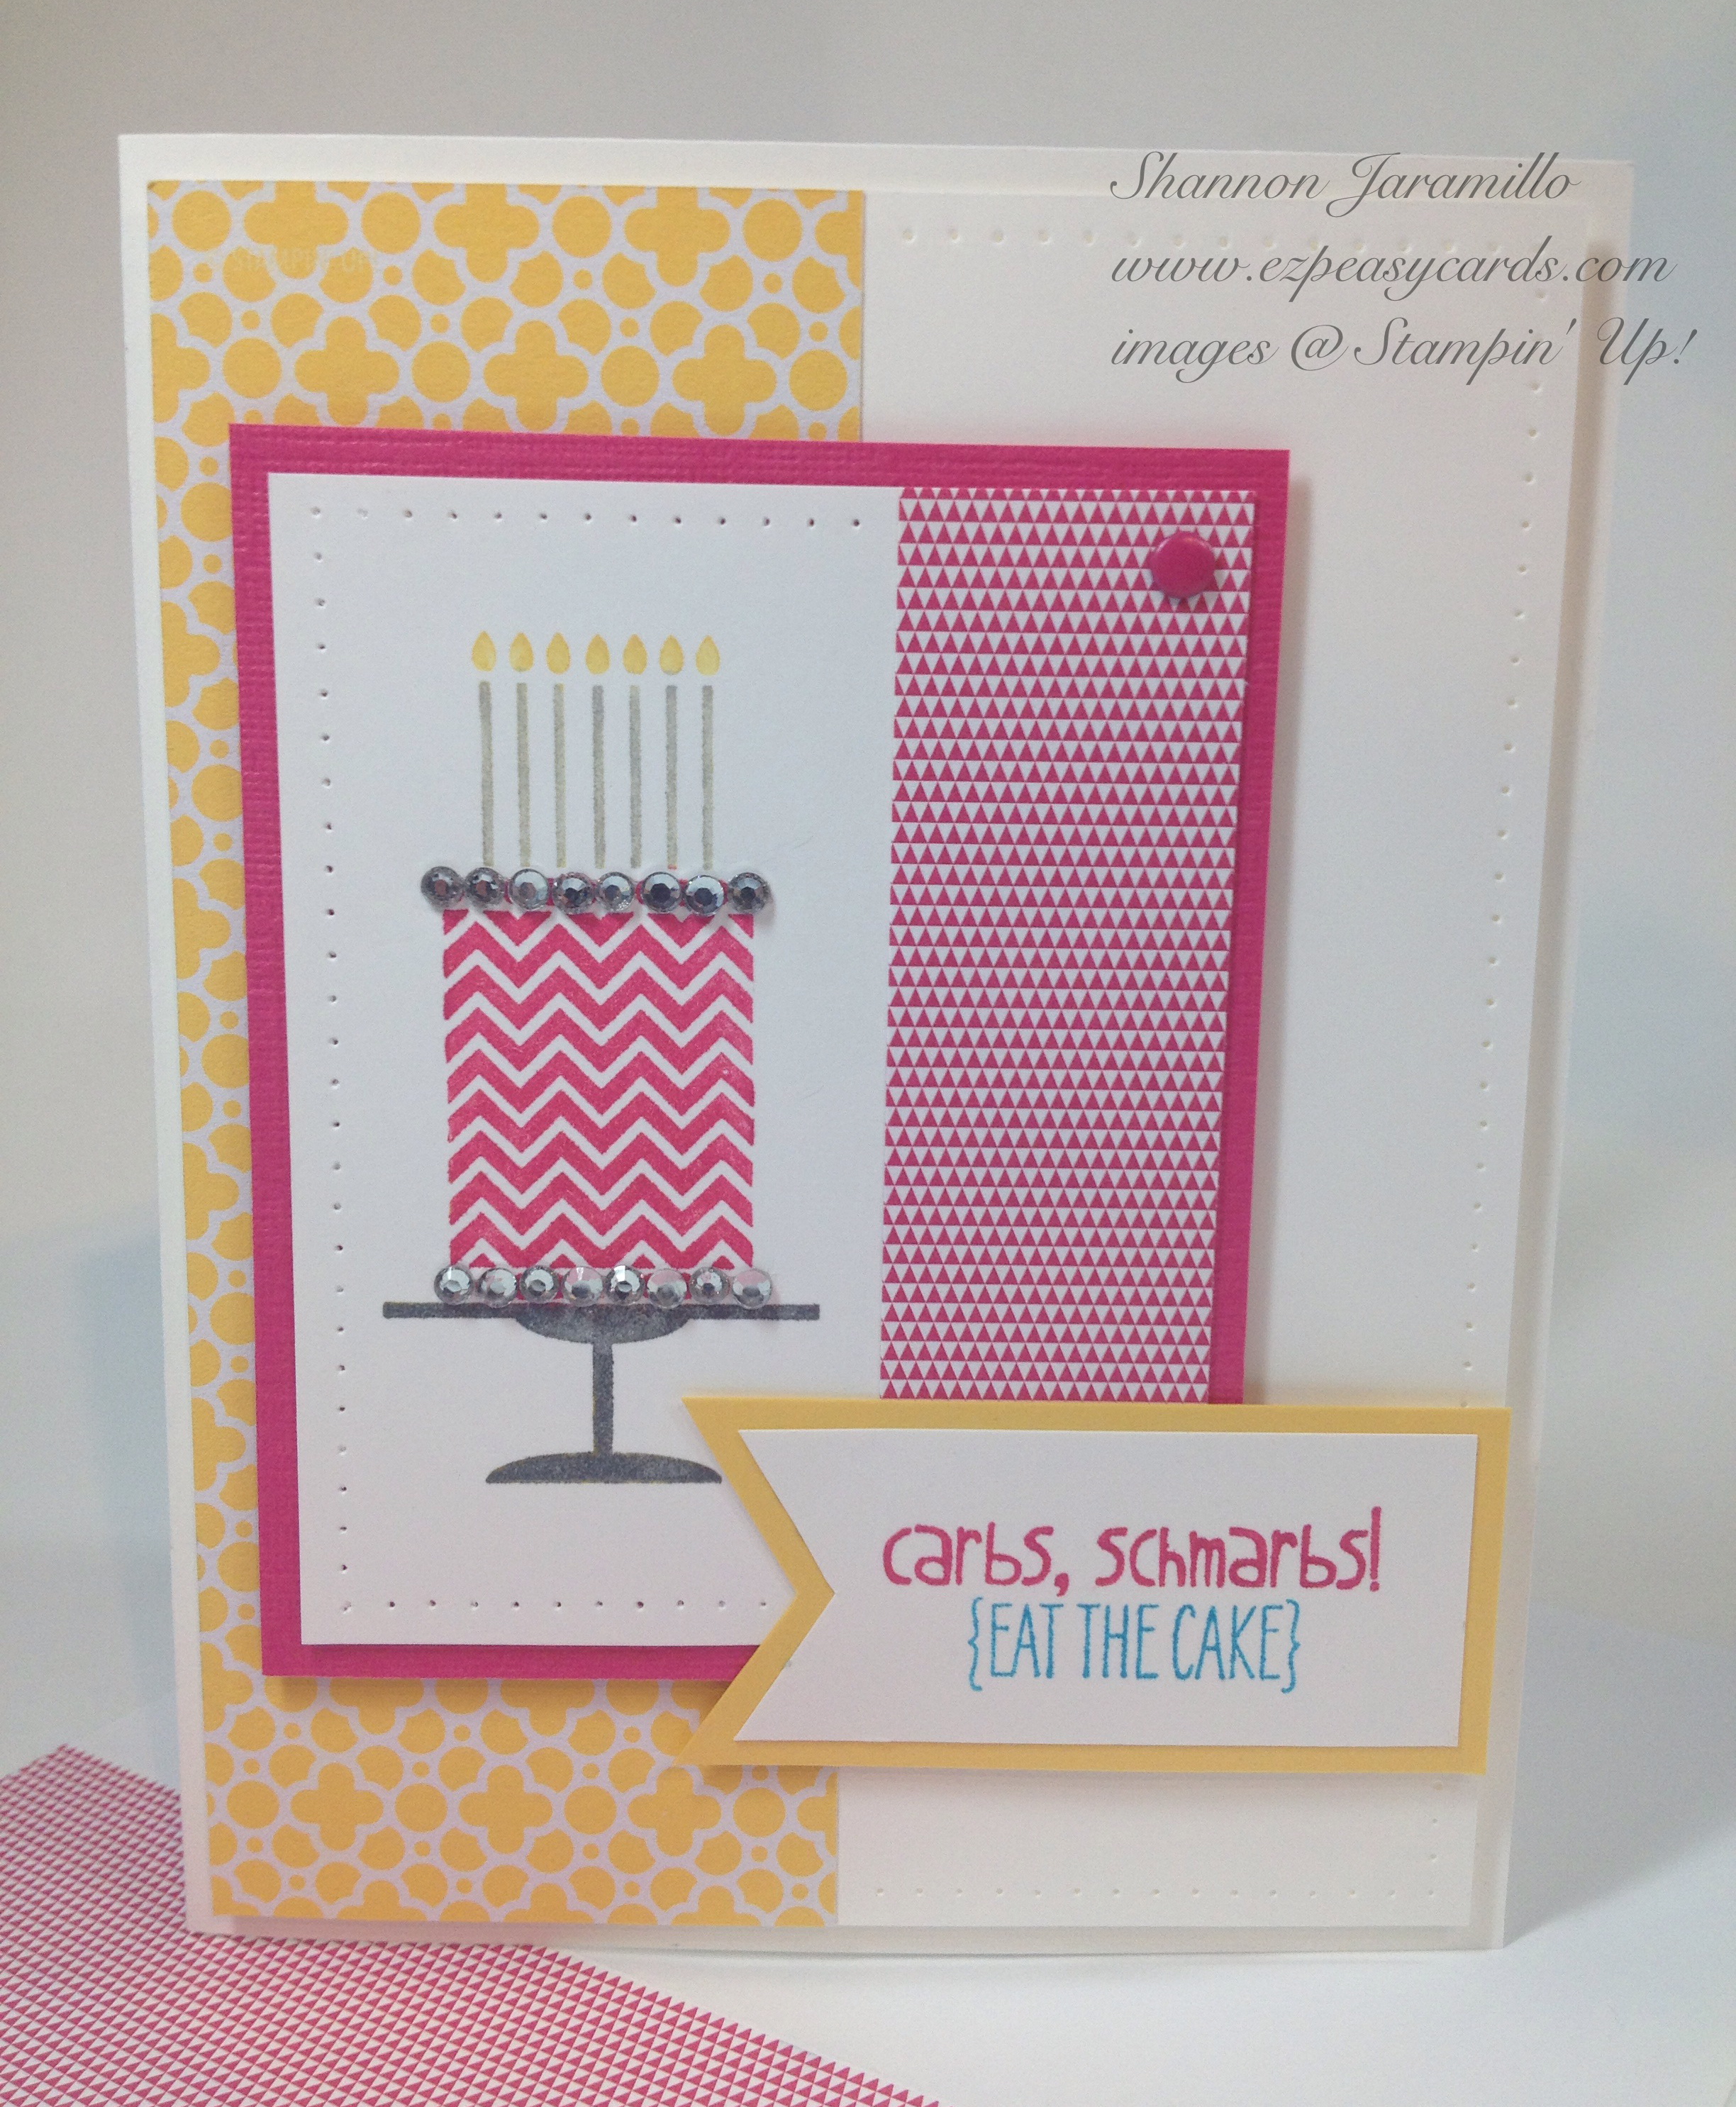
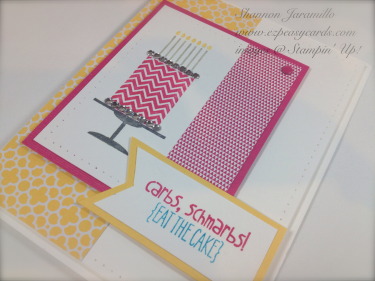
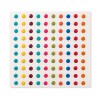
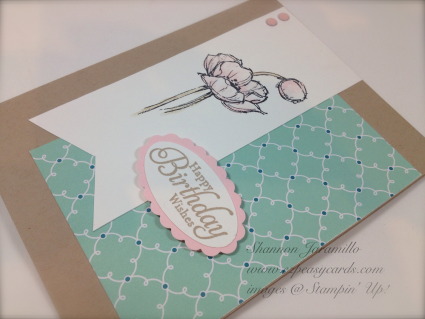
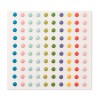
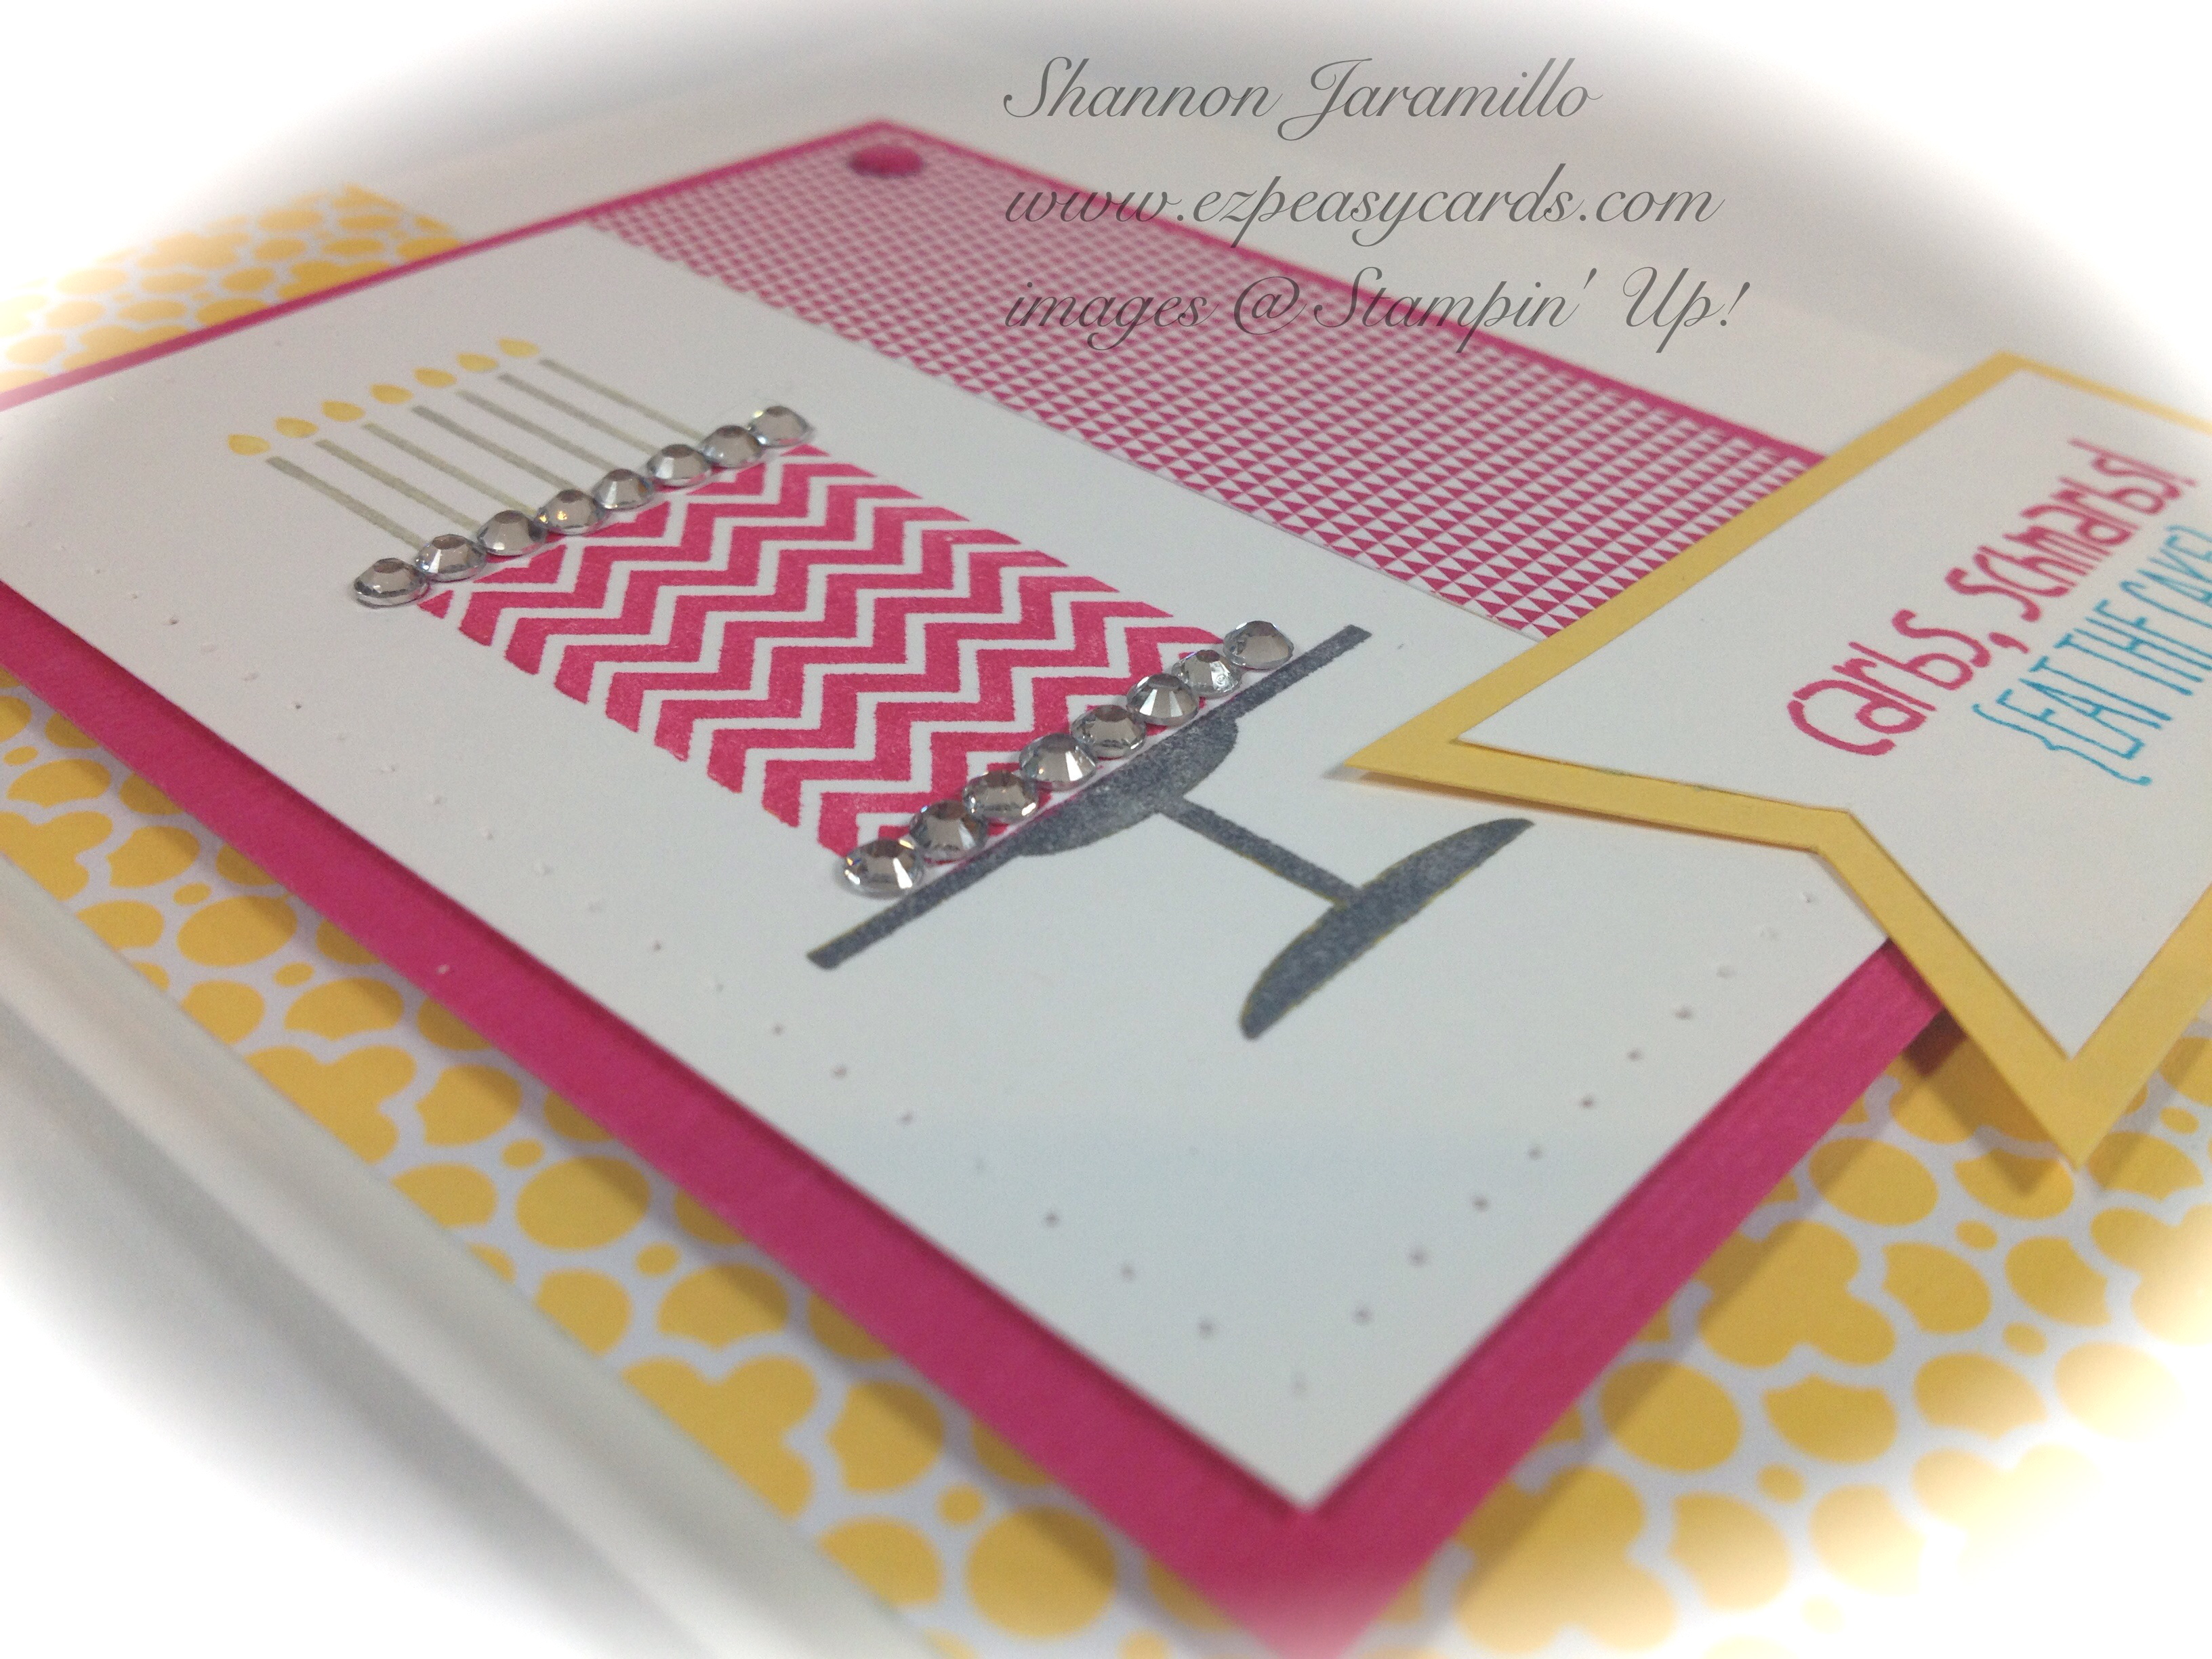
Simply Sketched Birthday

Follow Me on Pinterest

Today's CAS (Clean and Simple) card was inspired by two things: firstly, my promise to a fellow Pal that I would step up and try my hand at watercoloring; and secondly by a delightful layout sketch over at Create with Connie and Mary.

Why does trying something new always feel like such a challenge? My personal excuse is that I am self-taught. I have been to exactly TWO group stamping experiences in my lifetime. Everything I have learned, I have learned by visual aid, either picture tutorials or online videos. Thank heavens there are demonstrators out there who share their knowledge! So, back to my card...trying new things takes me out of my comfort zone and requires that I research each new technique before trying it. Add to that serious issues with perfection and it's a wonder I try anything new at all!

Honestly, this was so easy I can't believe how much I built it up! I stamped the image with Staz-On Ink, then dabbed a Blender Pen directly onto my Pink Pirouette Classic Ink Pad, scribbled away just a bit of the color onto scratch paper, and added ink to the image. Ink and Repeat. Then with the same technique I added a bit of Crumb Cake ink to the stems. That's it! So ezpeasy!

The color scheme here was chosen from my Color Coach: Crumb Cake, Pool Party, and Pink Pirouette. How dainty and pretty and a perfect compliment to the delicate images in Stampin' Up!'s new hostess set Simply Sketched and this pattern from the Quatrefancy Specialty Designer Series Paper.

Jewelry? Of course! I tried VERY hard to add some ribbon but it just seemed to overpower the layout so I opted to leave it off and add some Candy Dots instead. I knew I loved them at first sight but tonight when I realized I had a Candy Dot in EVERY SHADE, my love for them notched up even higher. And all for $5.95 per color family! What a deal I tell you!

Today's project took about 15 minutes to complete, next time it will take less since I won't be so nervous to watercolor! 

I hope I have inspired you to try something new and thank you to Windy for inspiring me!

Stampin Supplies:

Stamps: Simply Sketched (Hostess)

Paper: Crumb Cake (120953), Pink Pirouette (111351), Whisper White (100730) Cardstock; Quatrefancy Specialty Designer Series Paper (130141)

Ink: Jet Black StazOn Ink Pad (101406); Crumb Cake (126975), Pink Pirouette (126956) Classic Stampin' Pad

Tools: Stampin' Trimmer (126889), Blender Pen (102845), Scallop Oval Punch (119856), Large Oval Punch (119855)

Embellishments:  Subtles Candy Dots (130933)

Thanks for stopping by!

Sketched Thanks - PPA160 Color Challenge

Follow Me on Pinterest

I am so excited to see each new color challenge created by the wonderful Pals Paper Arts Design team - each color combination is one I really love but probably would not think to have put together on my own. This new challenge is no exception!

Isn't this combination cheerful? Love it! I have to tell you, this card popped into my head (complete) in the wee hours of the morning and the image was so strong that I had to pop out of bed to create it! Luckily, it was a weekend! So without further ado, here it is!

What do you think?!?! I am in LOVE with the beautiful window sheet from the new Quatrefancy Specialty Designer Series Paper line and was determined to fit it onto a card...why not make it the whole card? lol

I adhered a layer of Gumball Green, Primrose Petals and Whisper White cardstock to the inside of the card base and used the AWESOME new ABC-123 Sketch Alphabet & Numbers Stamp Set to quickly add my sentiment. The card seemed to need a bit of 'something' so I used my Essentials Paper-Piercing template to quickly pierce an outline around the edge of the Whisper White card stock. I left lots of room for a personalized message.

Using a window sheet for your card base can be a bit tricky as you have to plan both the outside and inside of the card simultaneously. I chose to add just a bit of the 3/8" Stitched Satin Ribbon in Gumball Green and a simple daisy from the Secret Garden stamp set. I chose this stamp set because it has matching framelits and is a cinch to cut out! One little Dahlia in Gumball Green is the perfect final touch don't you think?

Another reason that using window wheets can be tricky is that whatever you use to adhere the layers together is going to be visible. I chose to use just one glue dot on each corner of the Gumball Green layer of cardstock to adhere it to the window sheet base and just one more dot to adhere the daisy to the top layer. I am also willing to pass on valuable information I gather during the creative process and my tip for today is to be 100% sure before you adhere anything to the window sheets with a glue dot...they stick like concrete so you will only get one shot at it!!

Thank you for stopping by and please leave me a comment, I love to hear what you think!

Stampin Supplies:

Stamps: ABC-123 Sketch Alphabet & Number (130565), Secret Garden (129144)

Paper: Gumball Green (126840), Primrose Petals (126841), Whisper White (100730) Cardstock; Quatrefancy Specialty Designer Series Paper (130141)

Ink: Gumball Green (126861), Primrose Petals (126858) Classic Stampin' Pad

Tools: Big Shot (113439), Secret Garden Framelits (129372), Essentials Paper-Piercing Pack (126187), Paper-Piercing Tool (126189), Stampin' Pierce Mat (126199),

Embellishments: 2012-2014 In Color Dahlias (127556), 3/8" Stitched Satin Ribbon in Gumball Green (126848)

Thanks for stopping by!